When you take your kids to the park, what is their favorite thing to play on? For my kids, they always head straight to the swings first. Since we were stuck at home for nearly all of 2020, my husband and I decided it was time to build a swing set in our backyard.
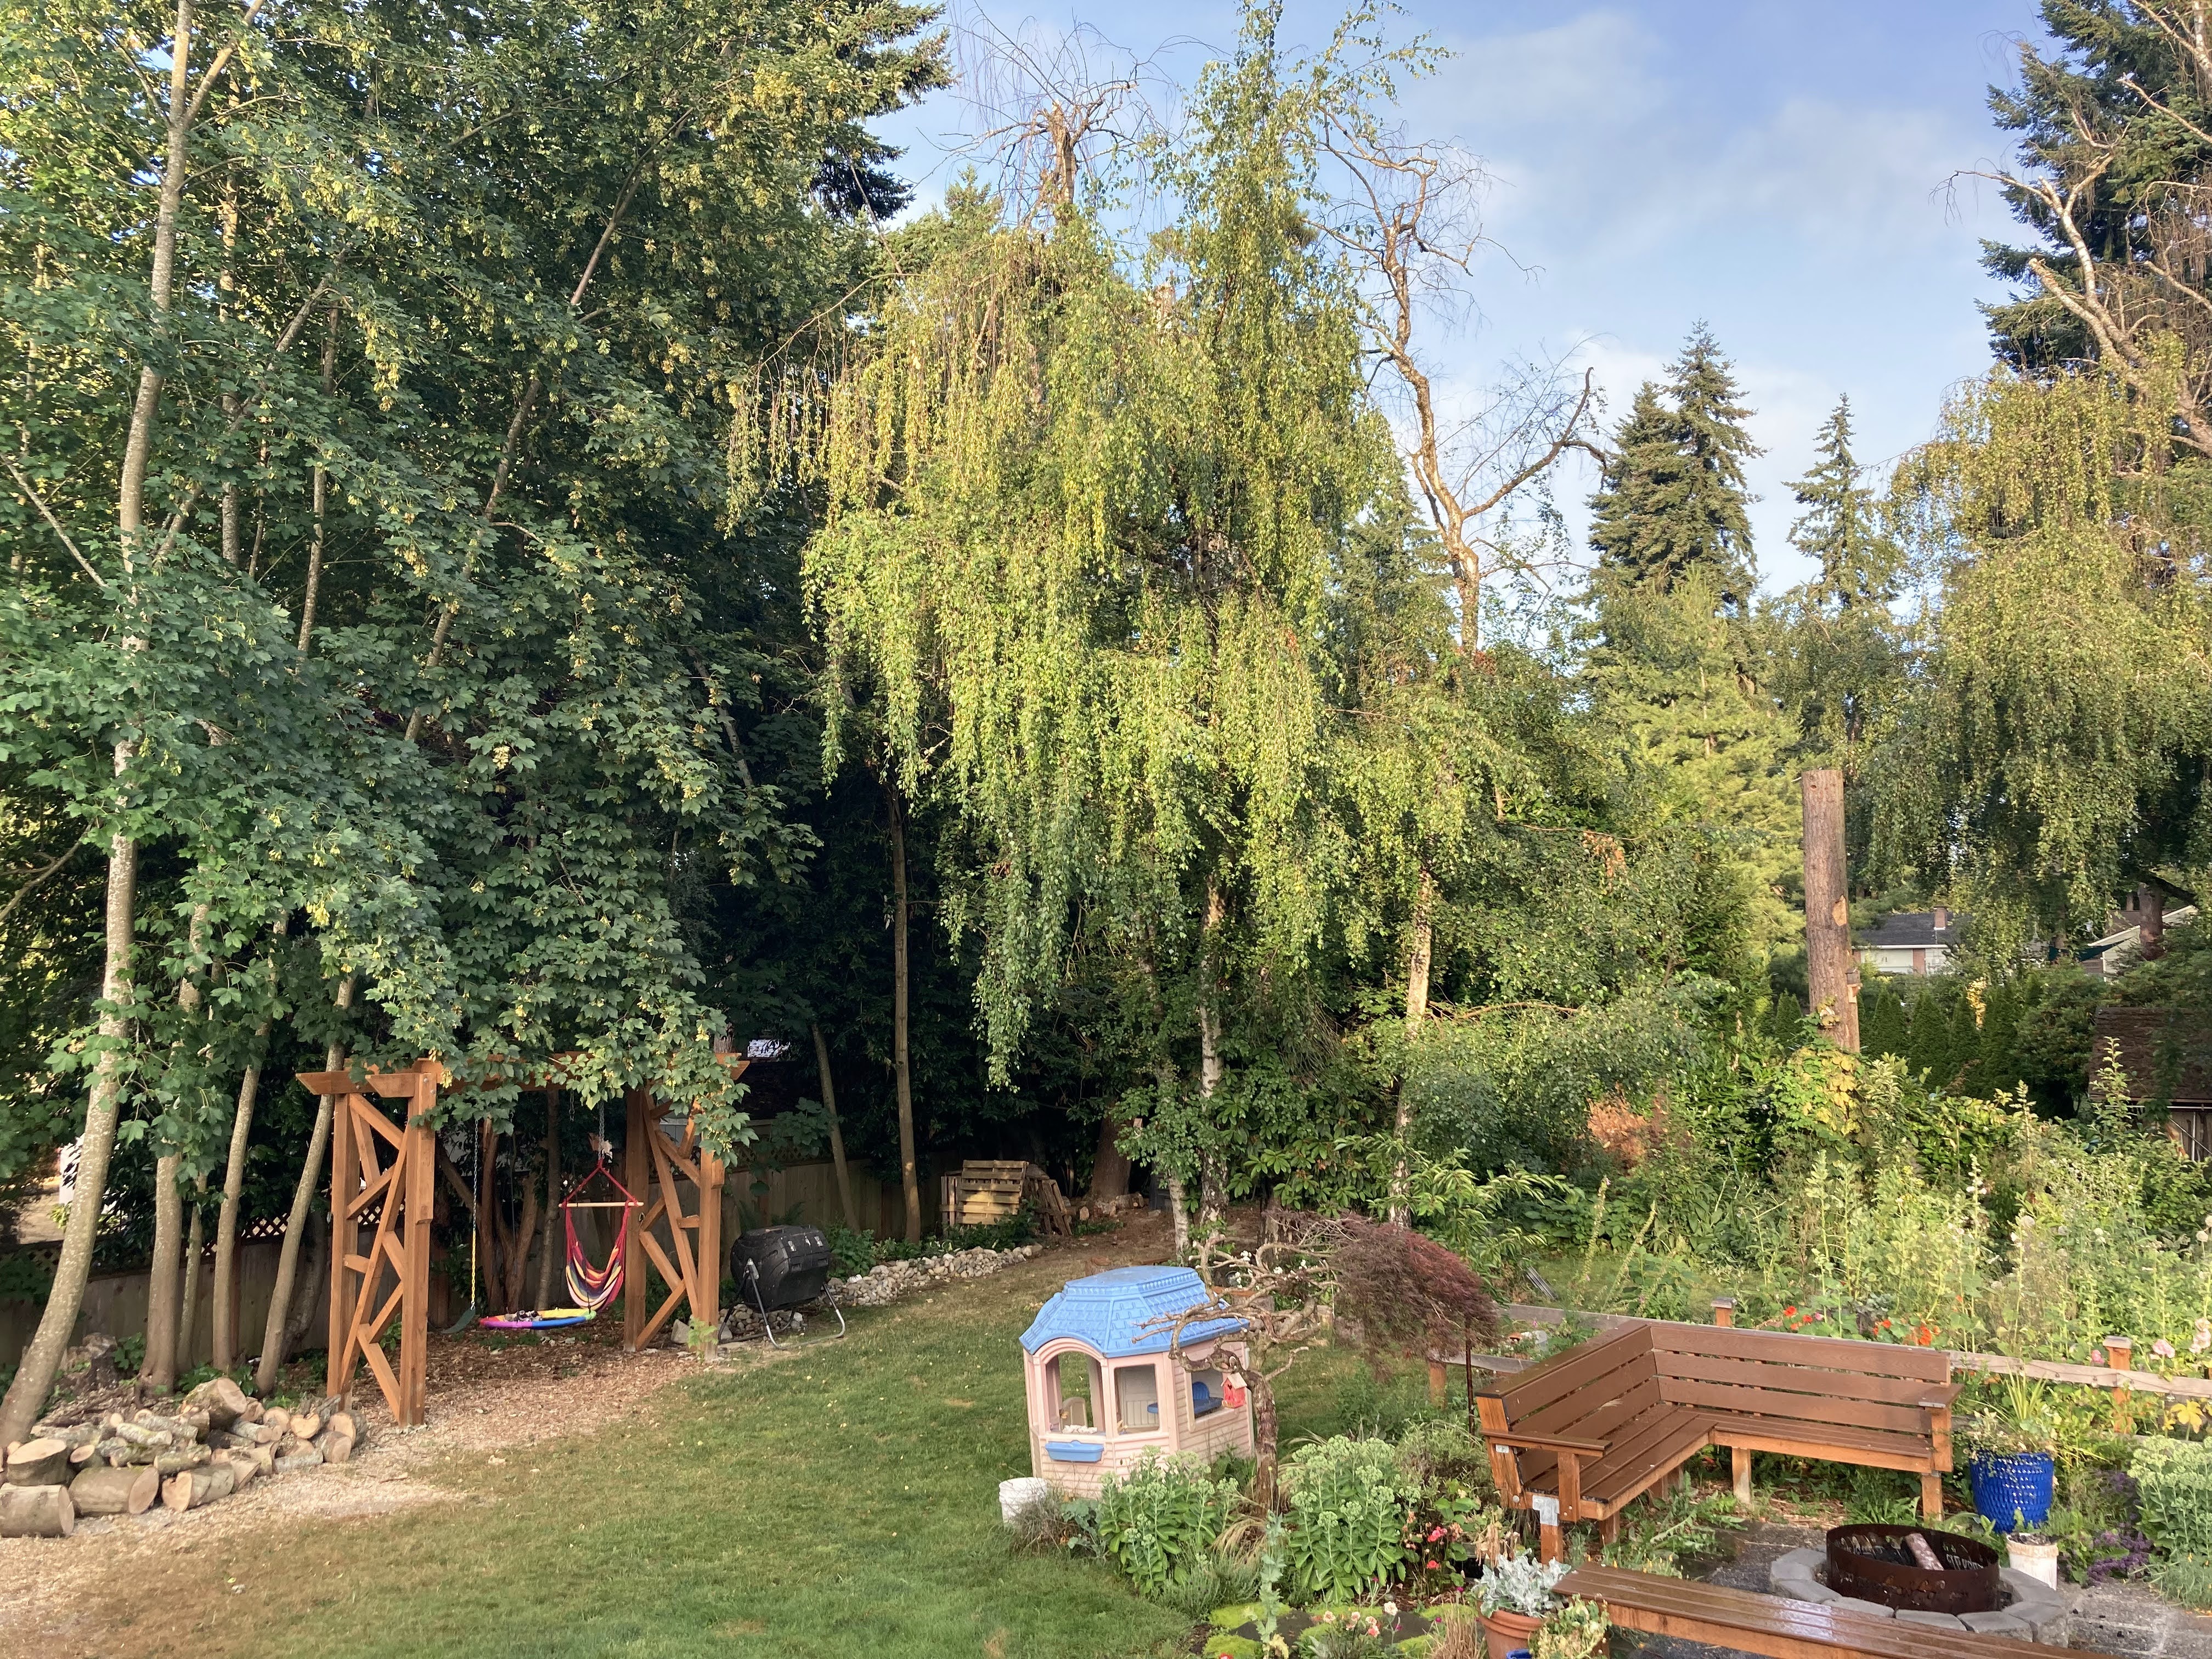
My husband, Jon, was very focused on safety and stability, so he wanted to build an A frame. I was much more interested in aesthetics and long-term functionality in our yard, so I wanted one that looked like a trellis. My rational was that when the girls got a little older and didn’t use the swings anymore, we could hang hammock swings or hanging rattan chairs or even two hammocks between this structure in the summer time for a relaxing and attractive reading nook in the shady section of our yard. Although an A frame would have been cheaper, easier and potentially sturdier, I was able to convince my husband to go for the prettier, multi-purpose build.
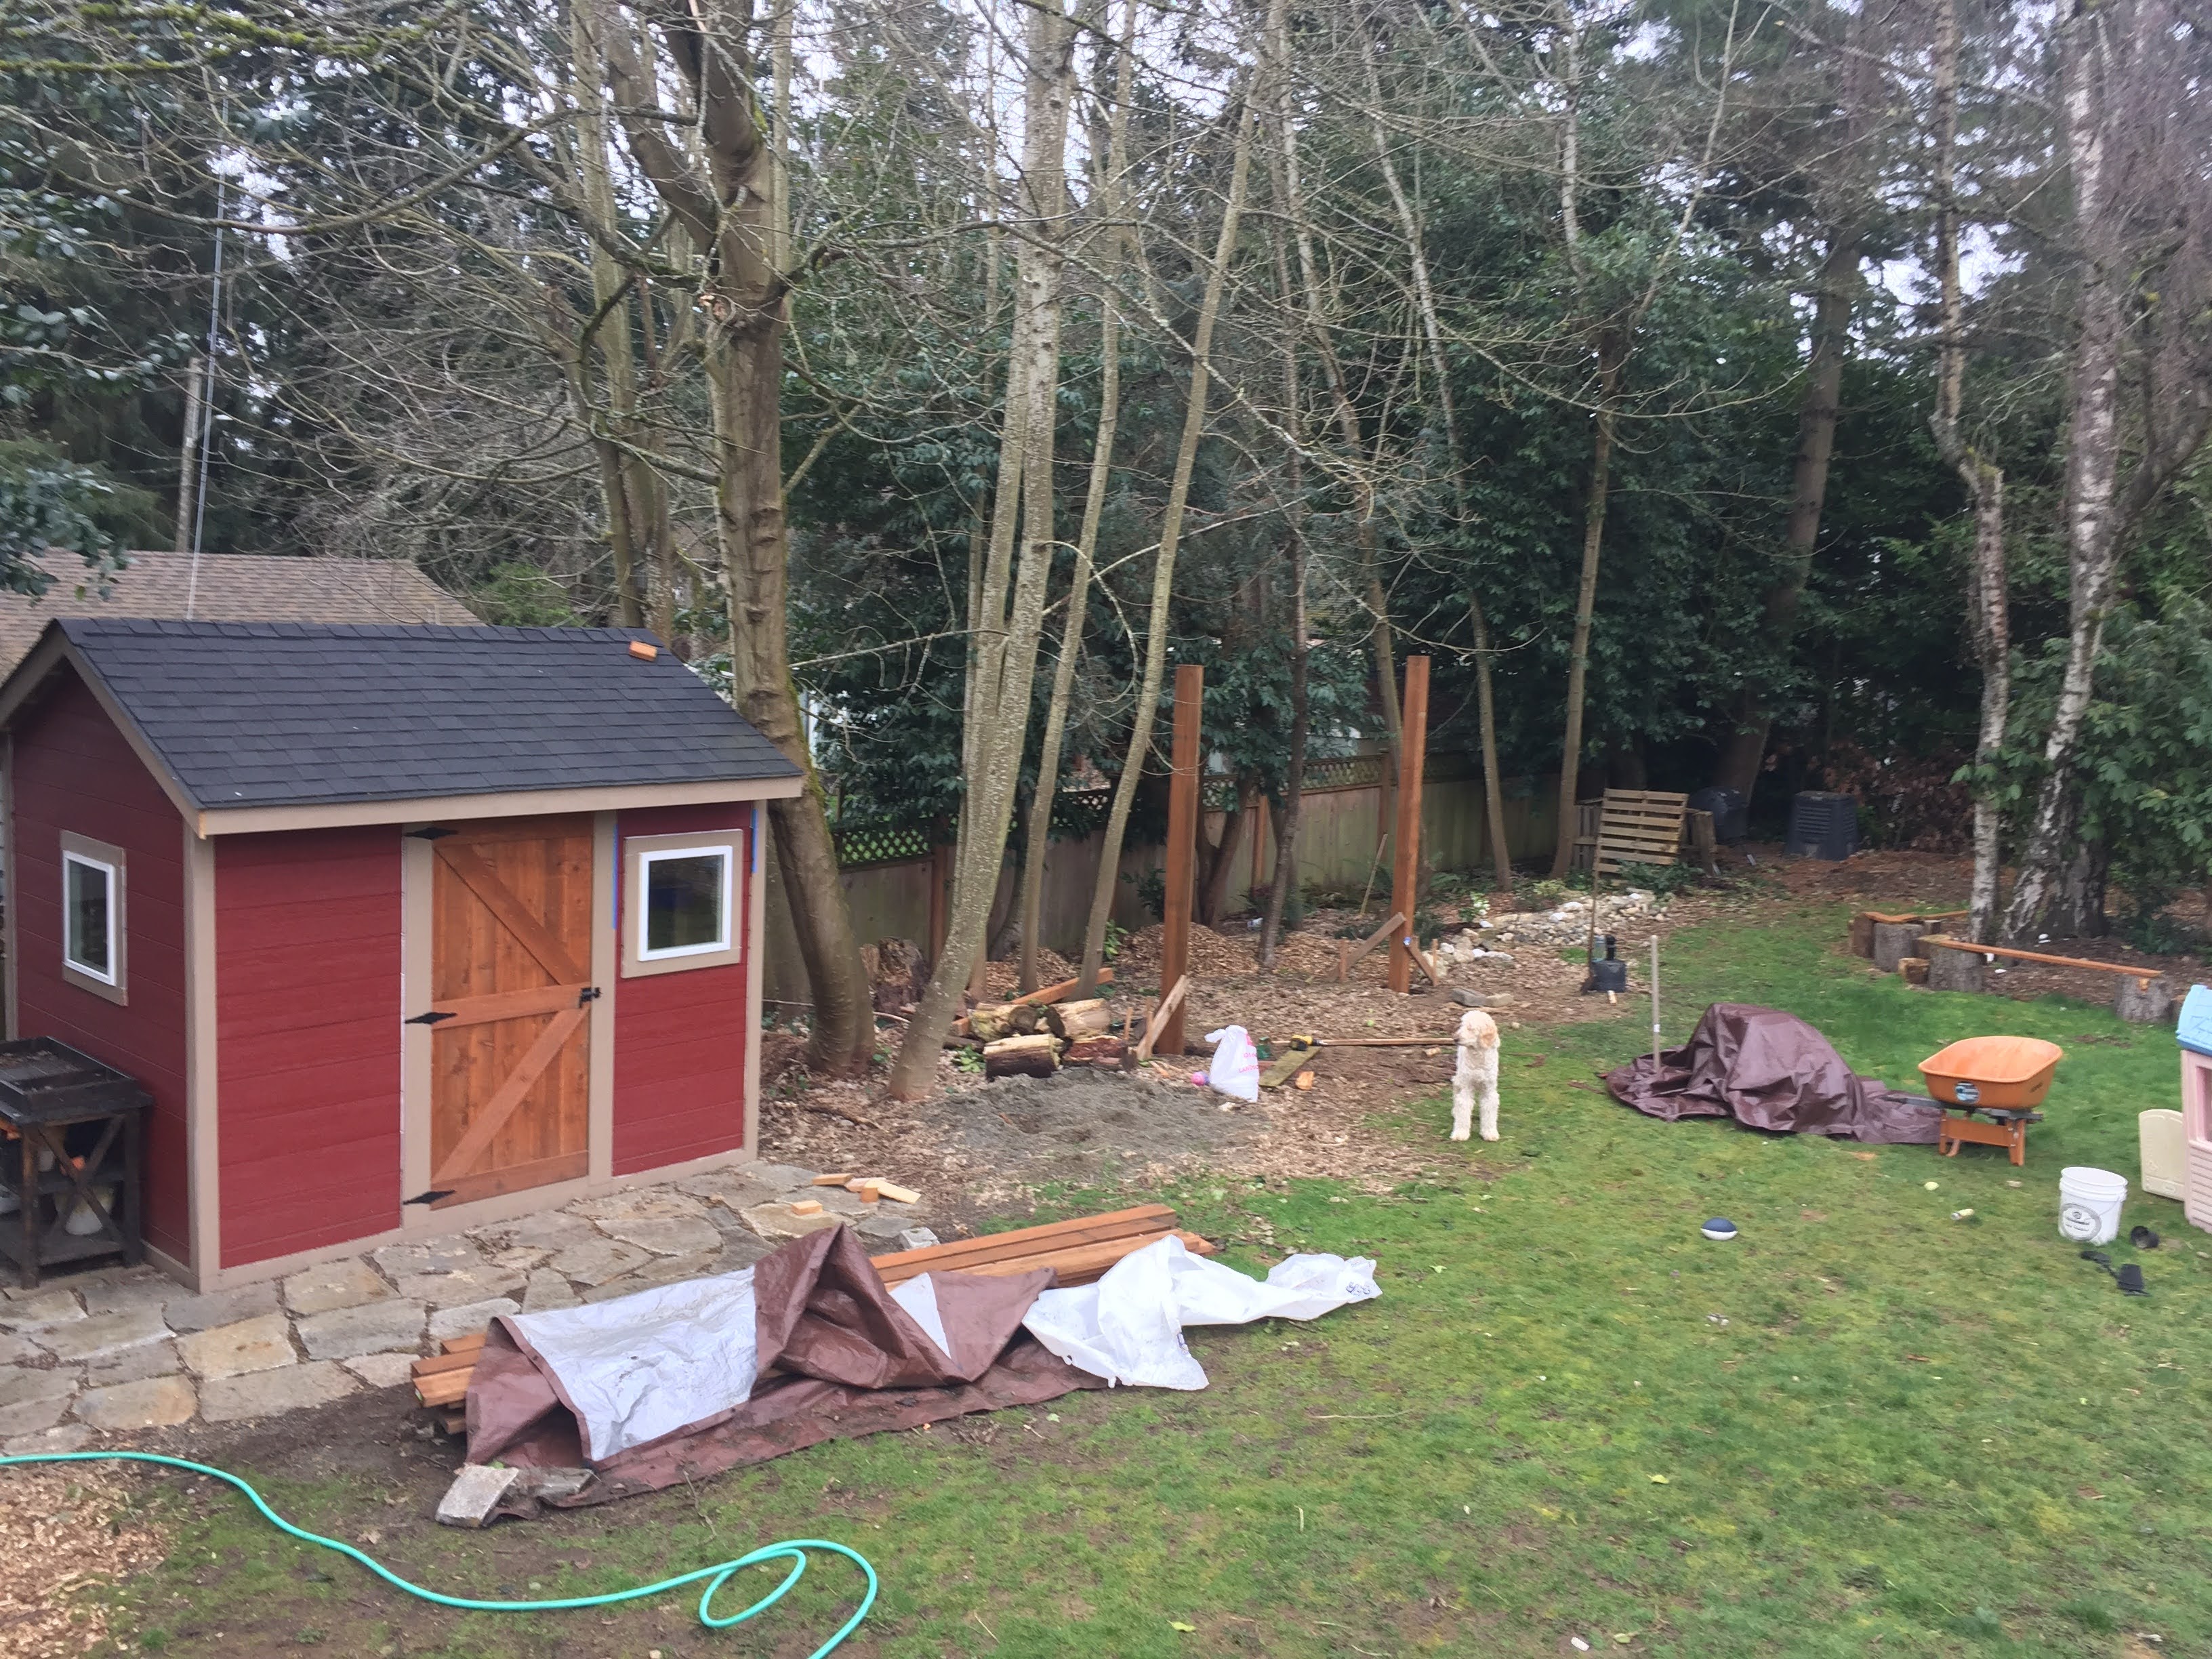
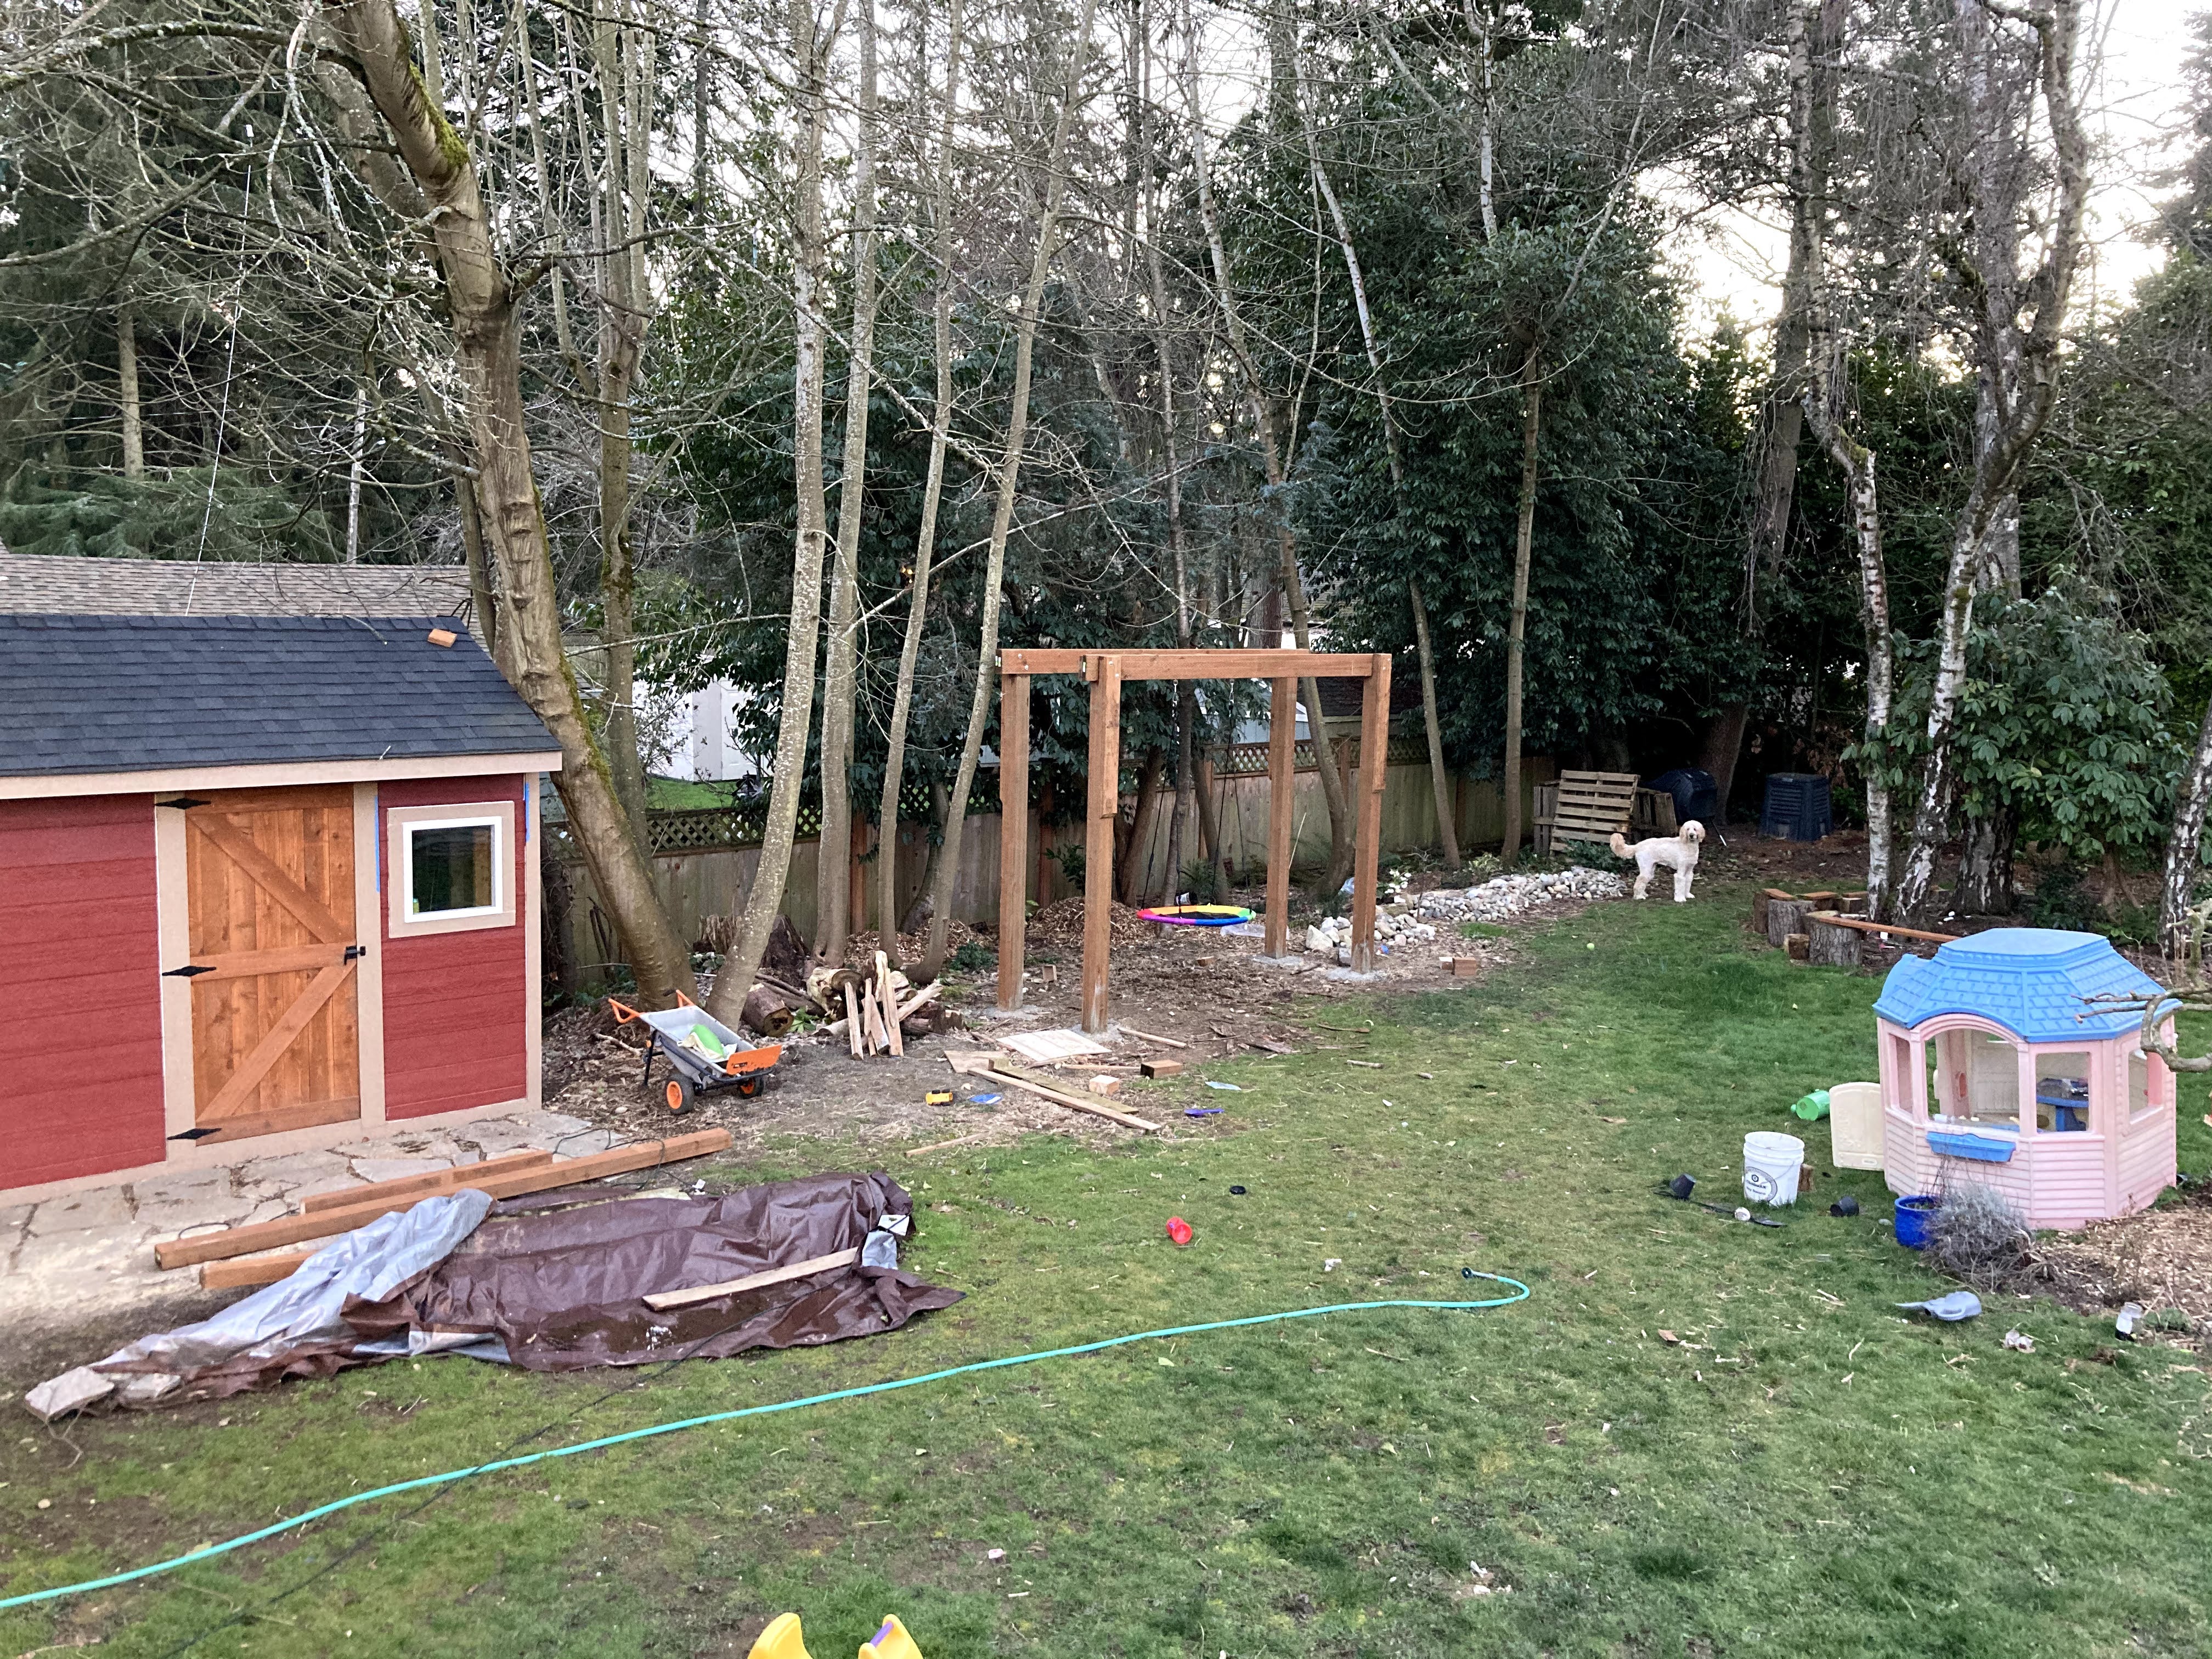
After doing A LOT of internet searching, we designed our perfect trellis swing set that would be both sturdy and attractive, and for that matter it was also going to be a bit expensive. I sketched out what I wanted for Jon to use as a guide and then we determined where the best place was in the back yard to build this thing.
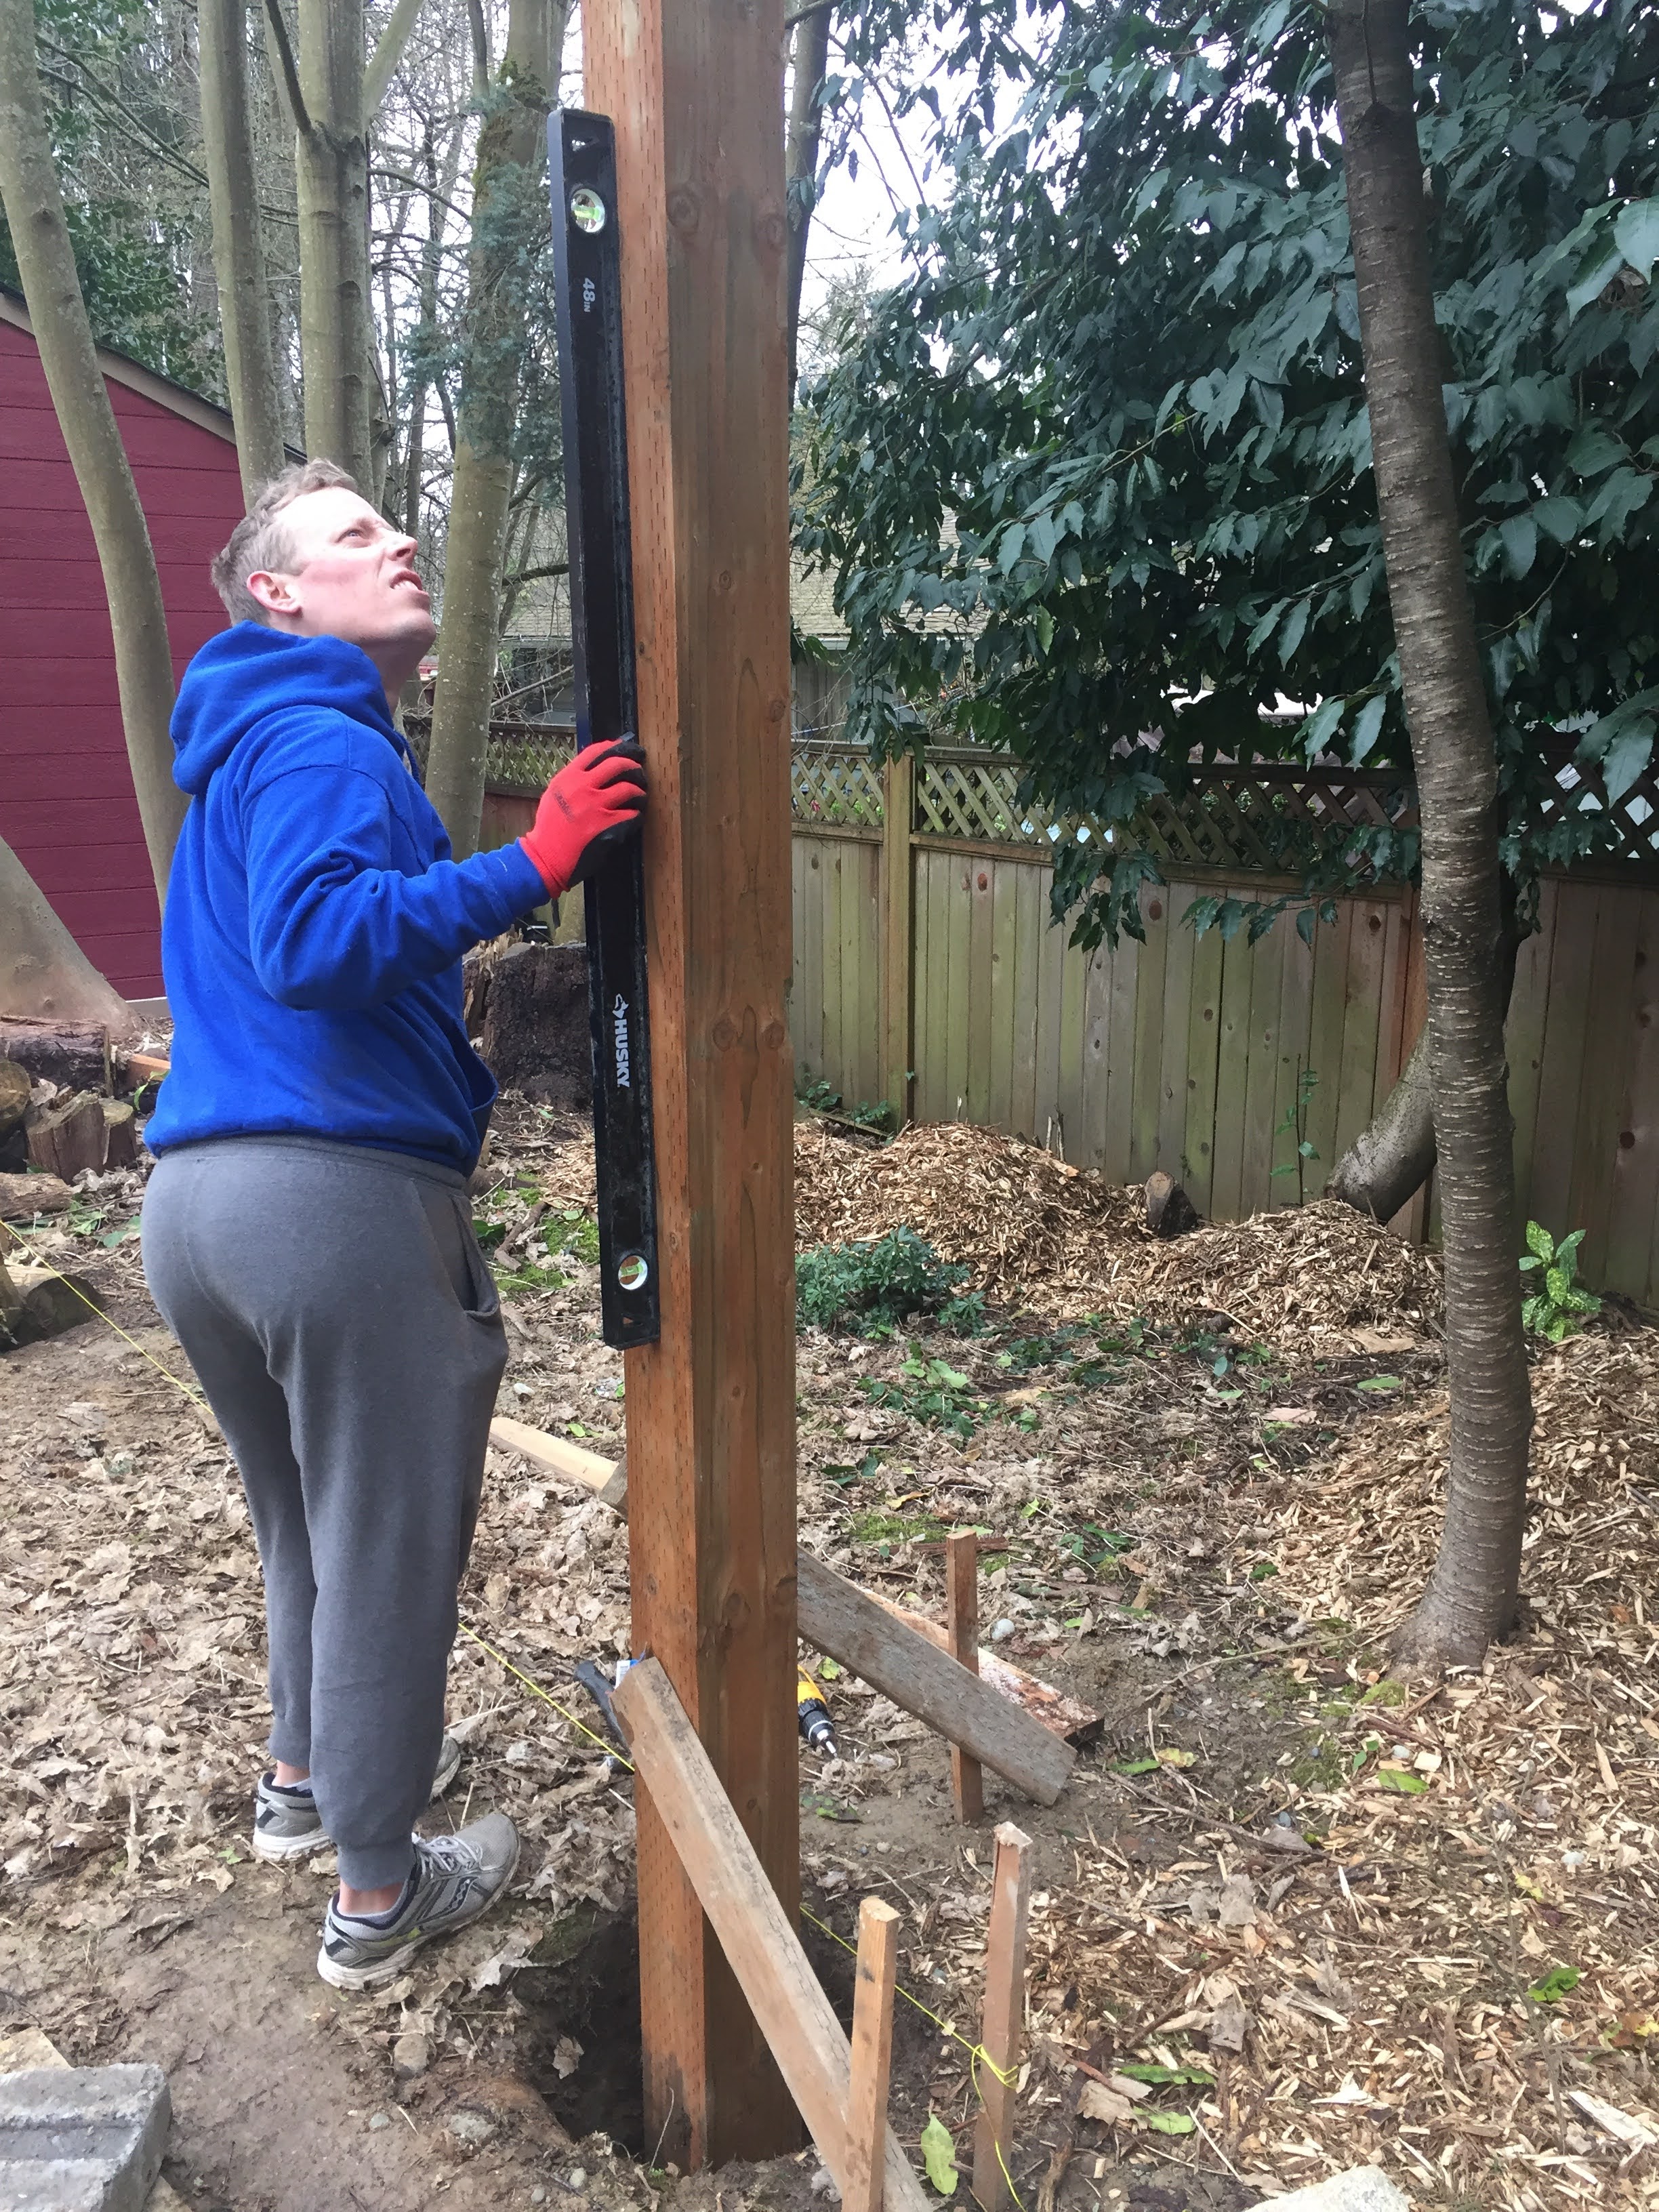
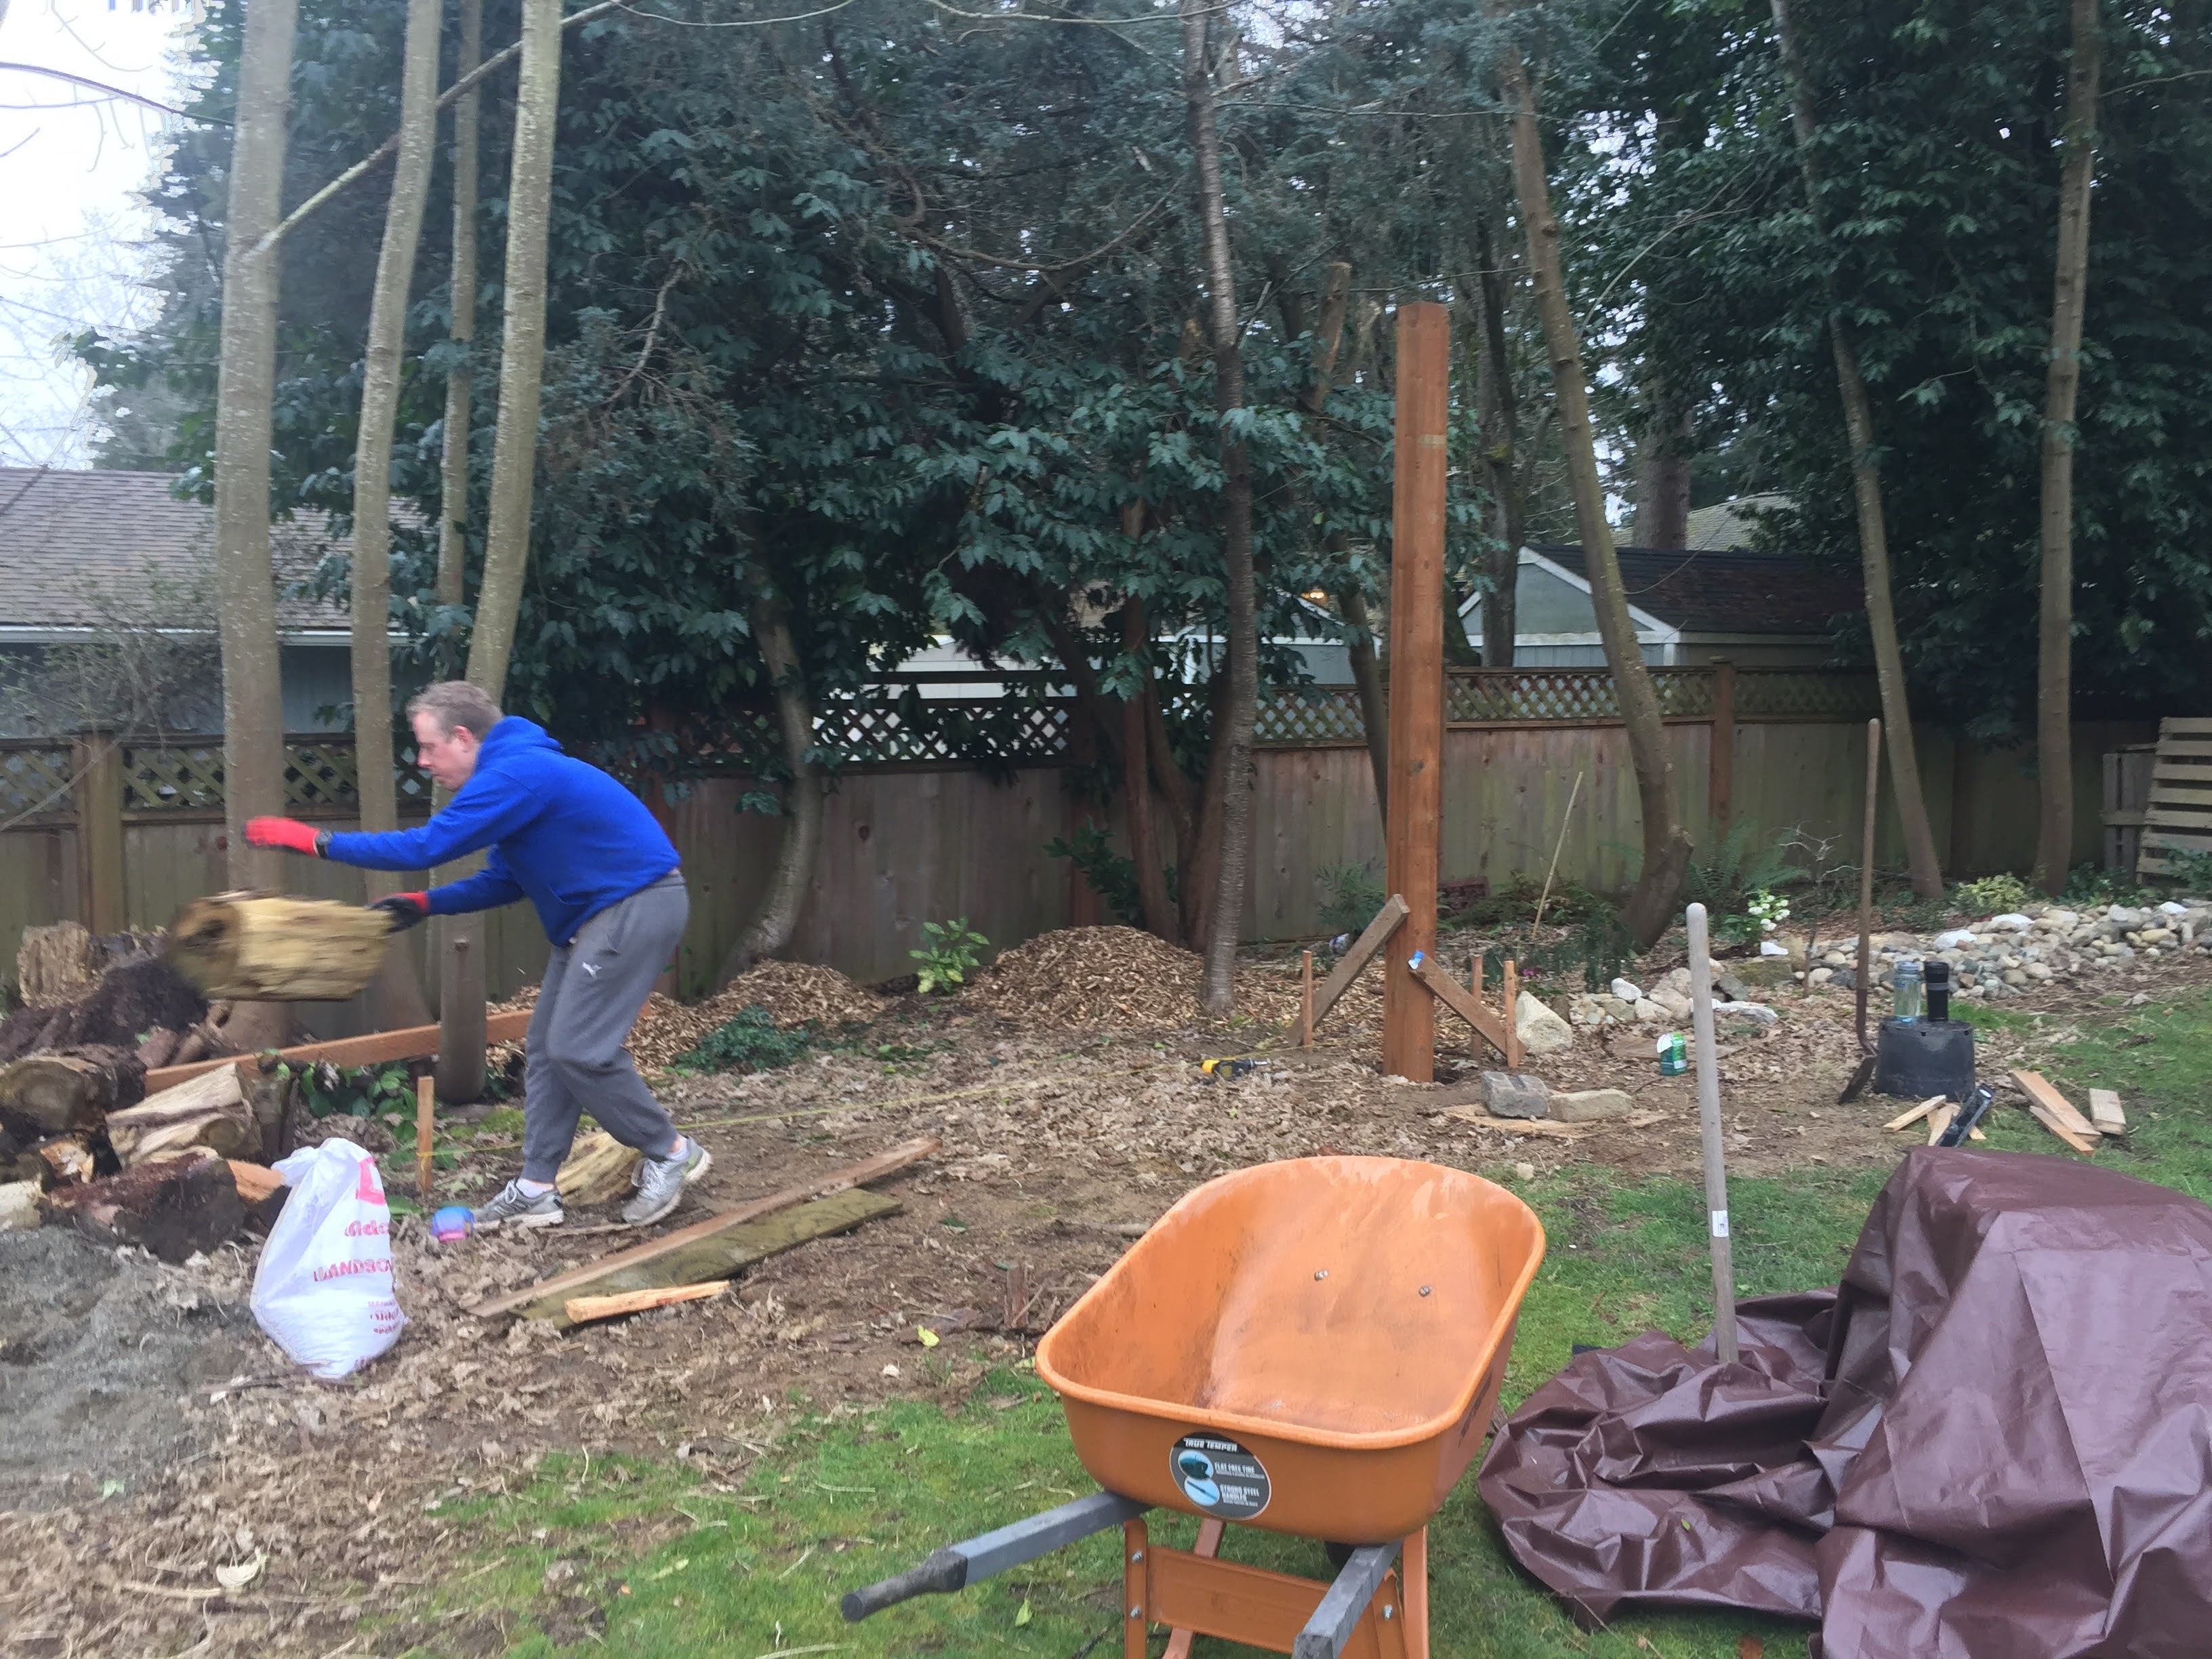
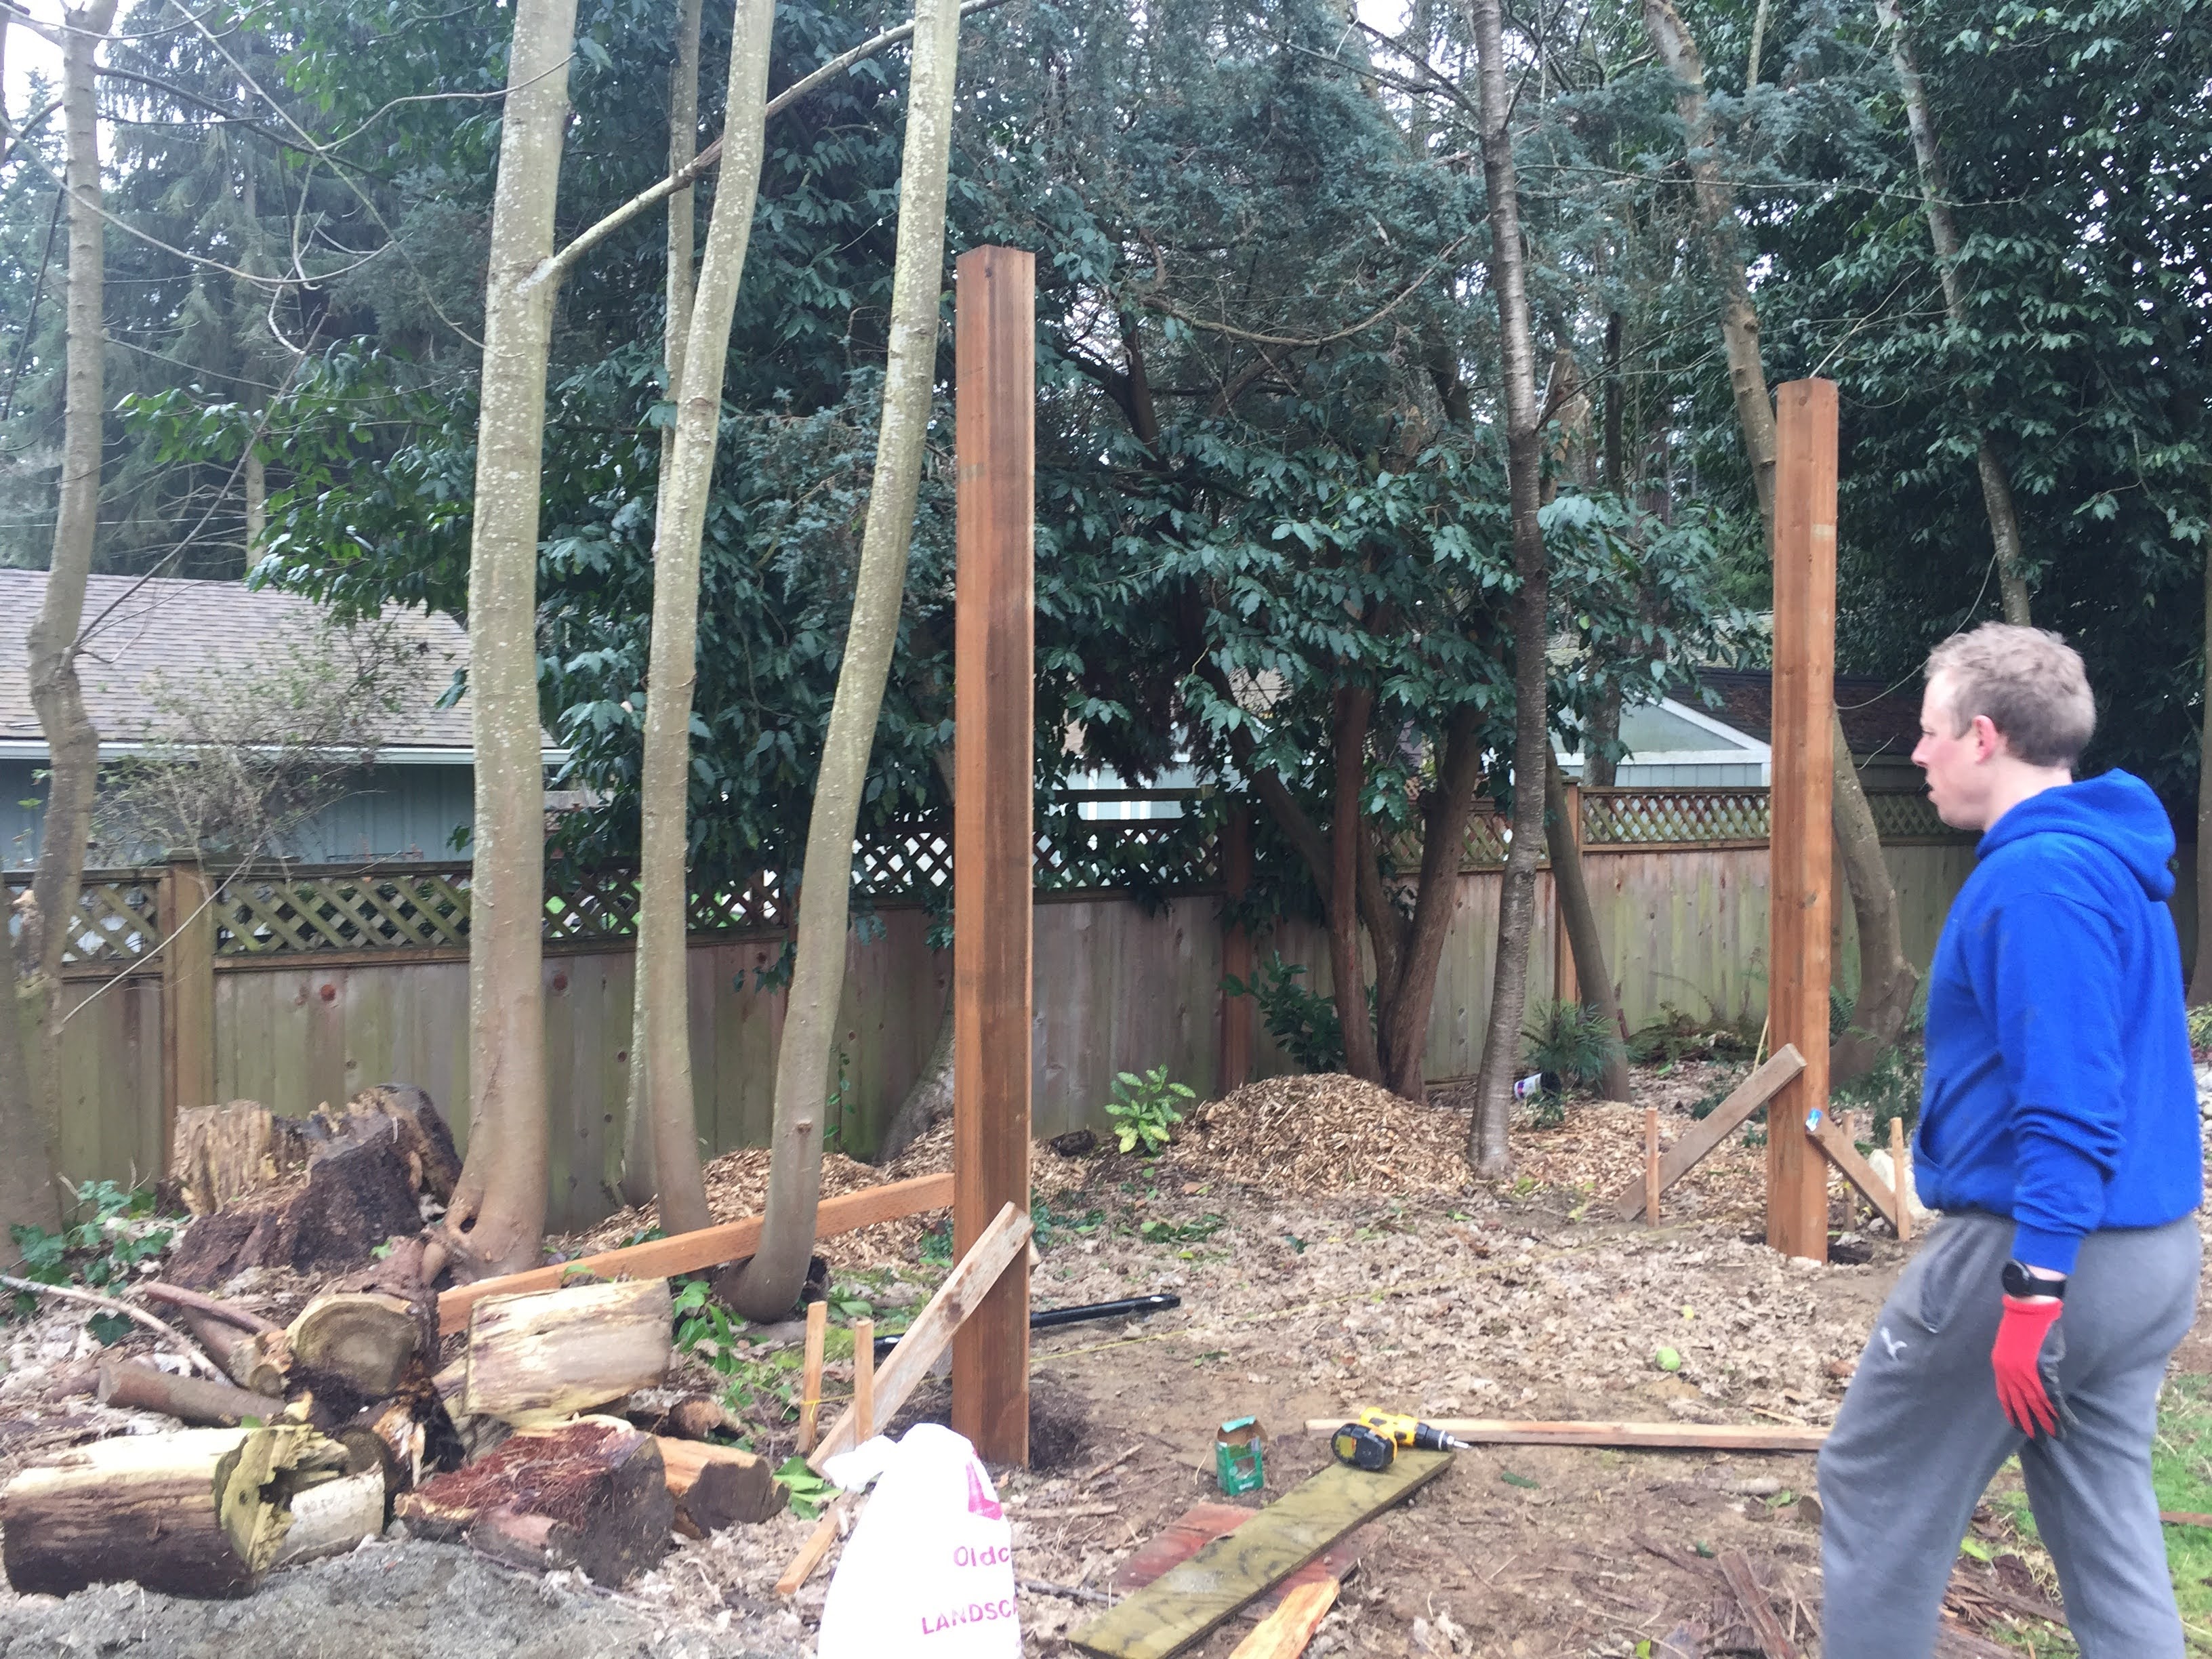
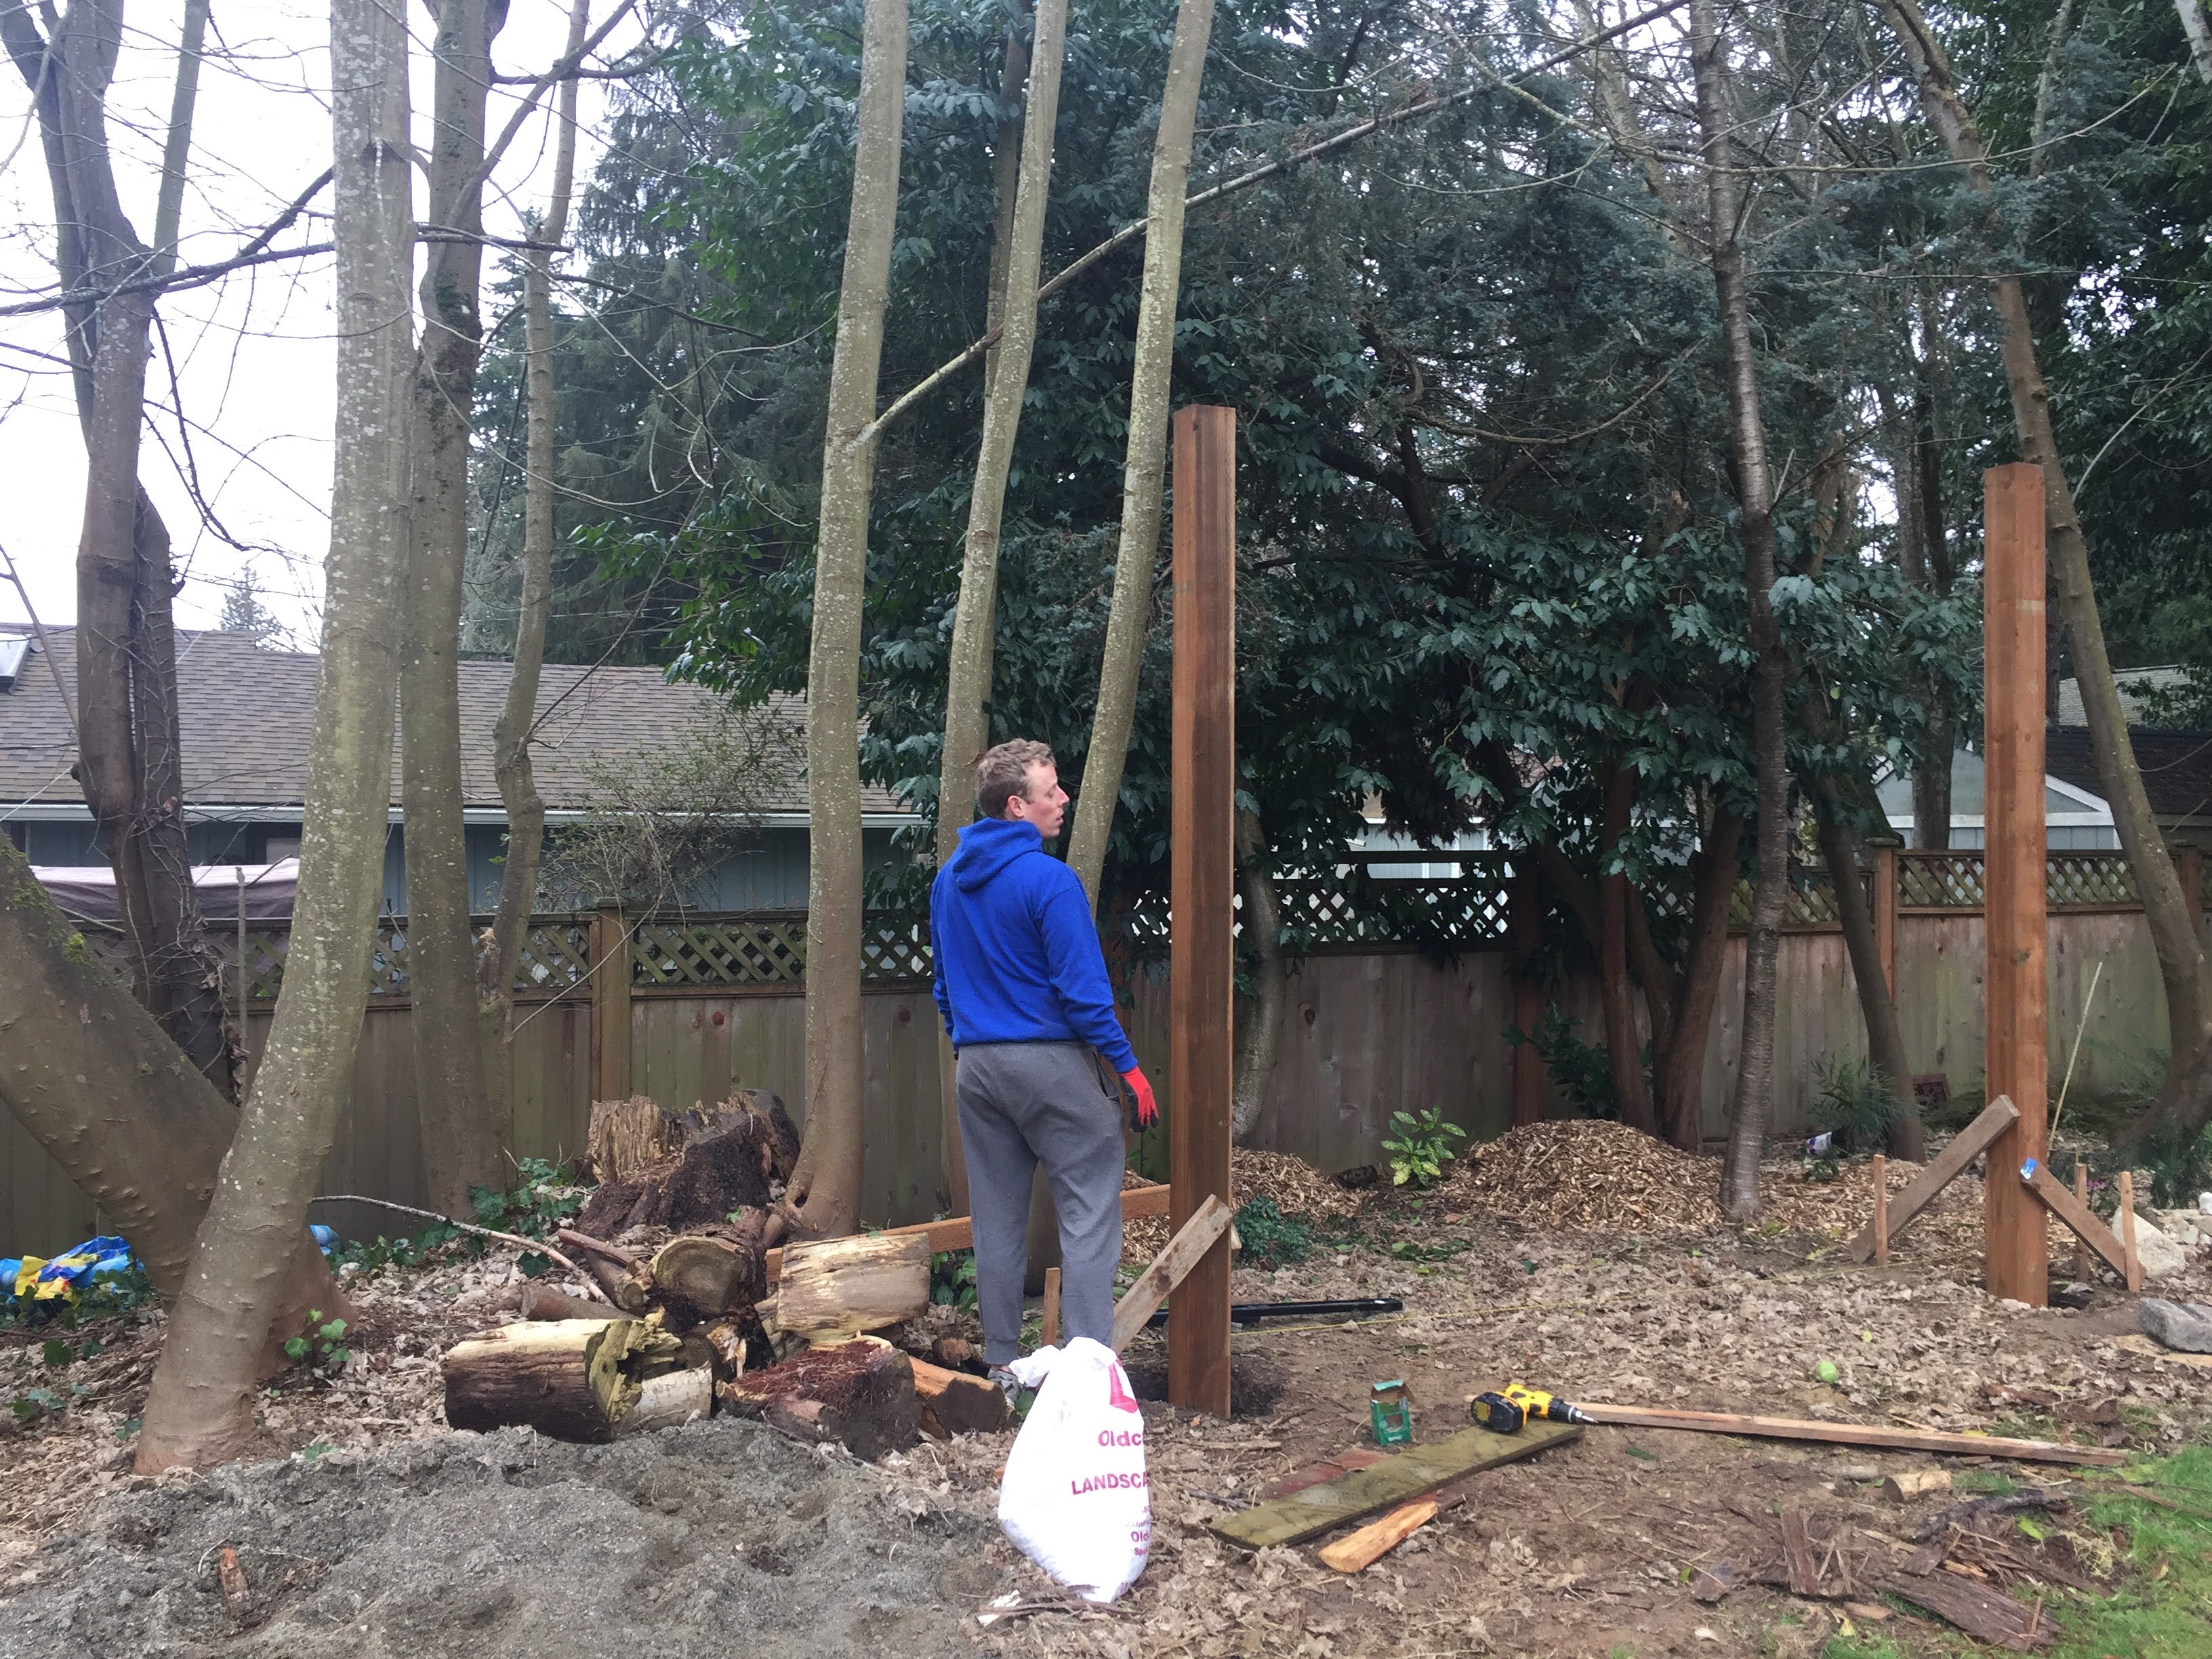
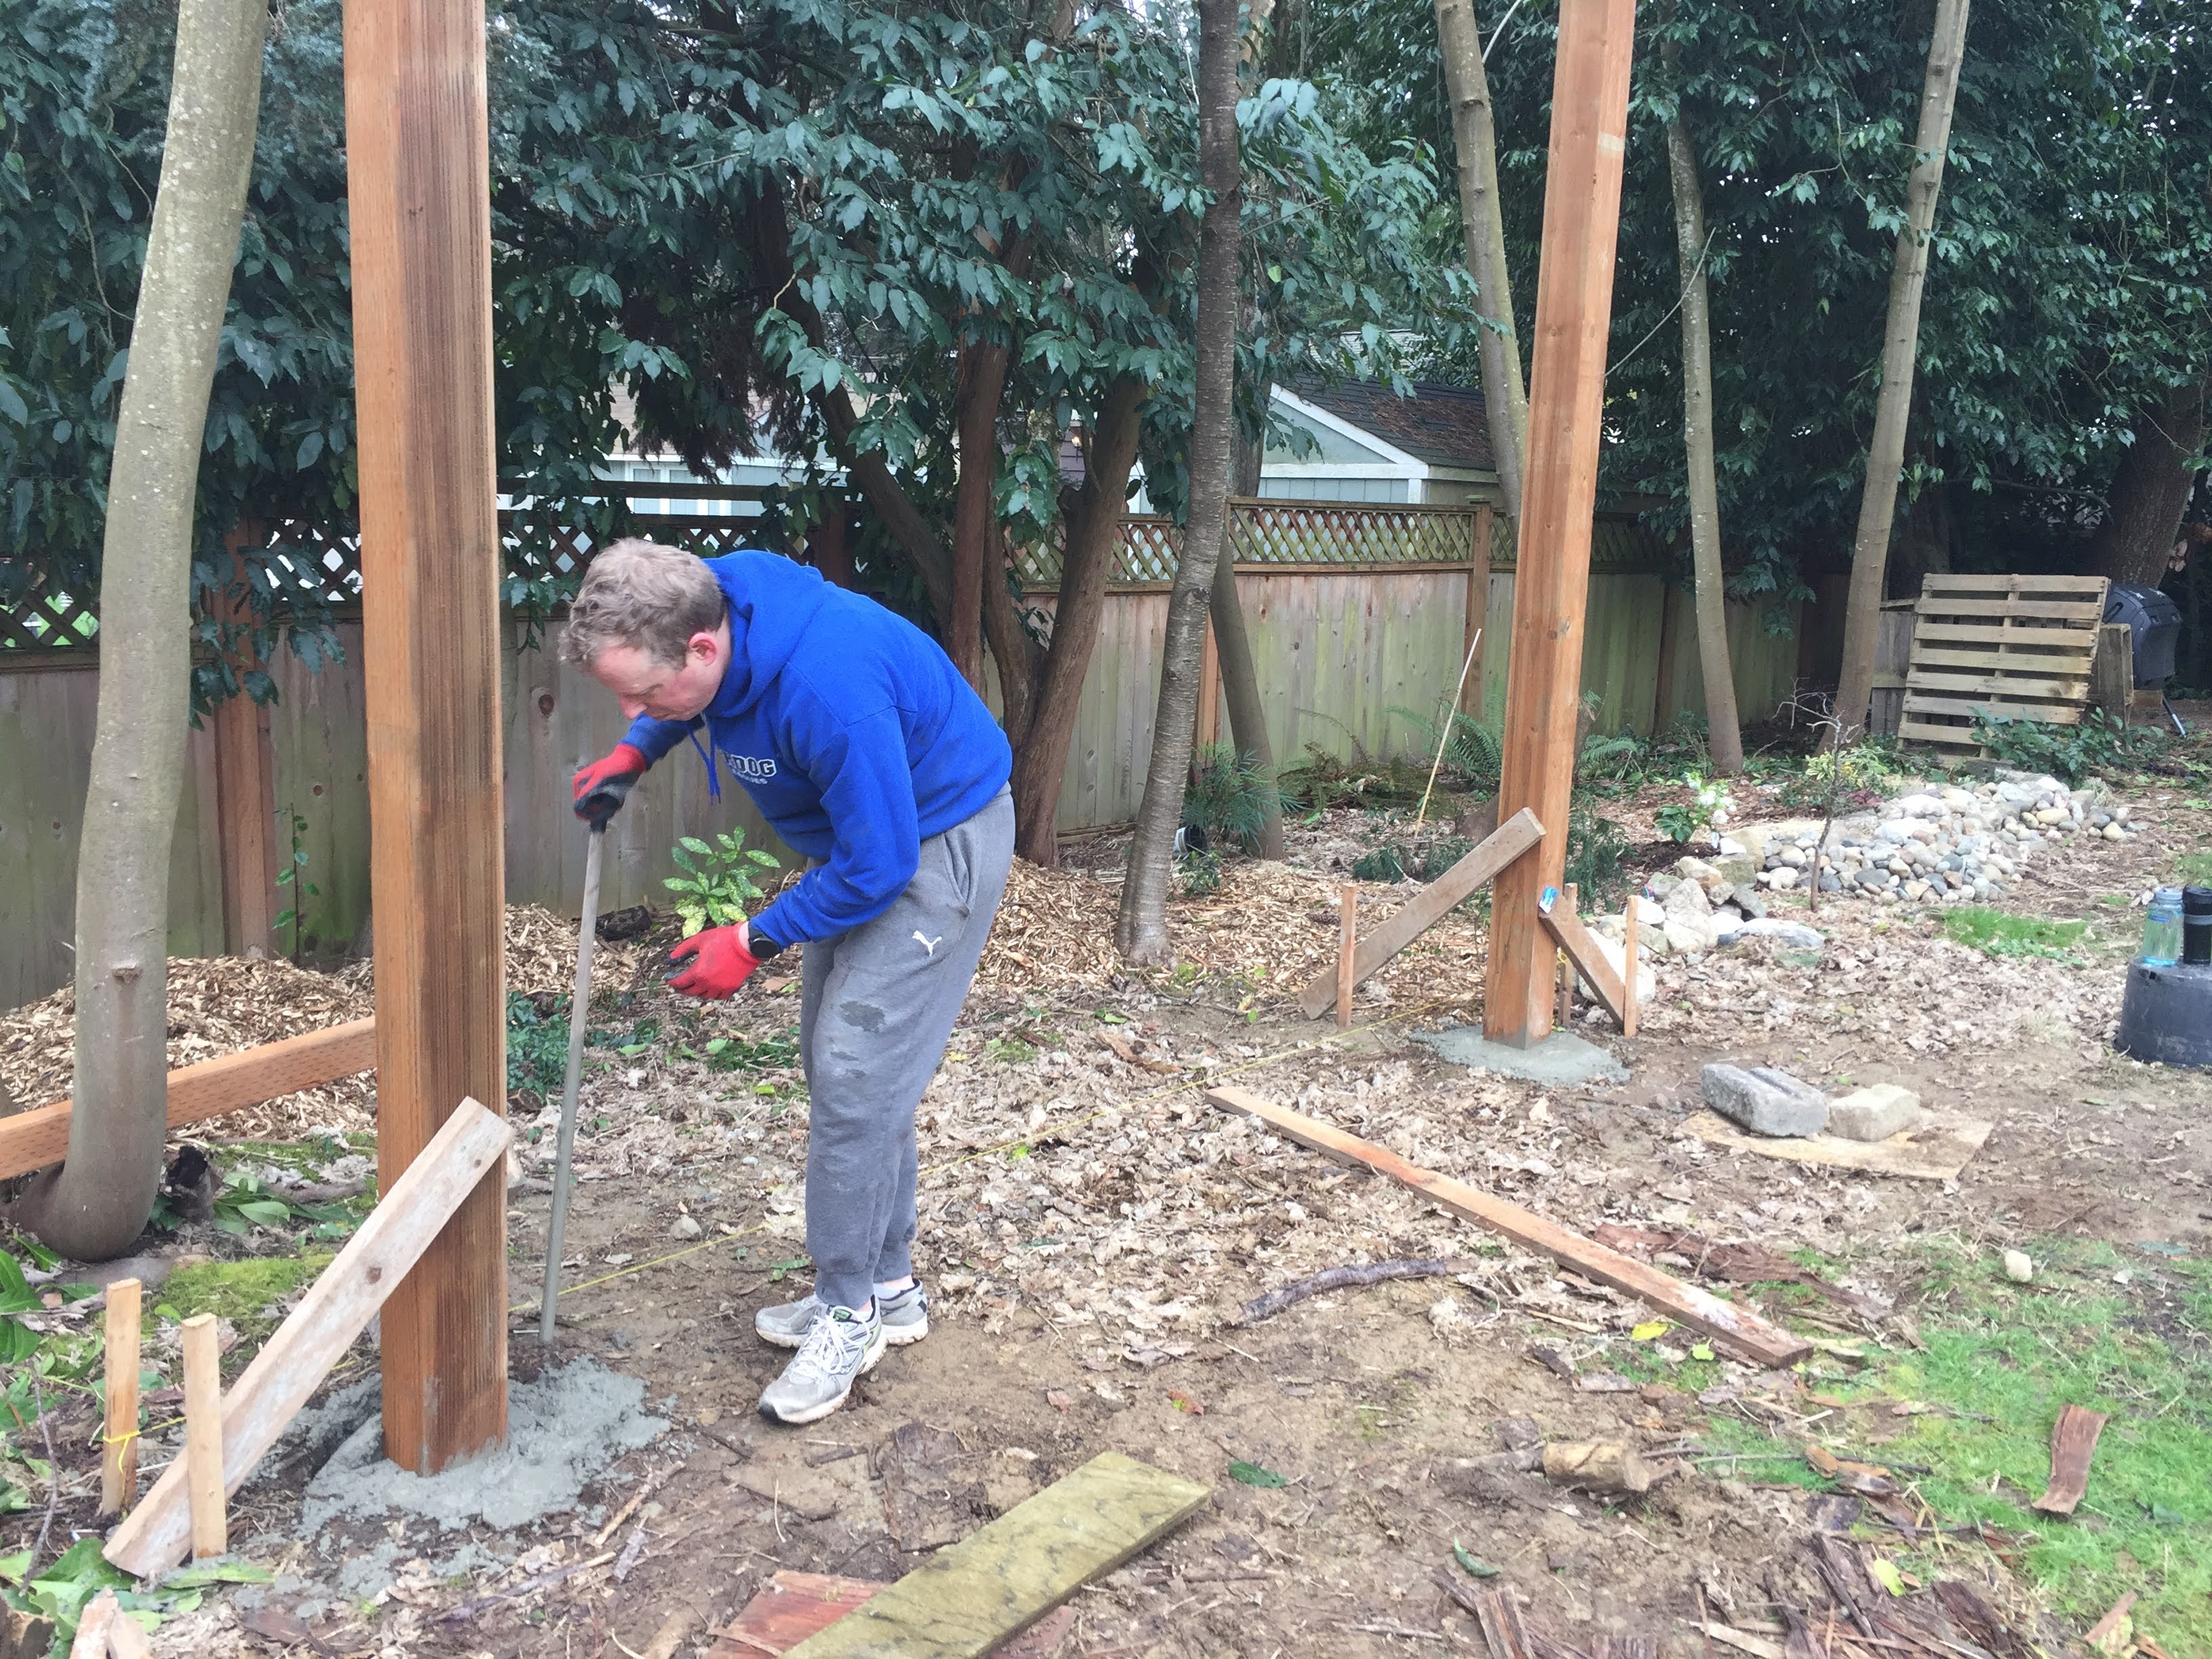
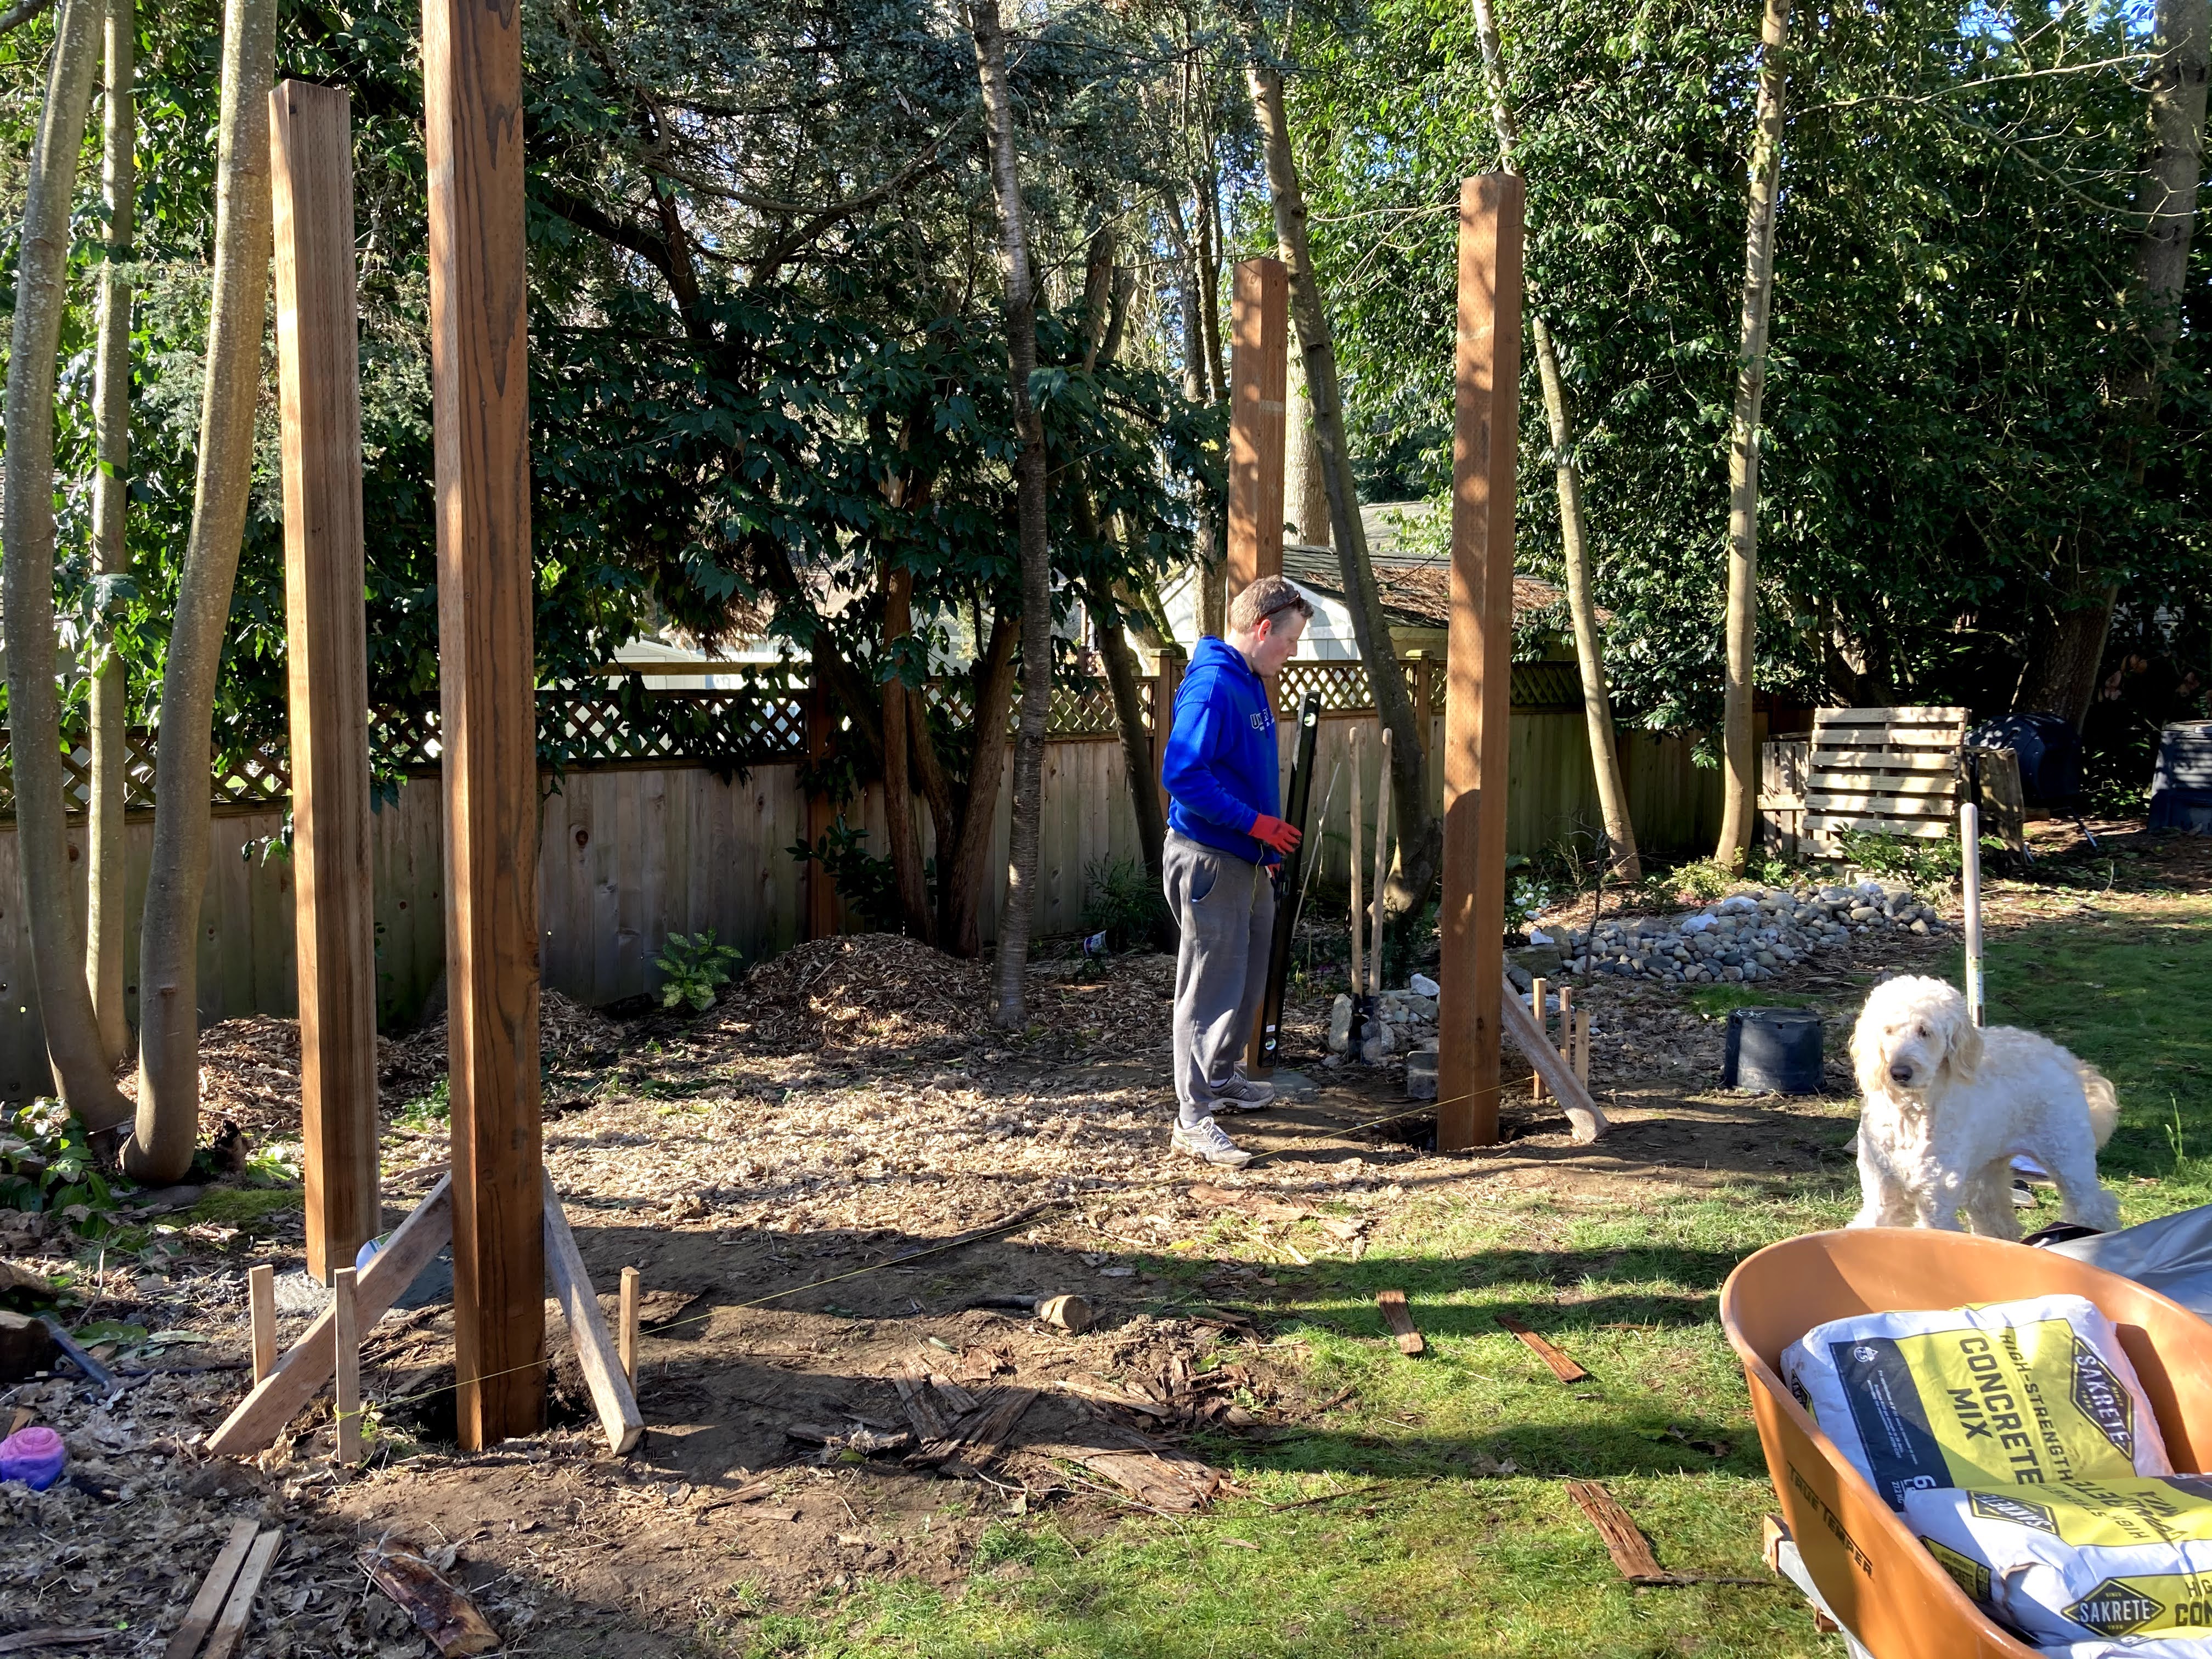
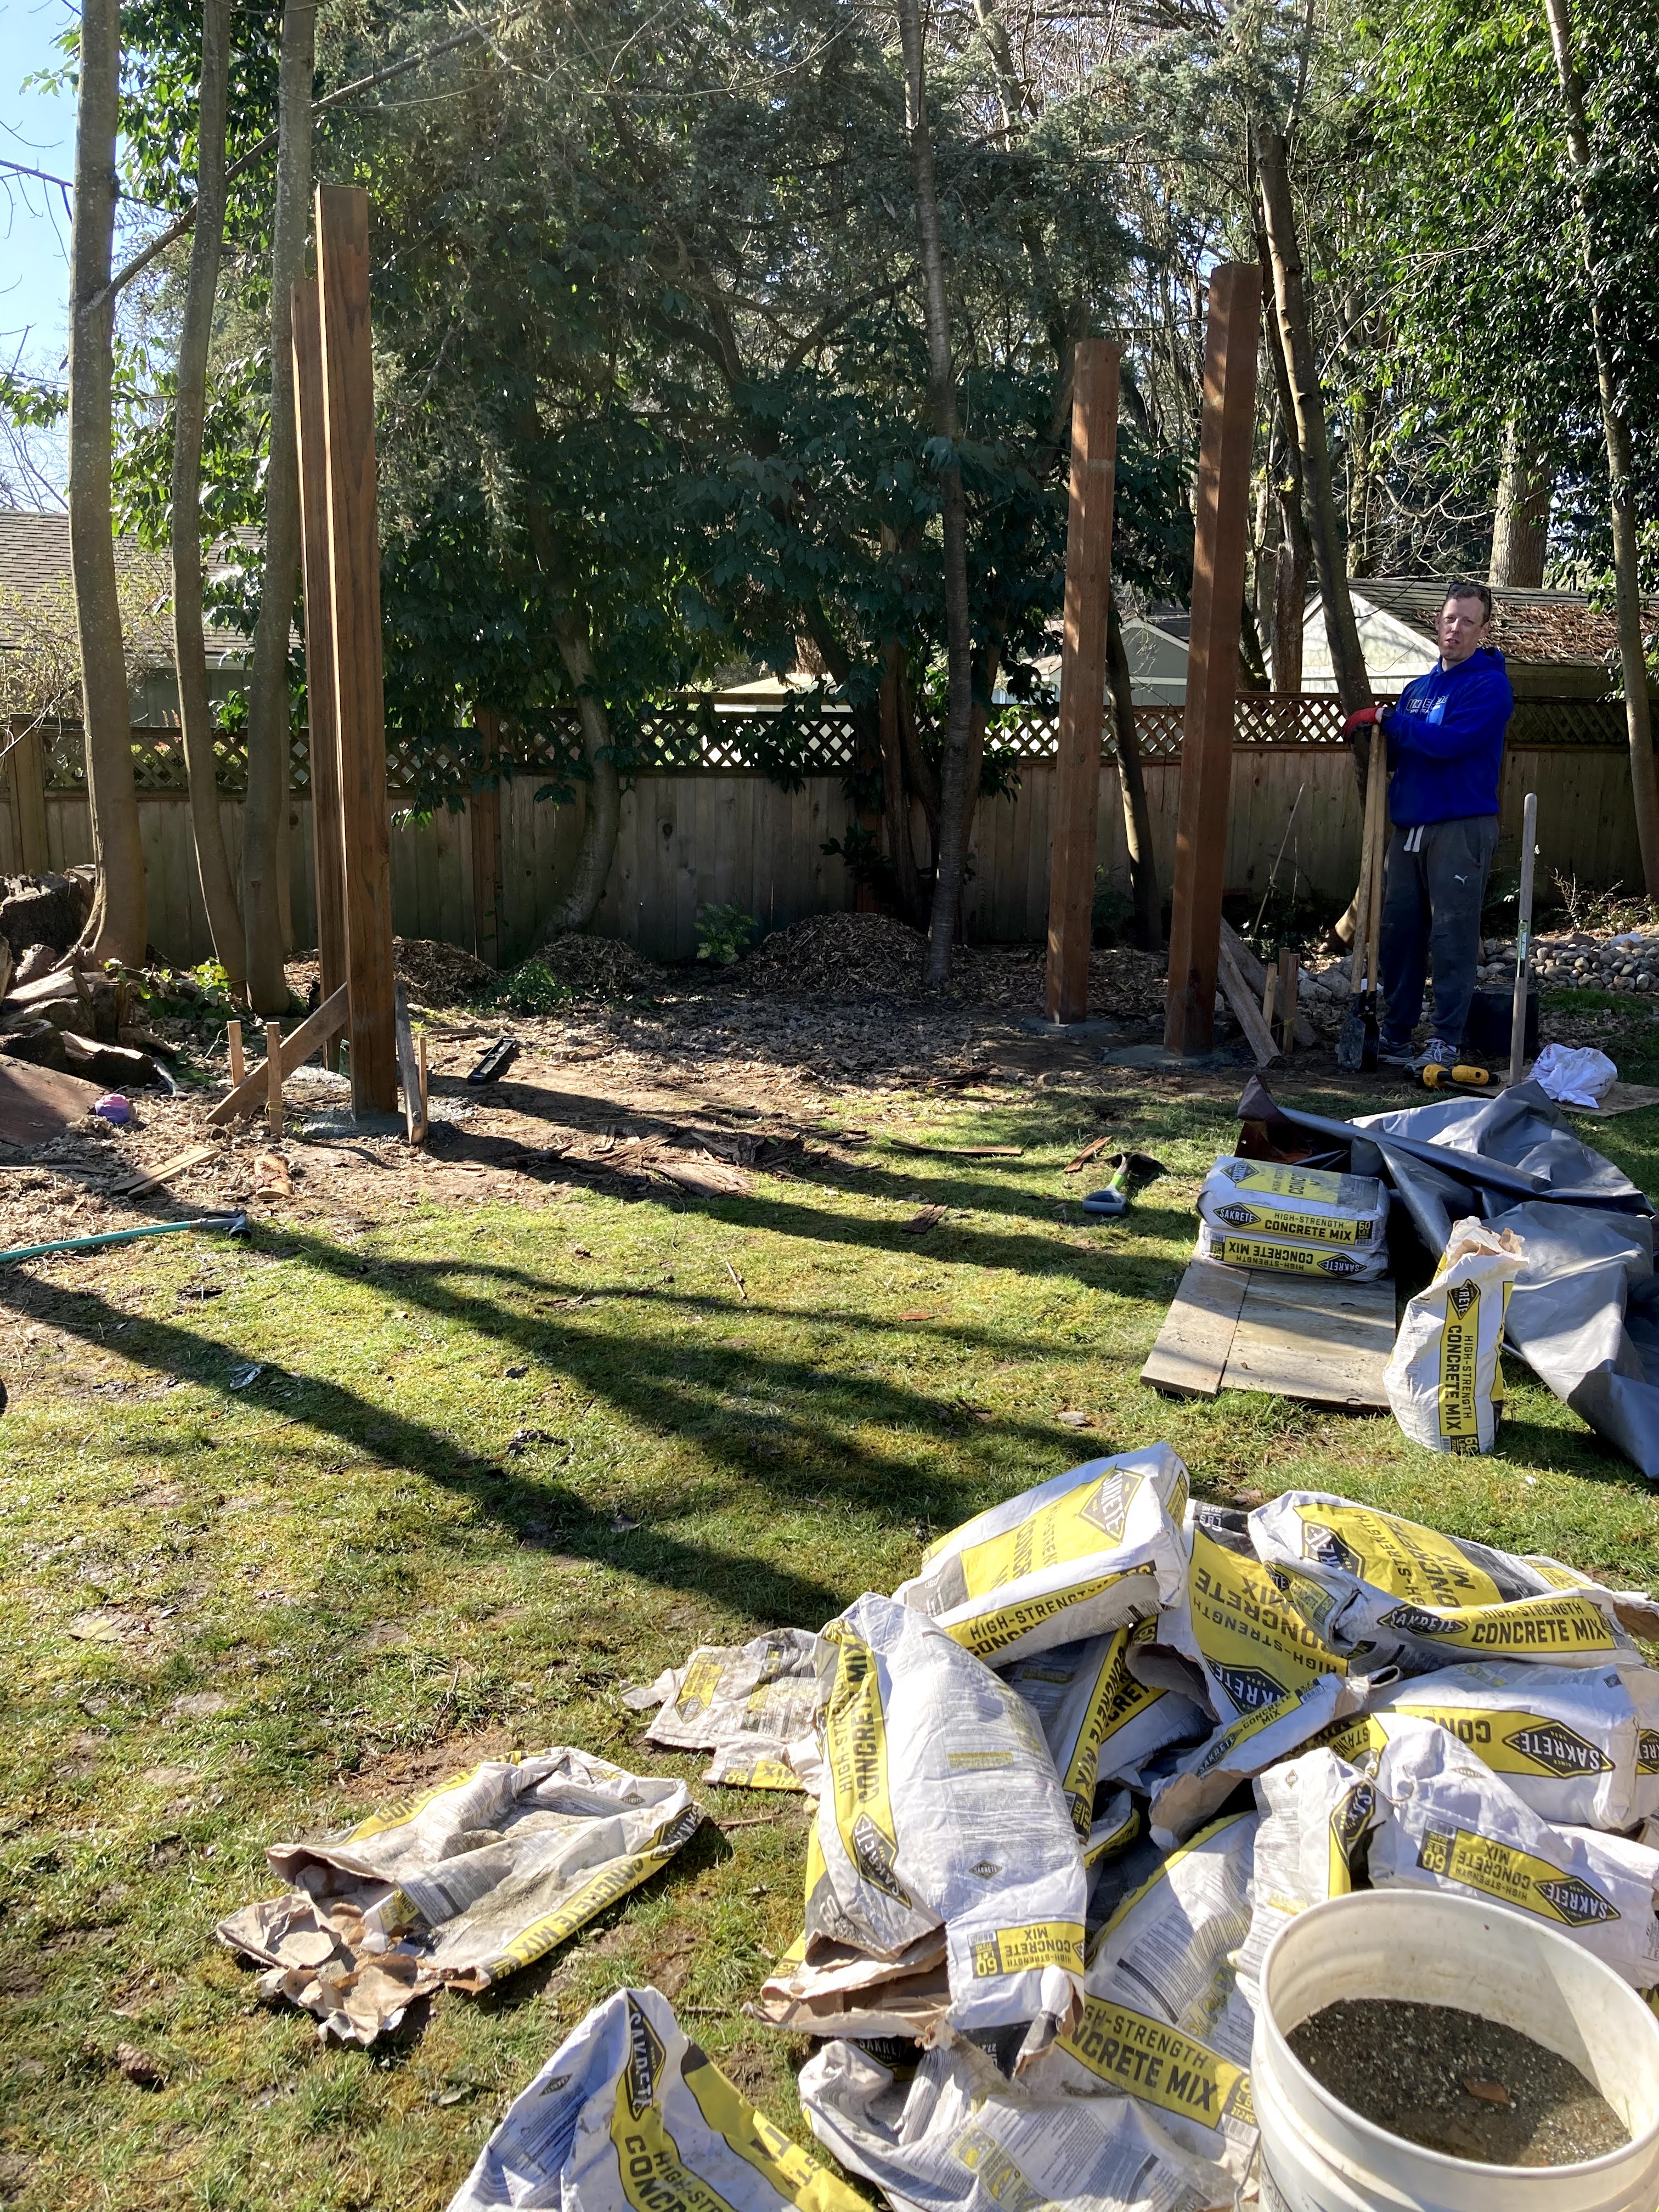
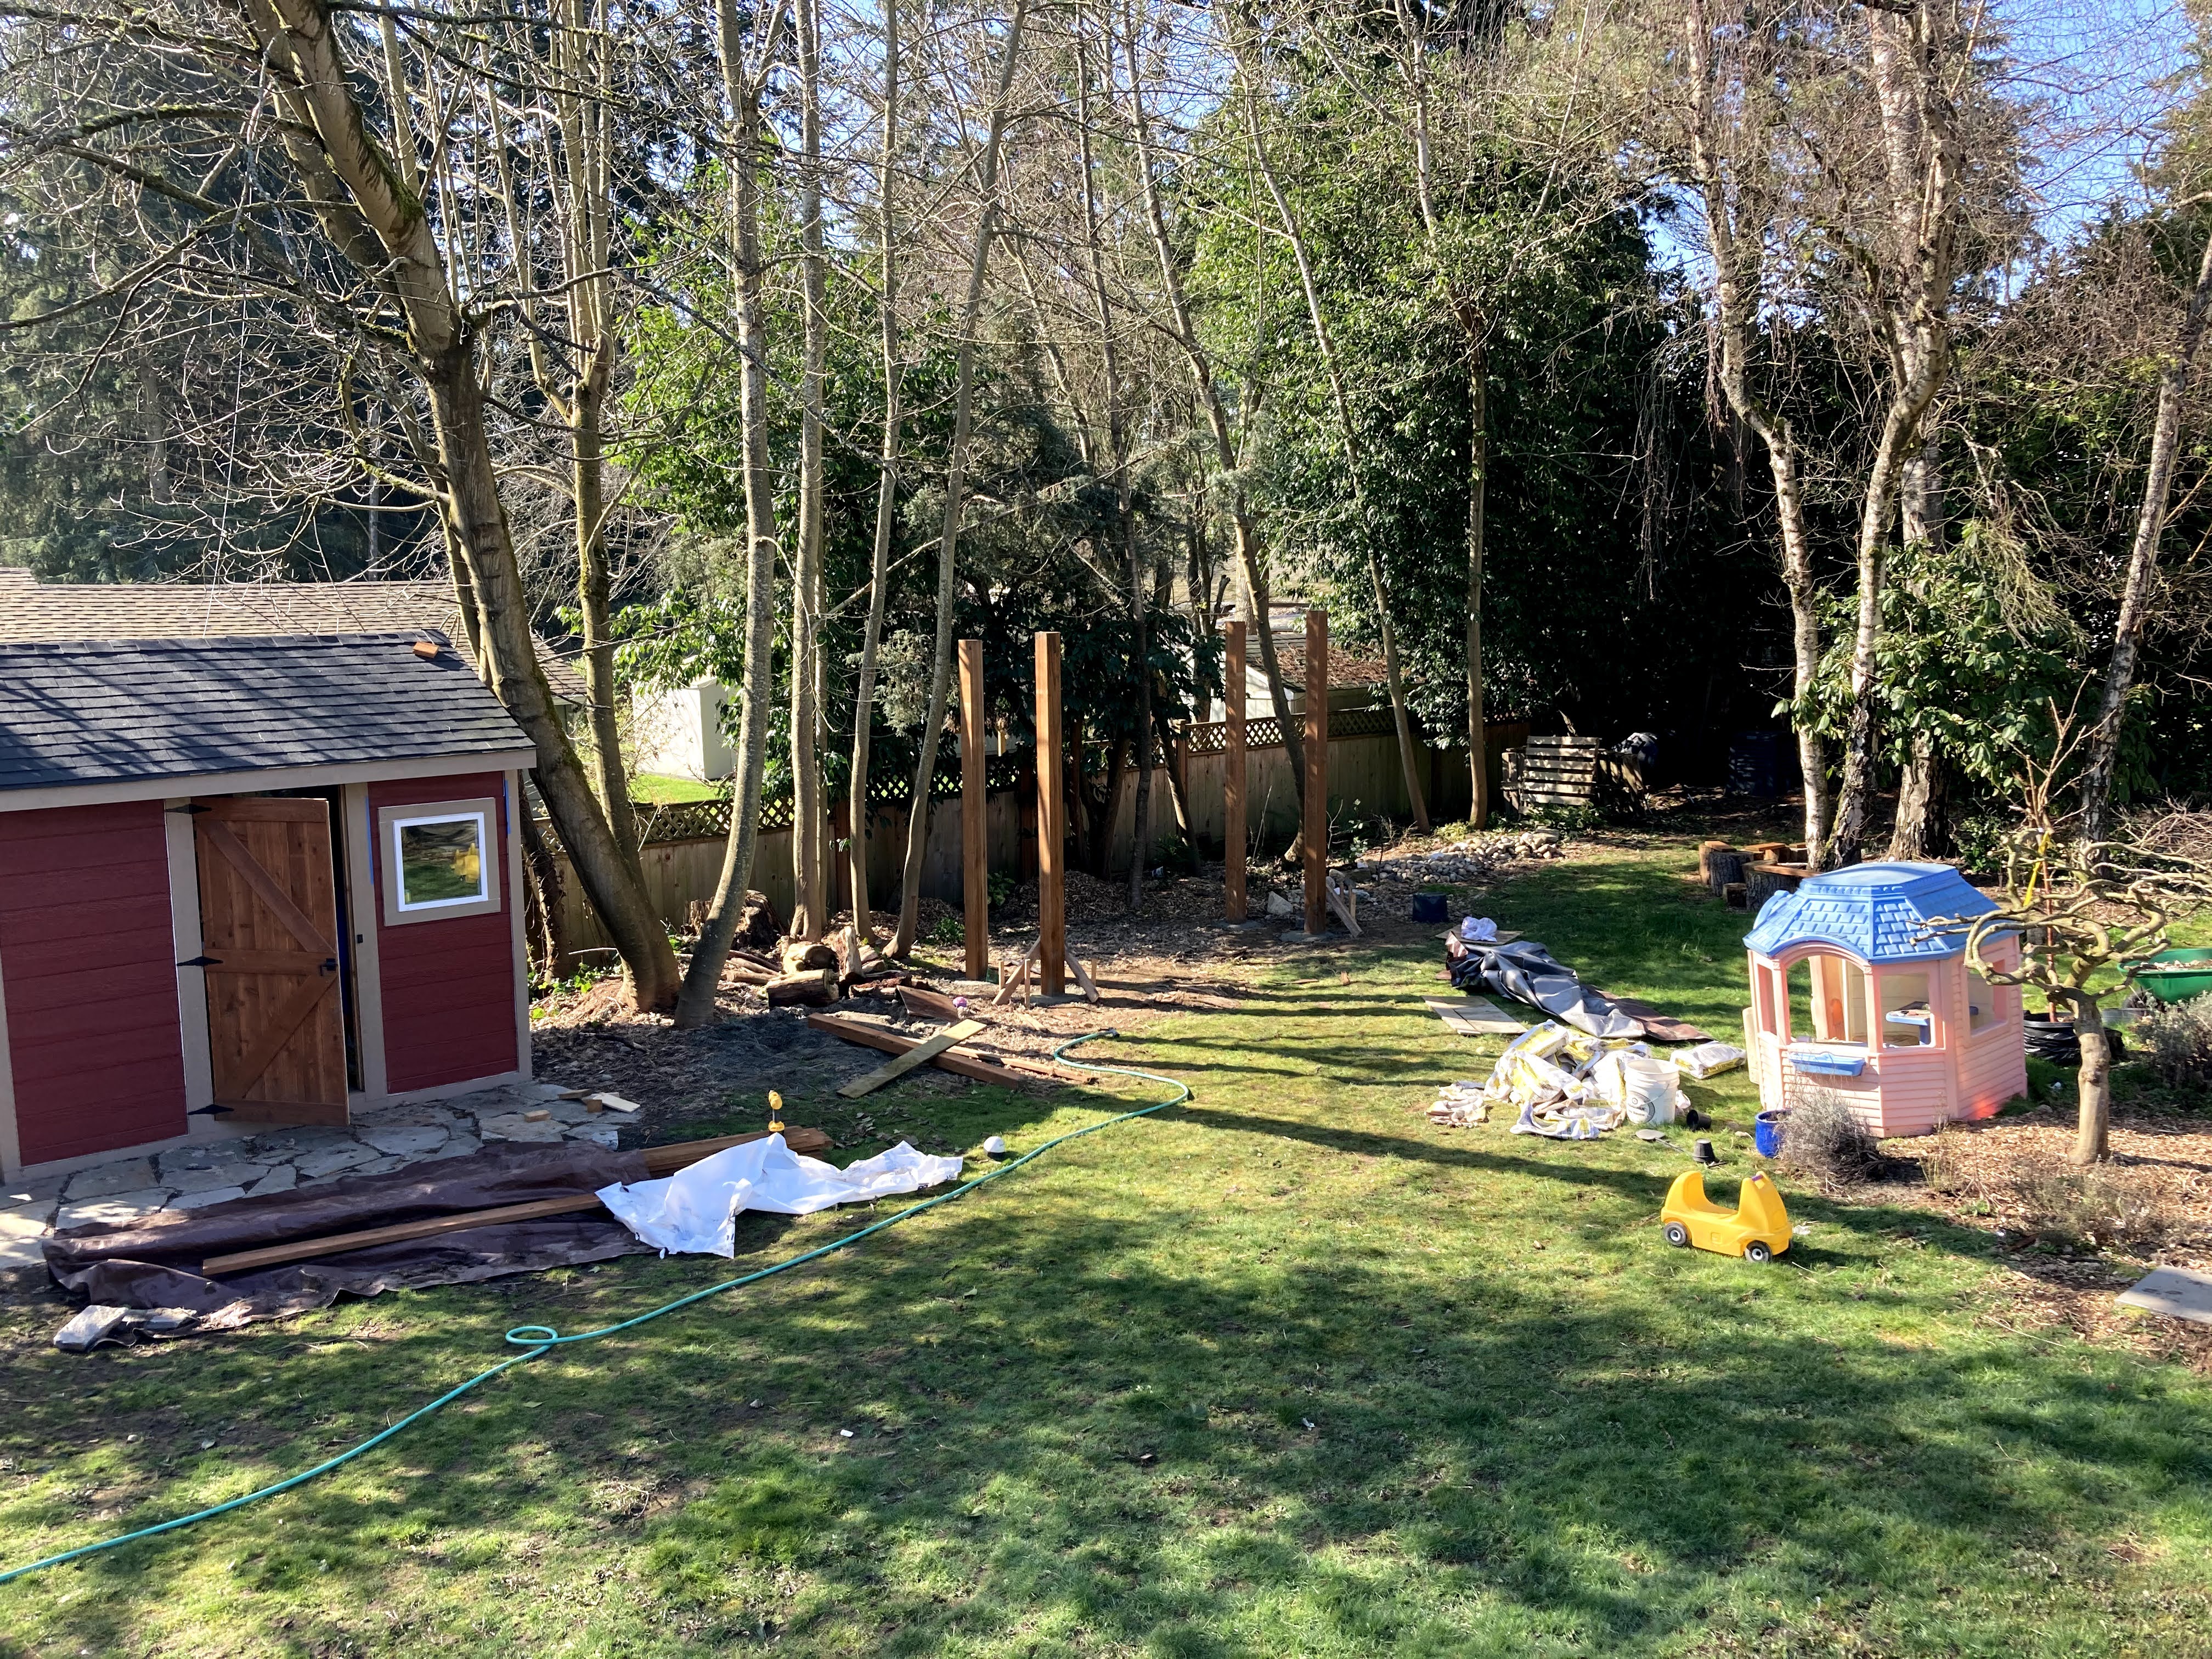
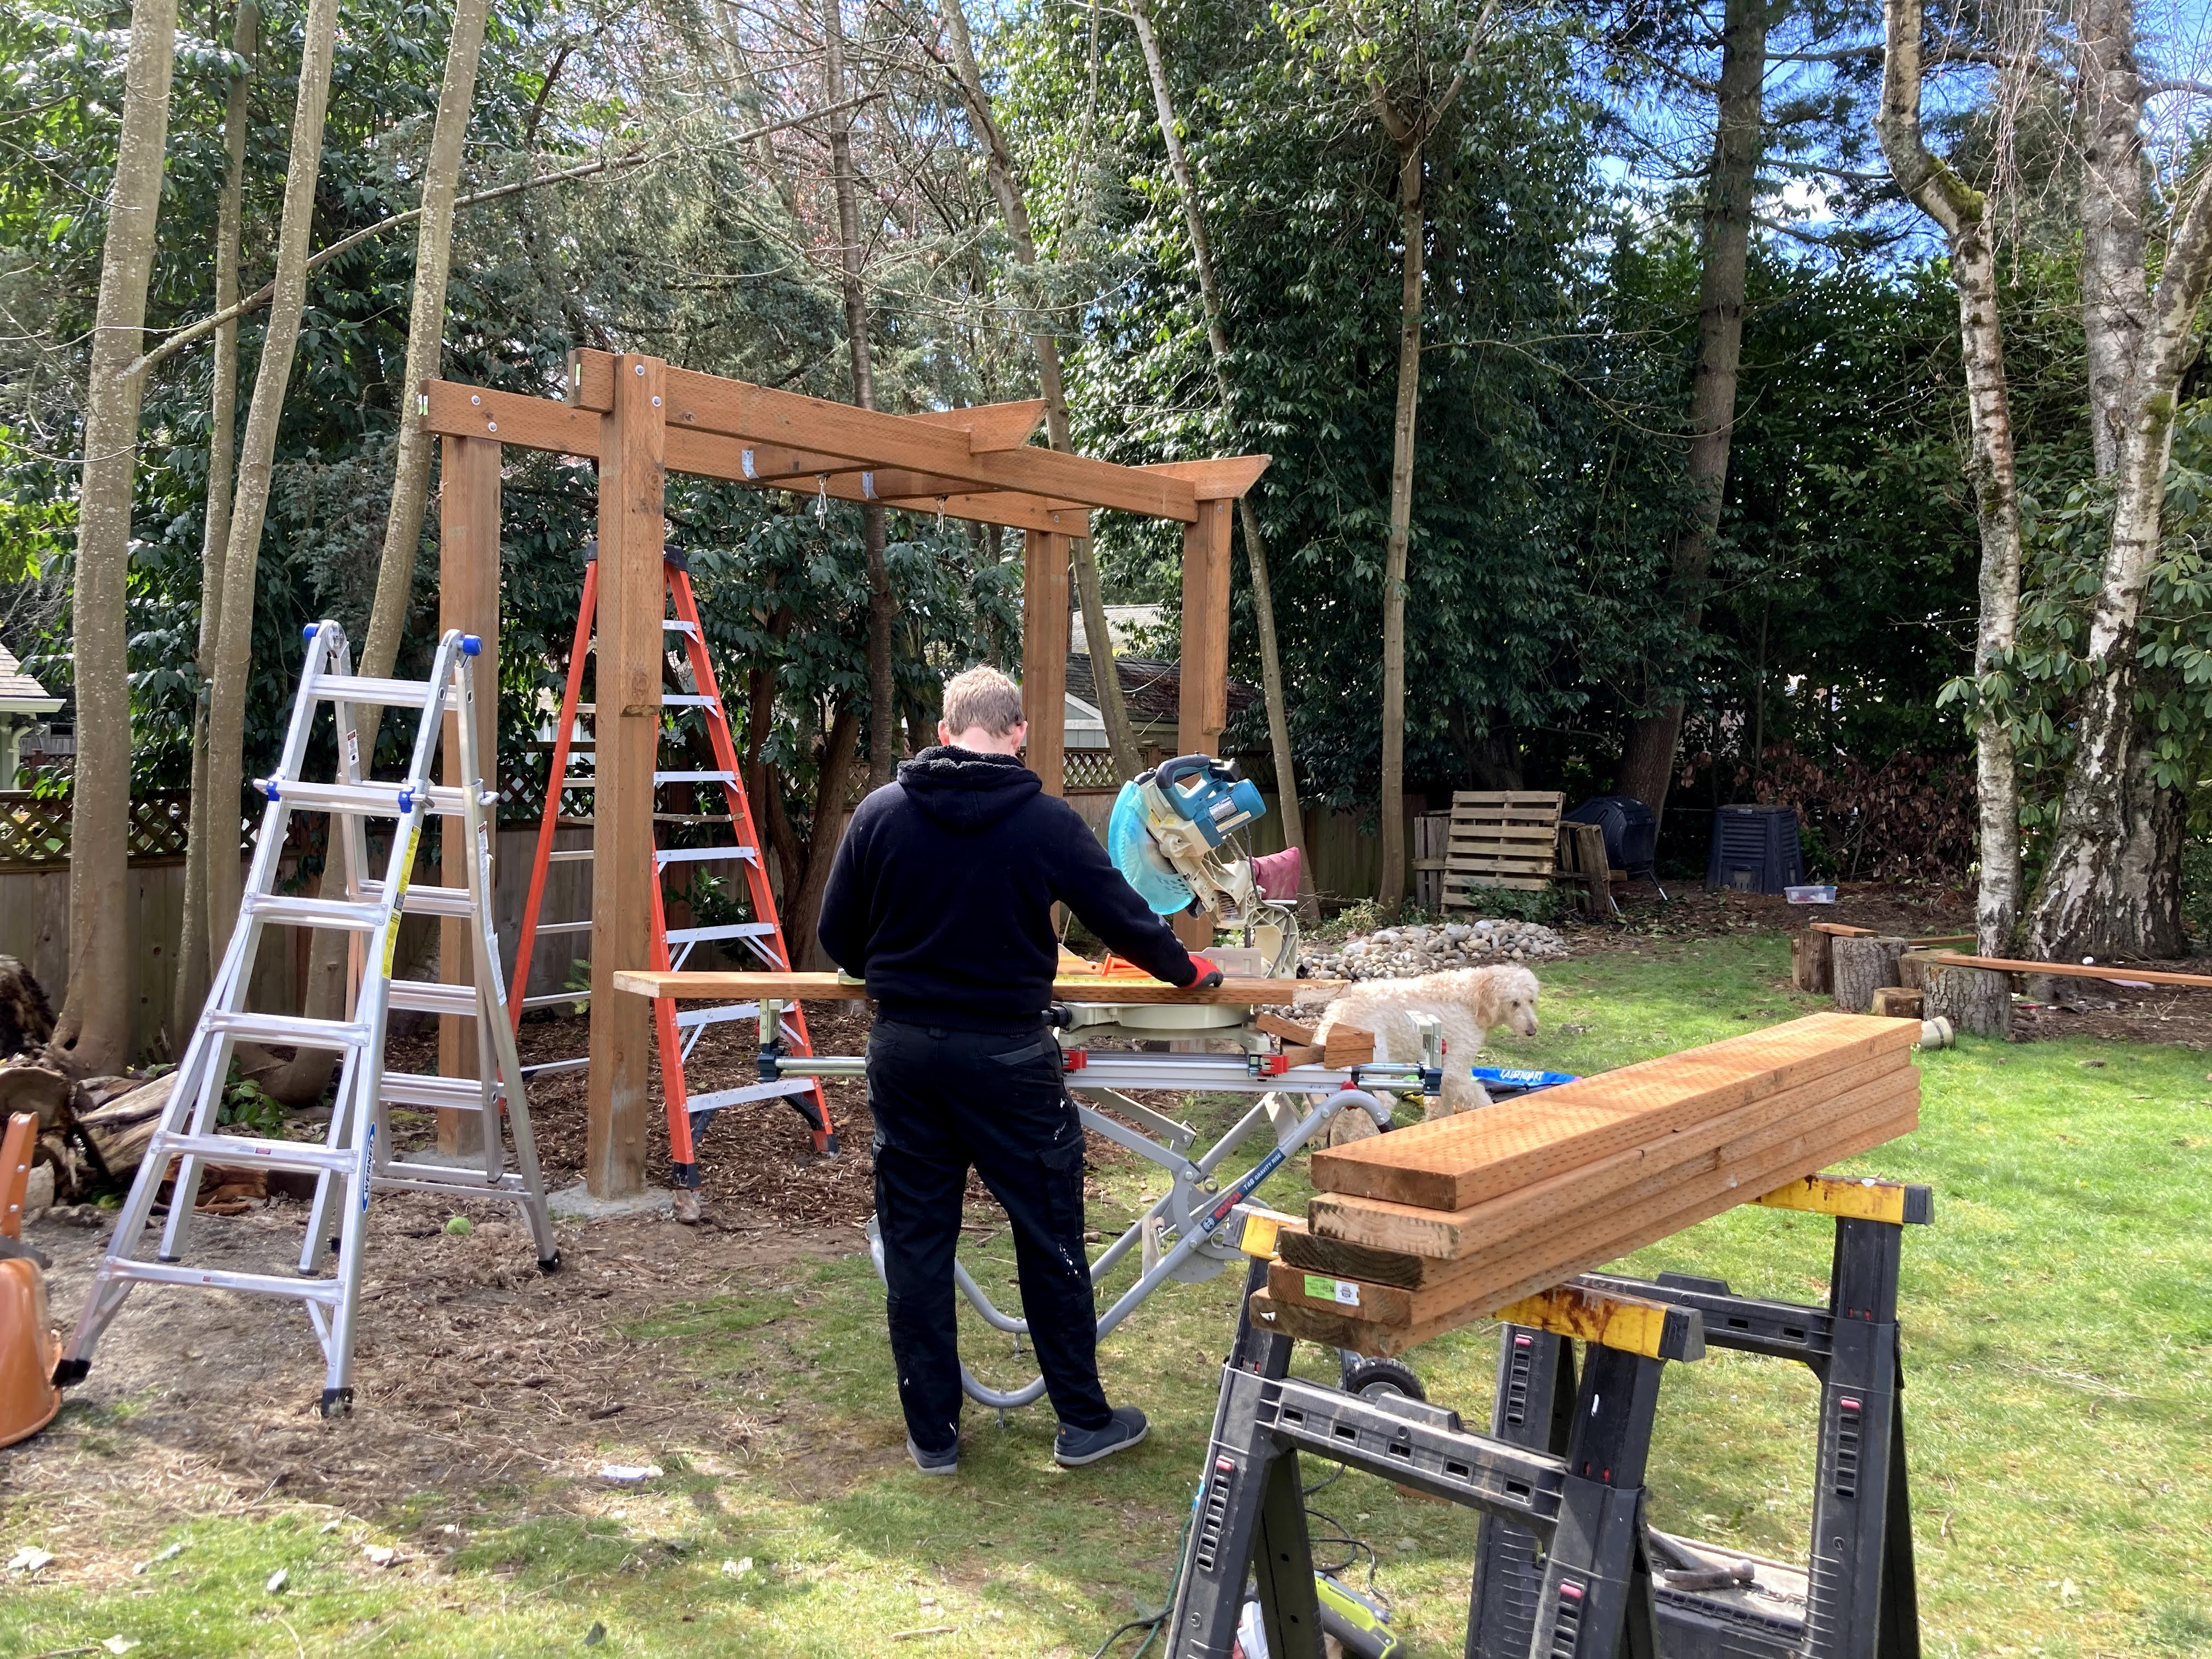
The first step was measuring the area and setting the posts in concrete. We used pressure treated 6×6 12 ft posts. My husband very proudly informed me that this is the size posts that are holding up our house. Did I mention my husband likes to make sure things are sturdy?
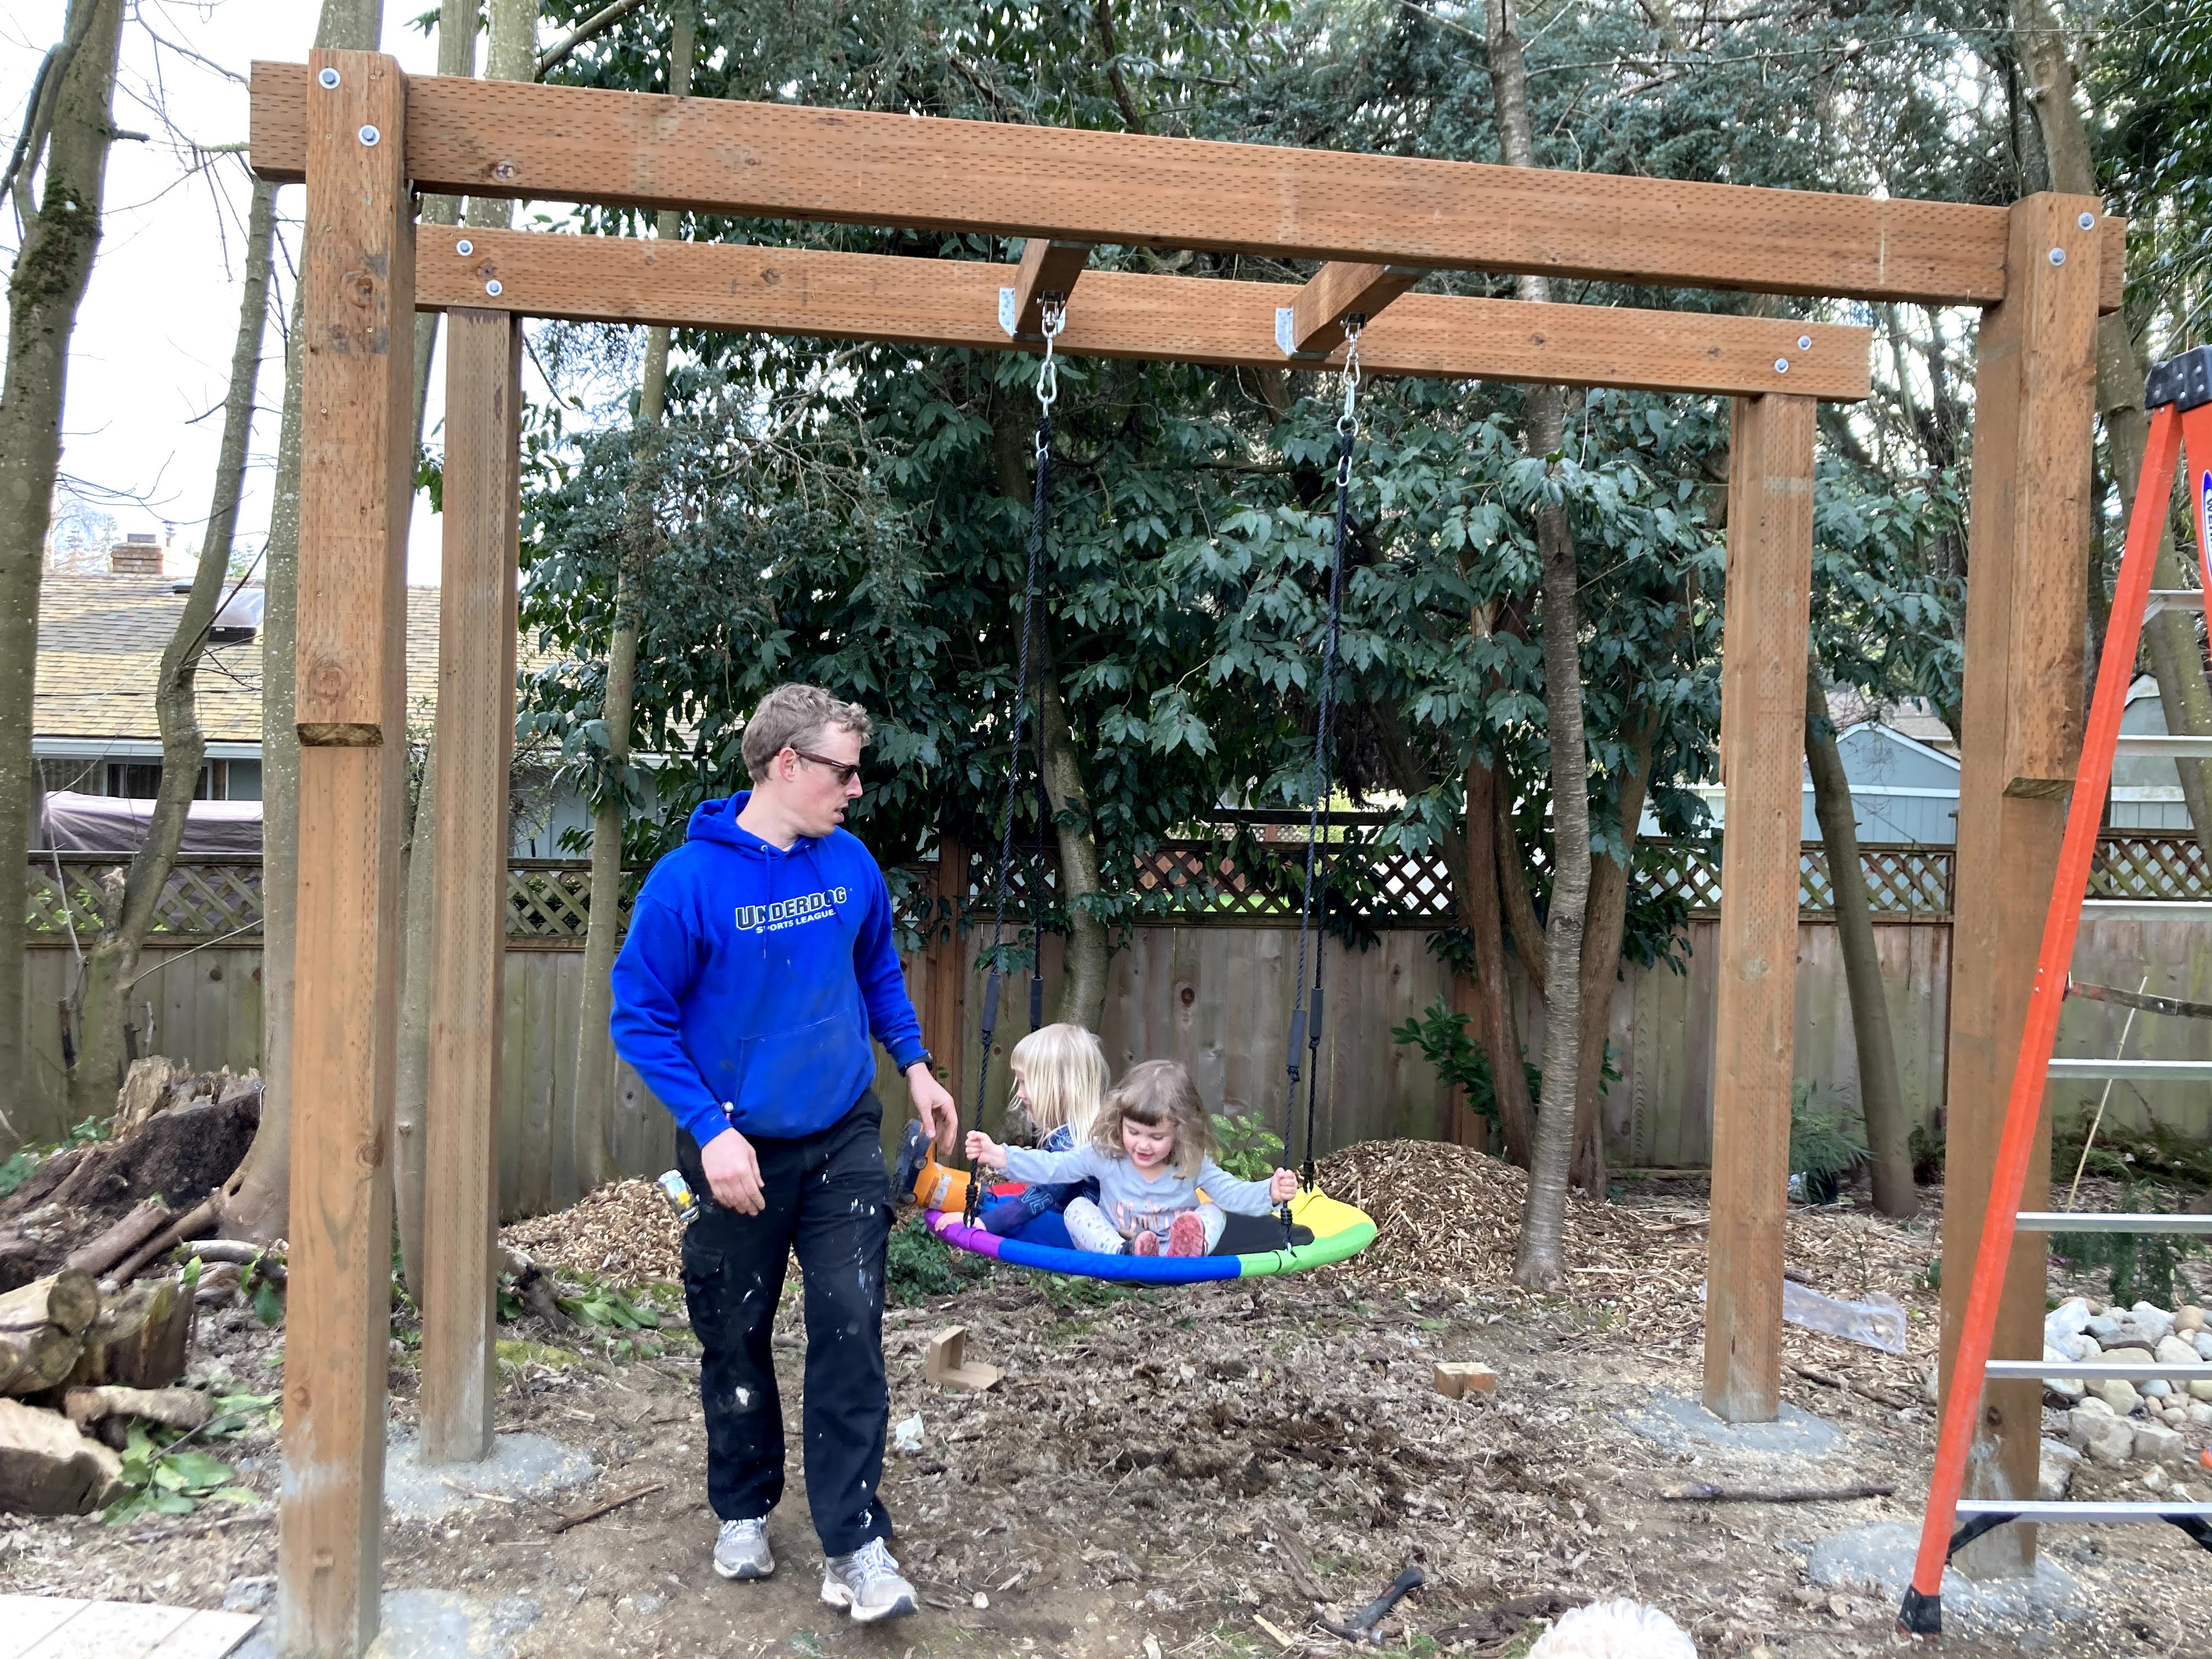
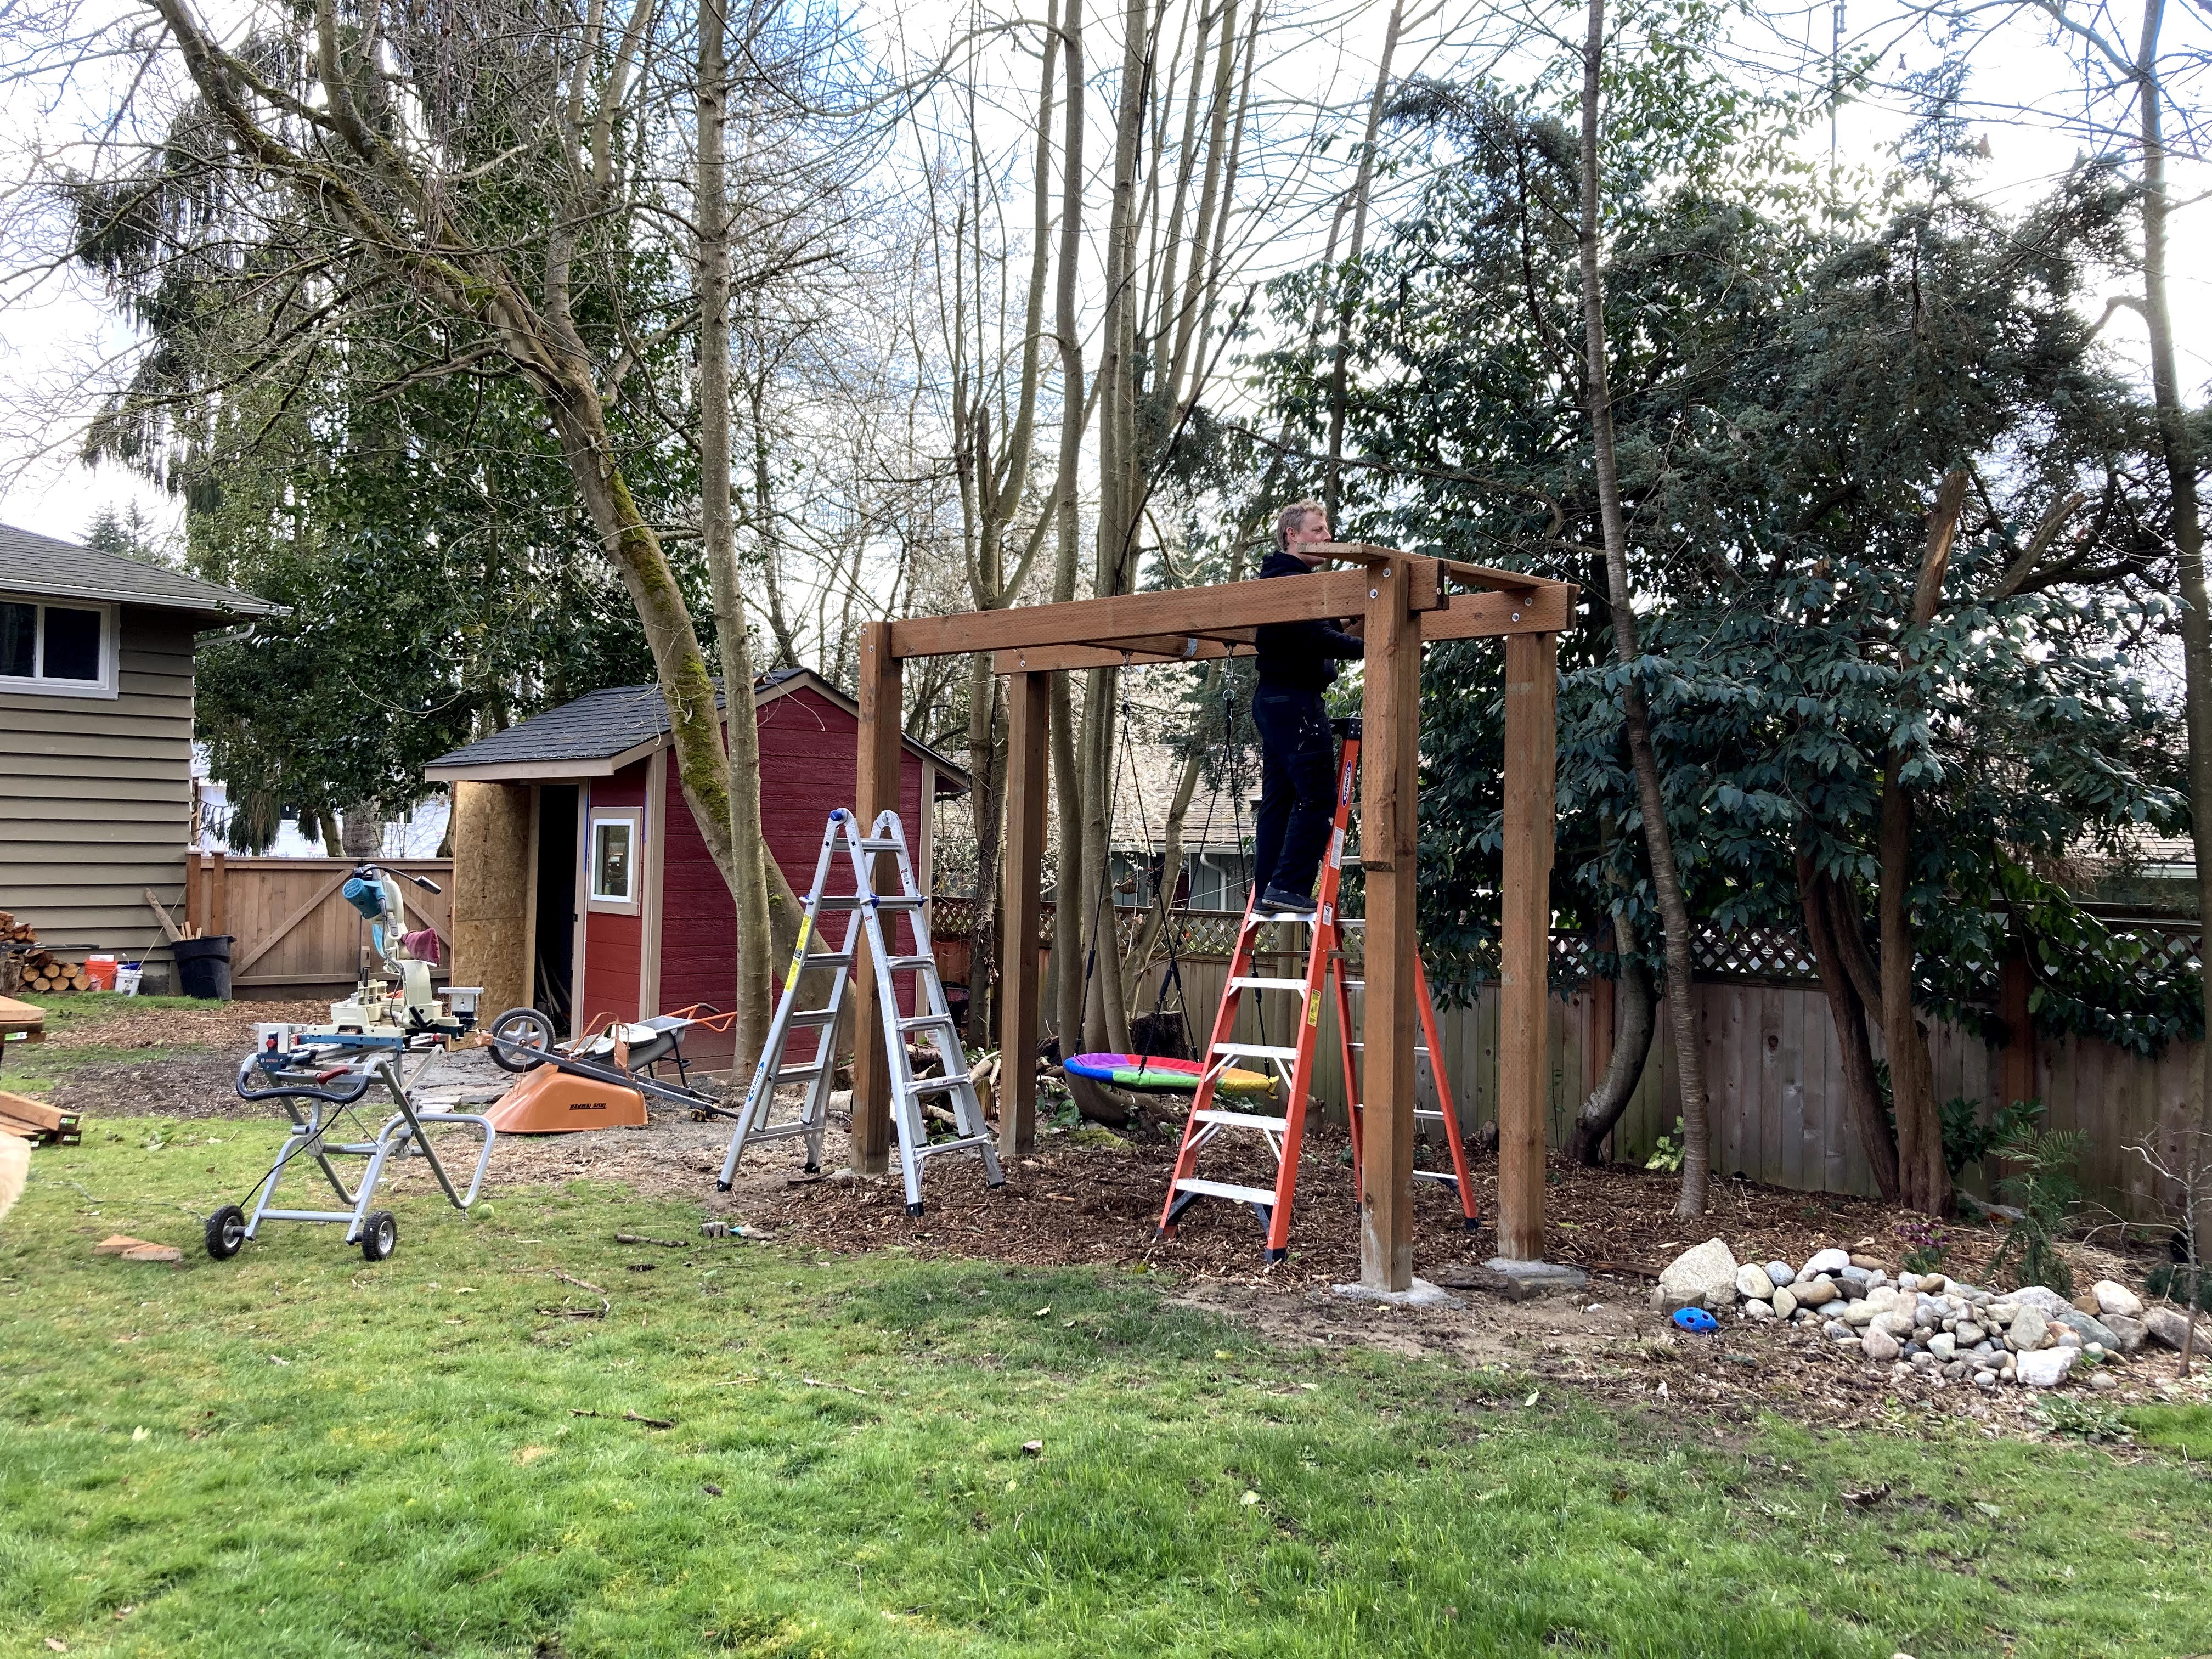
Once the posts were set Jon got started on the top part of the swing set. First he notched out two inches from each of the four posts so he could place the 2×6 boards that would span across the top. We weren’t sure whether to notch out from the inside or the outside. Either way, there would be a lot of force being exerted against what was left of the 6×6 post when someone was swinging. Eventually we decided it would be best to notch out the inside and then Jon added an extra 2×6 support board to the outsides of the posts just to be safe.
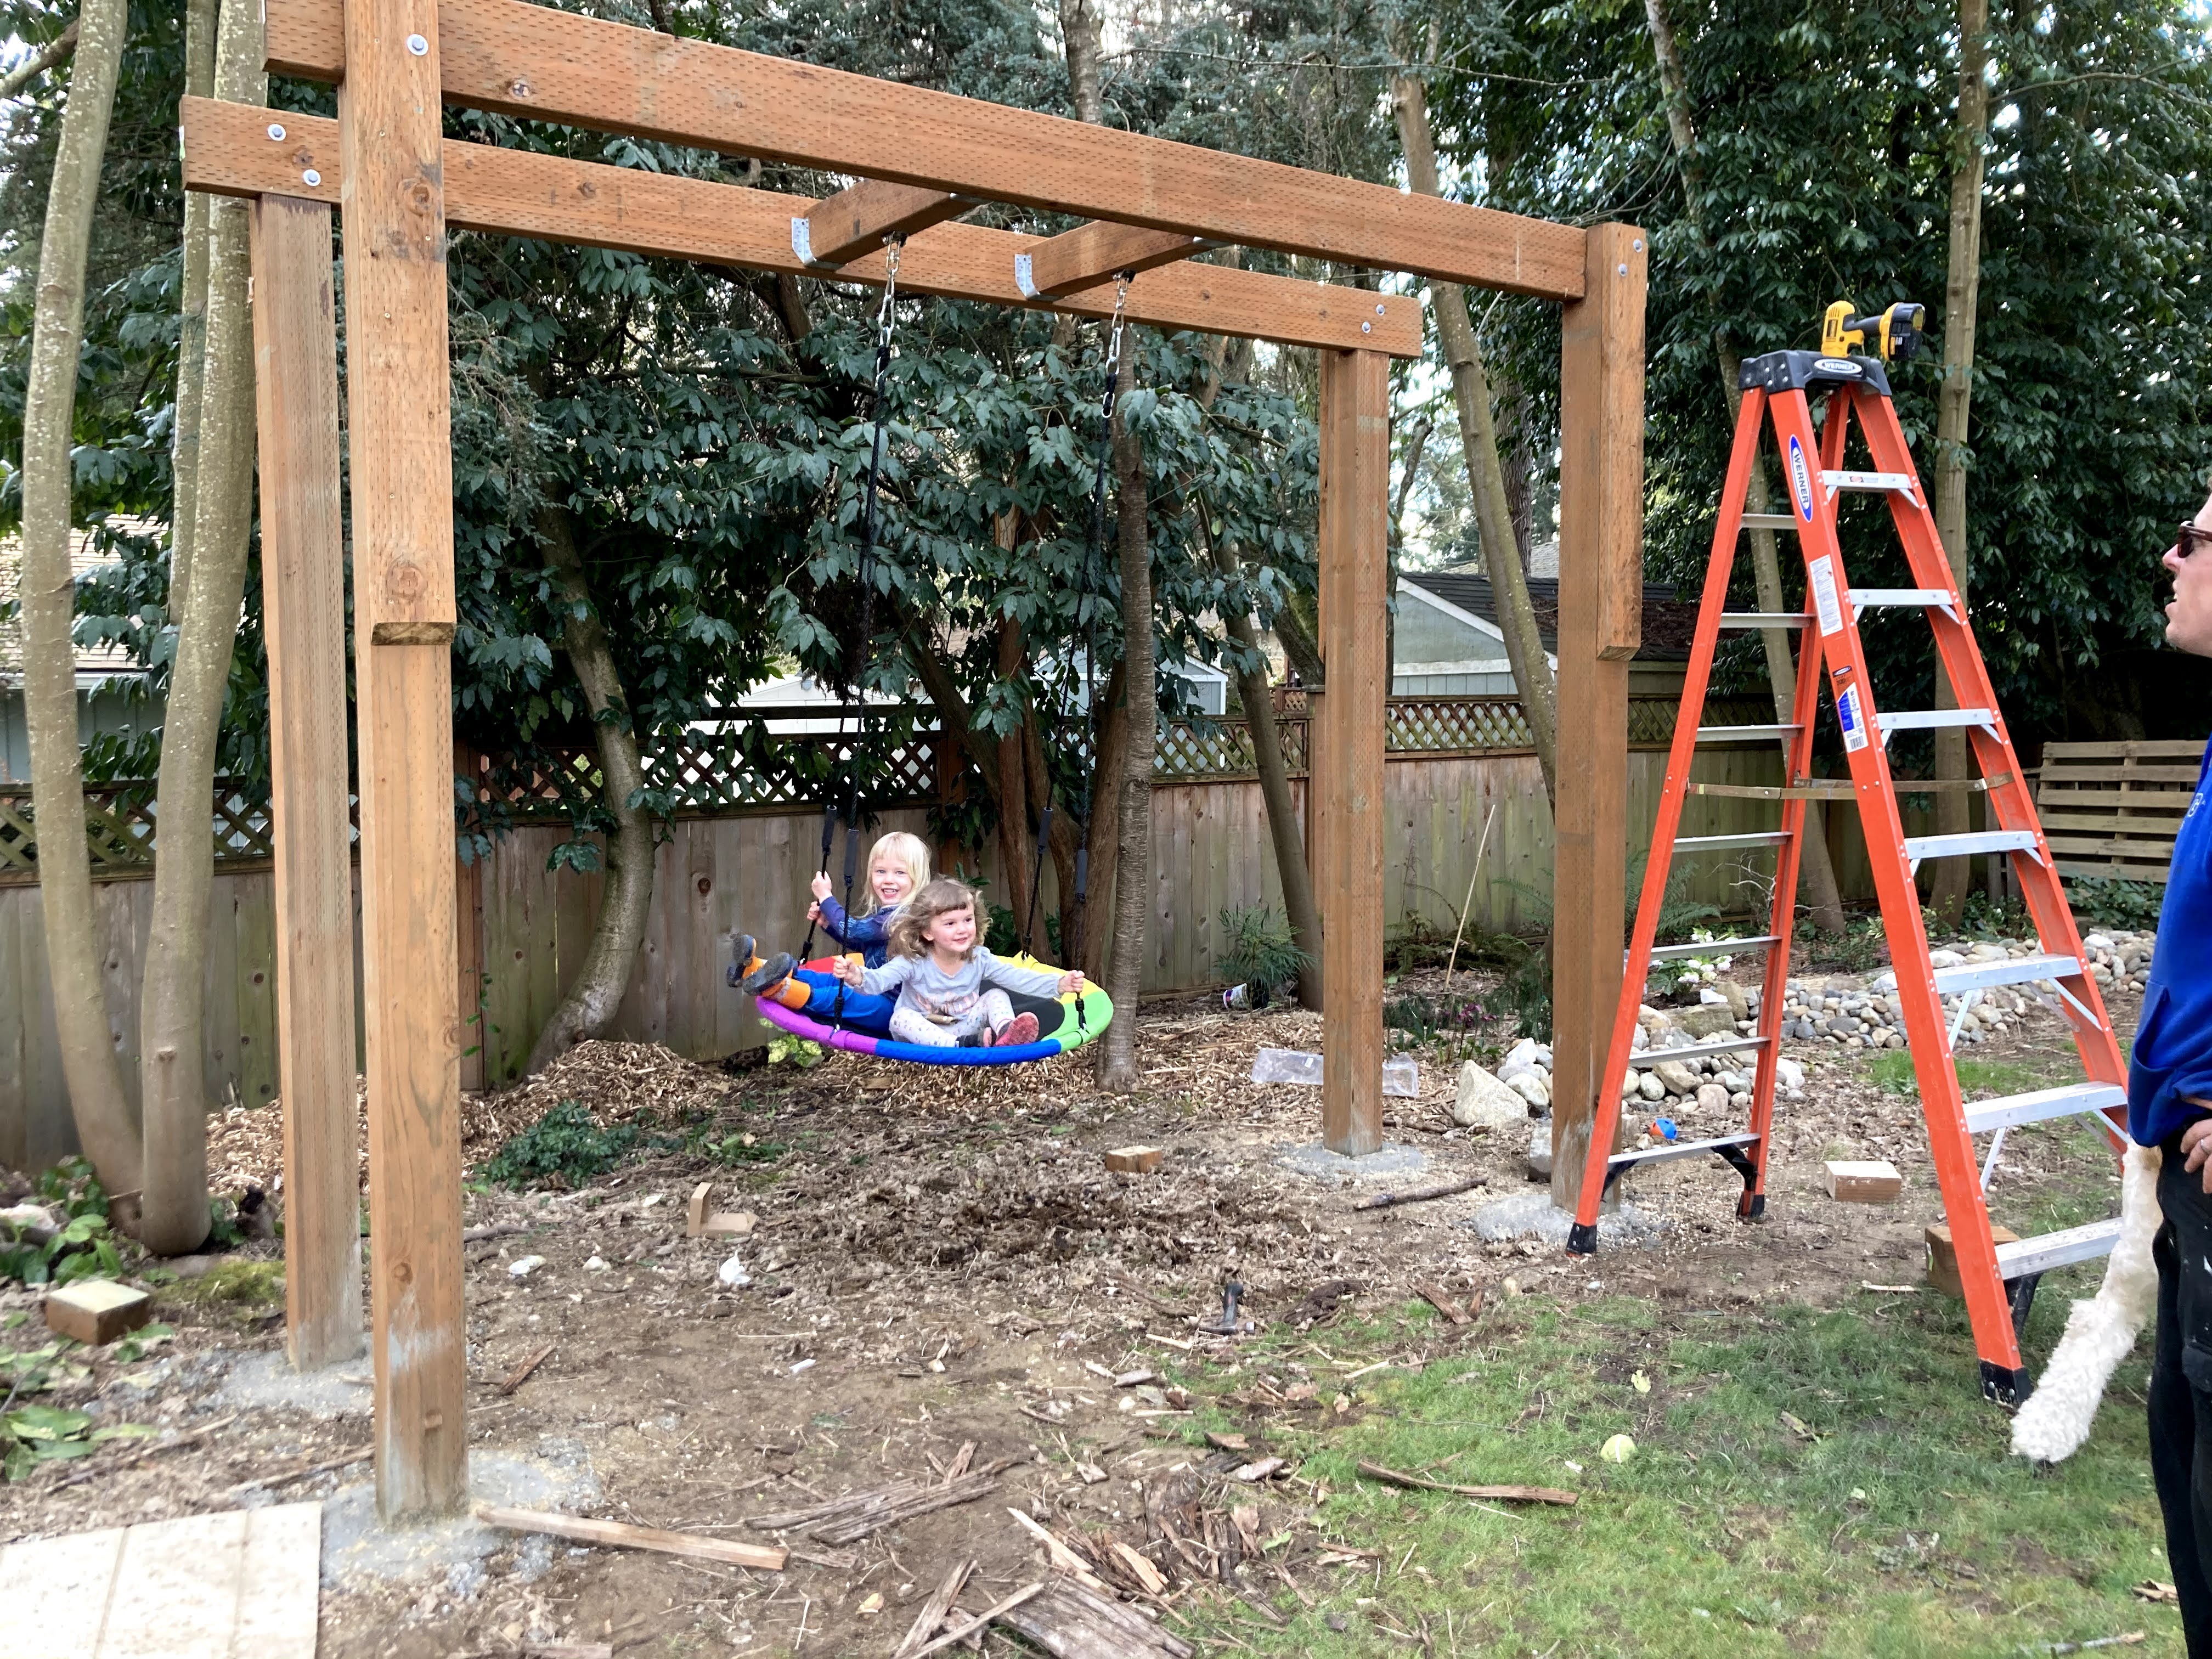
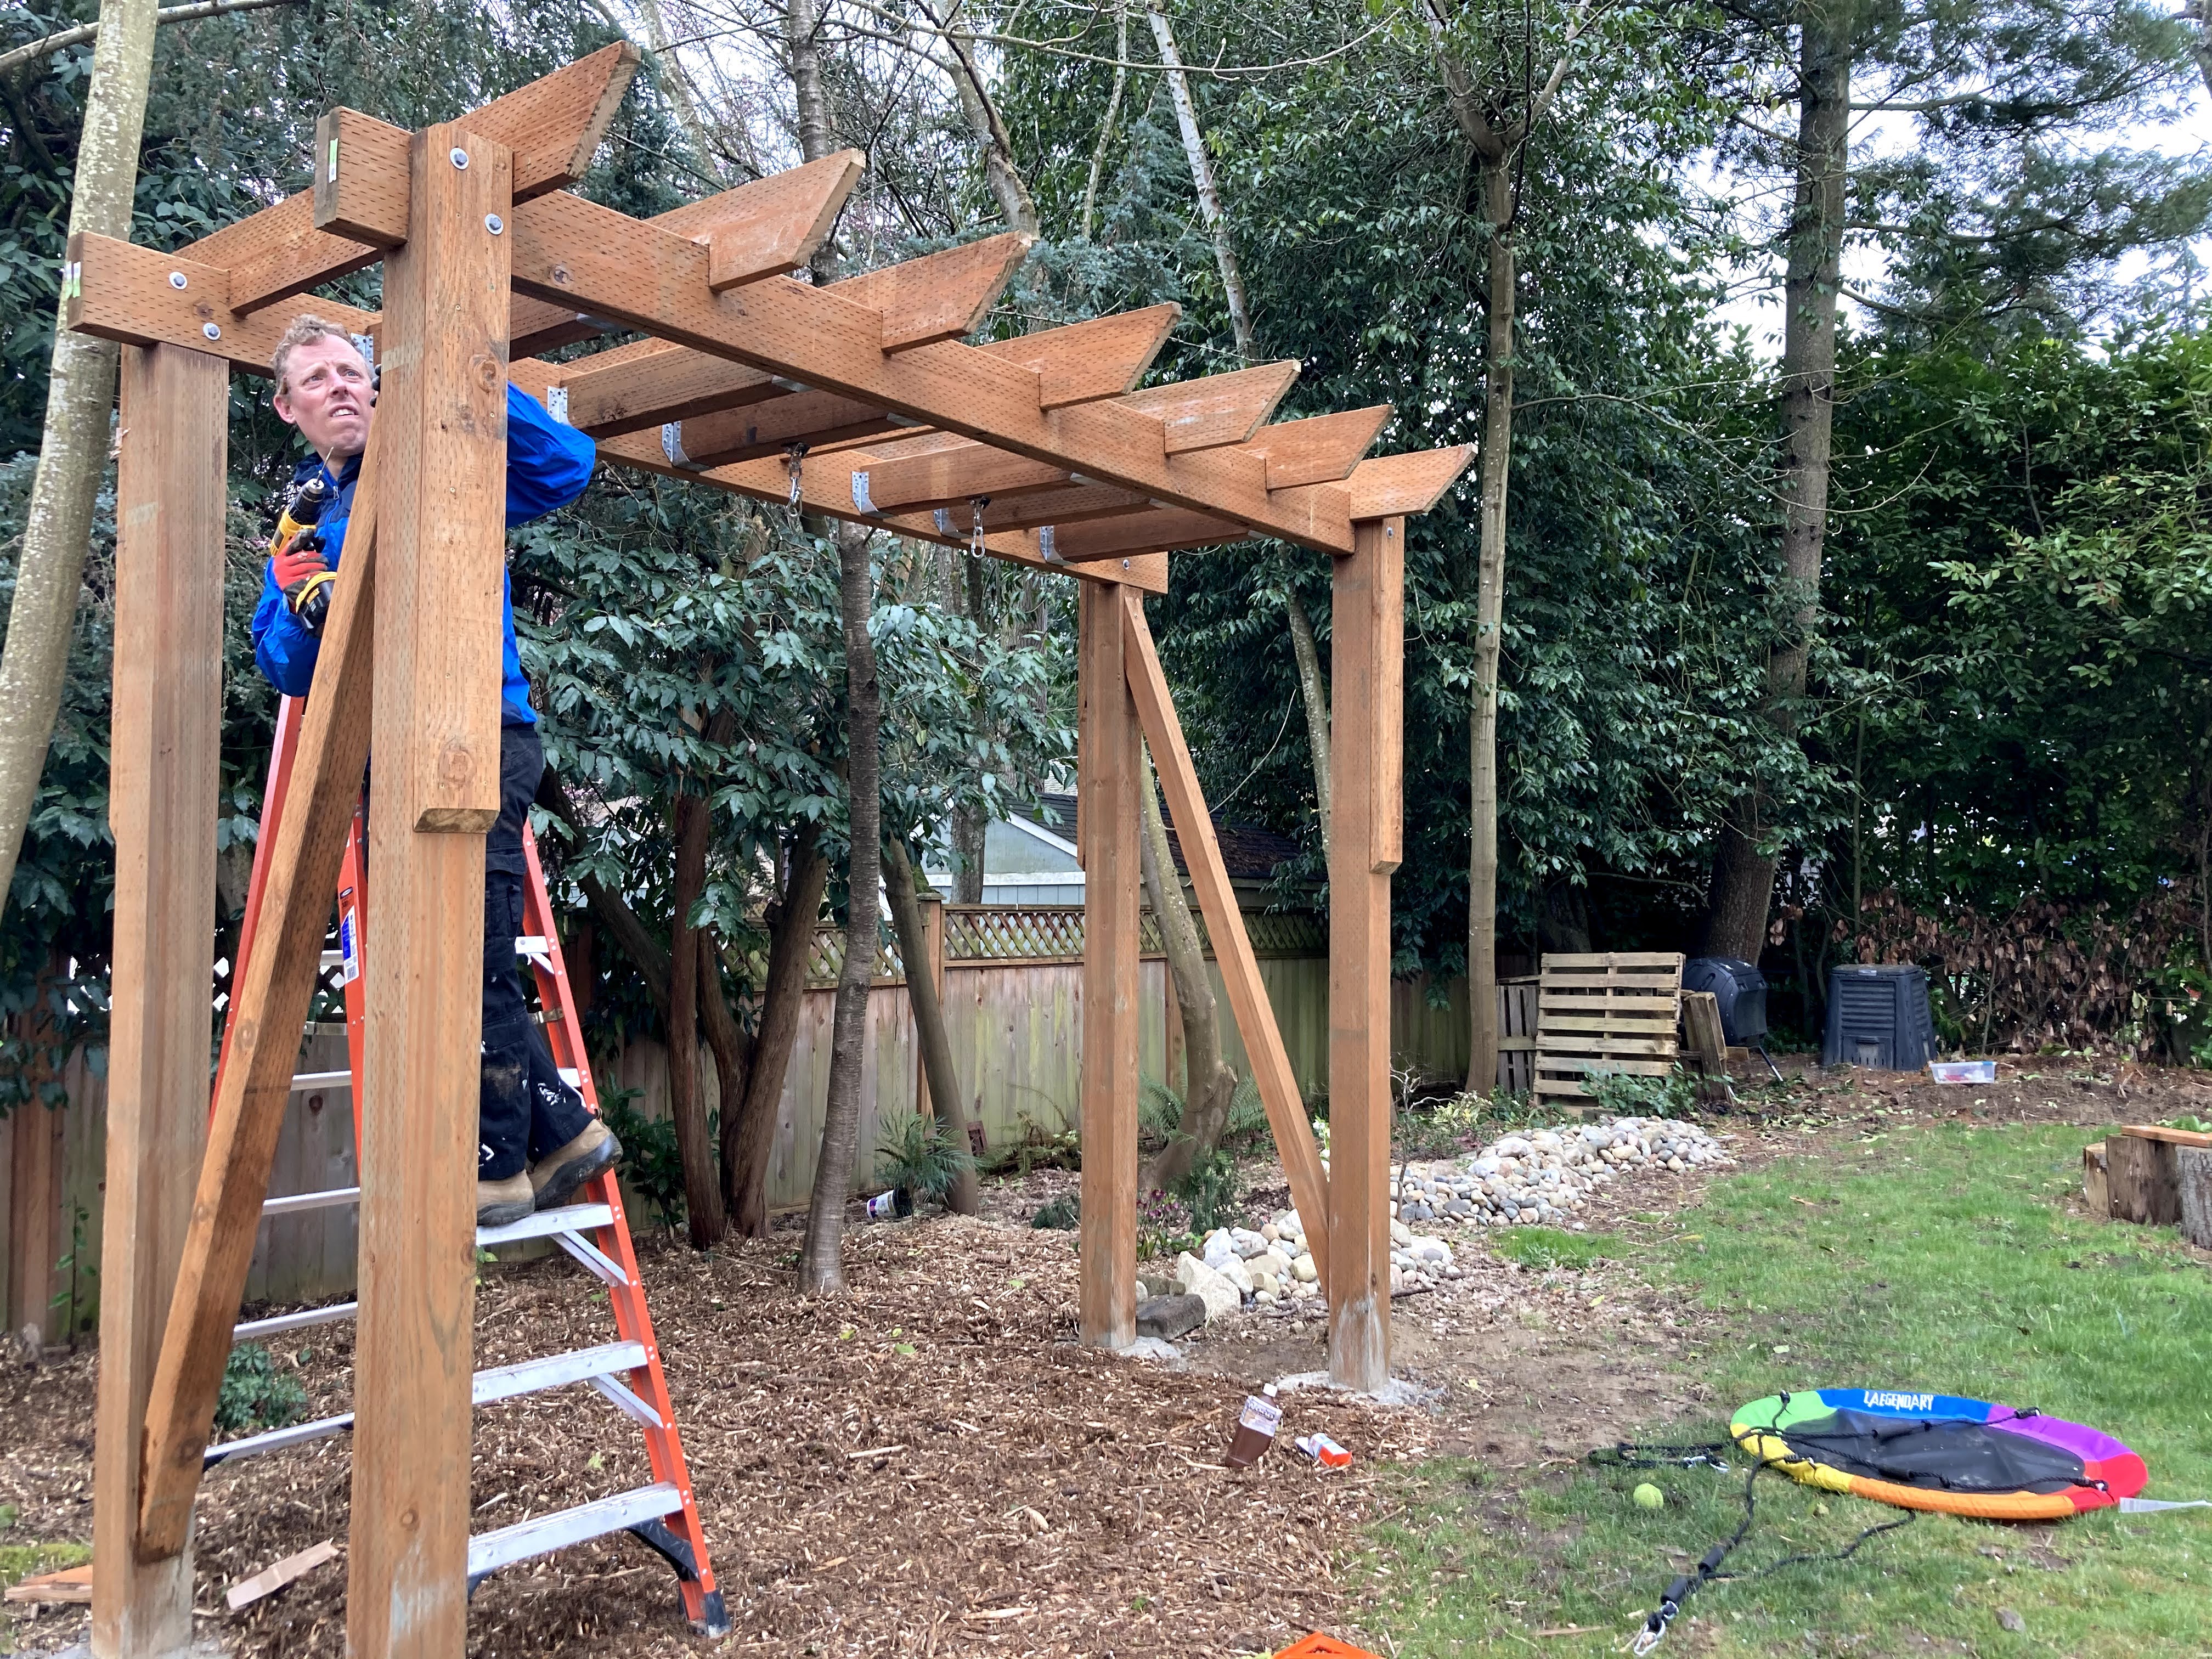
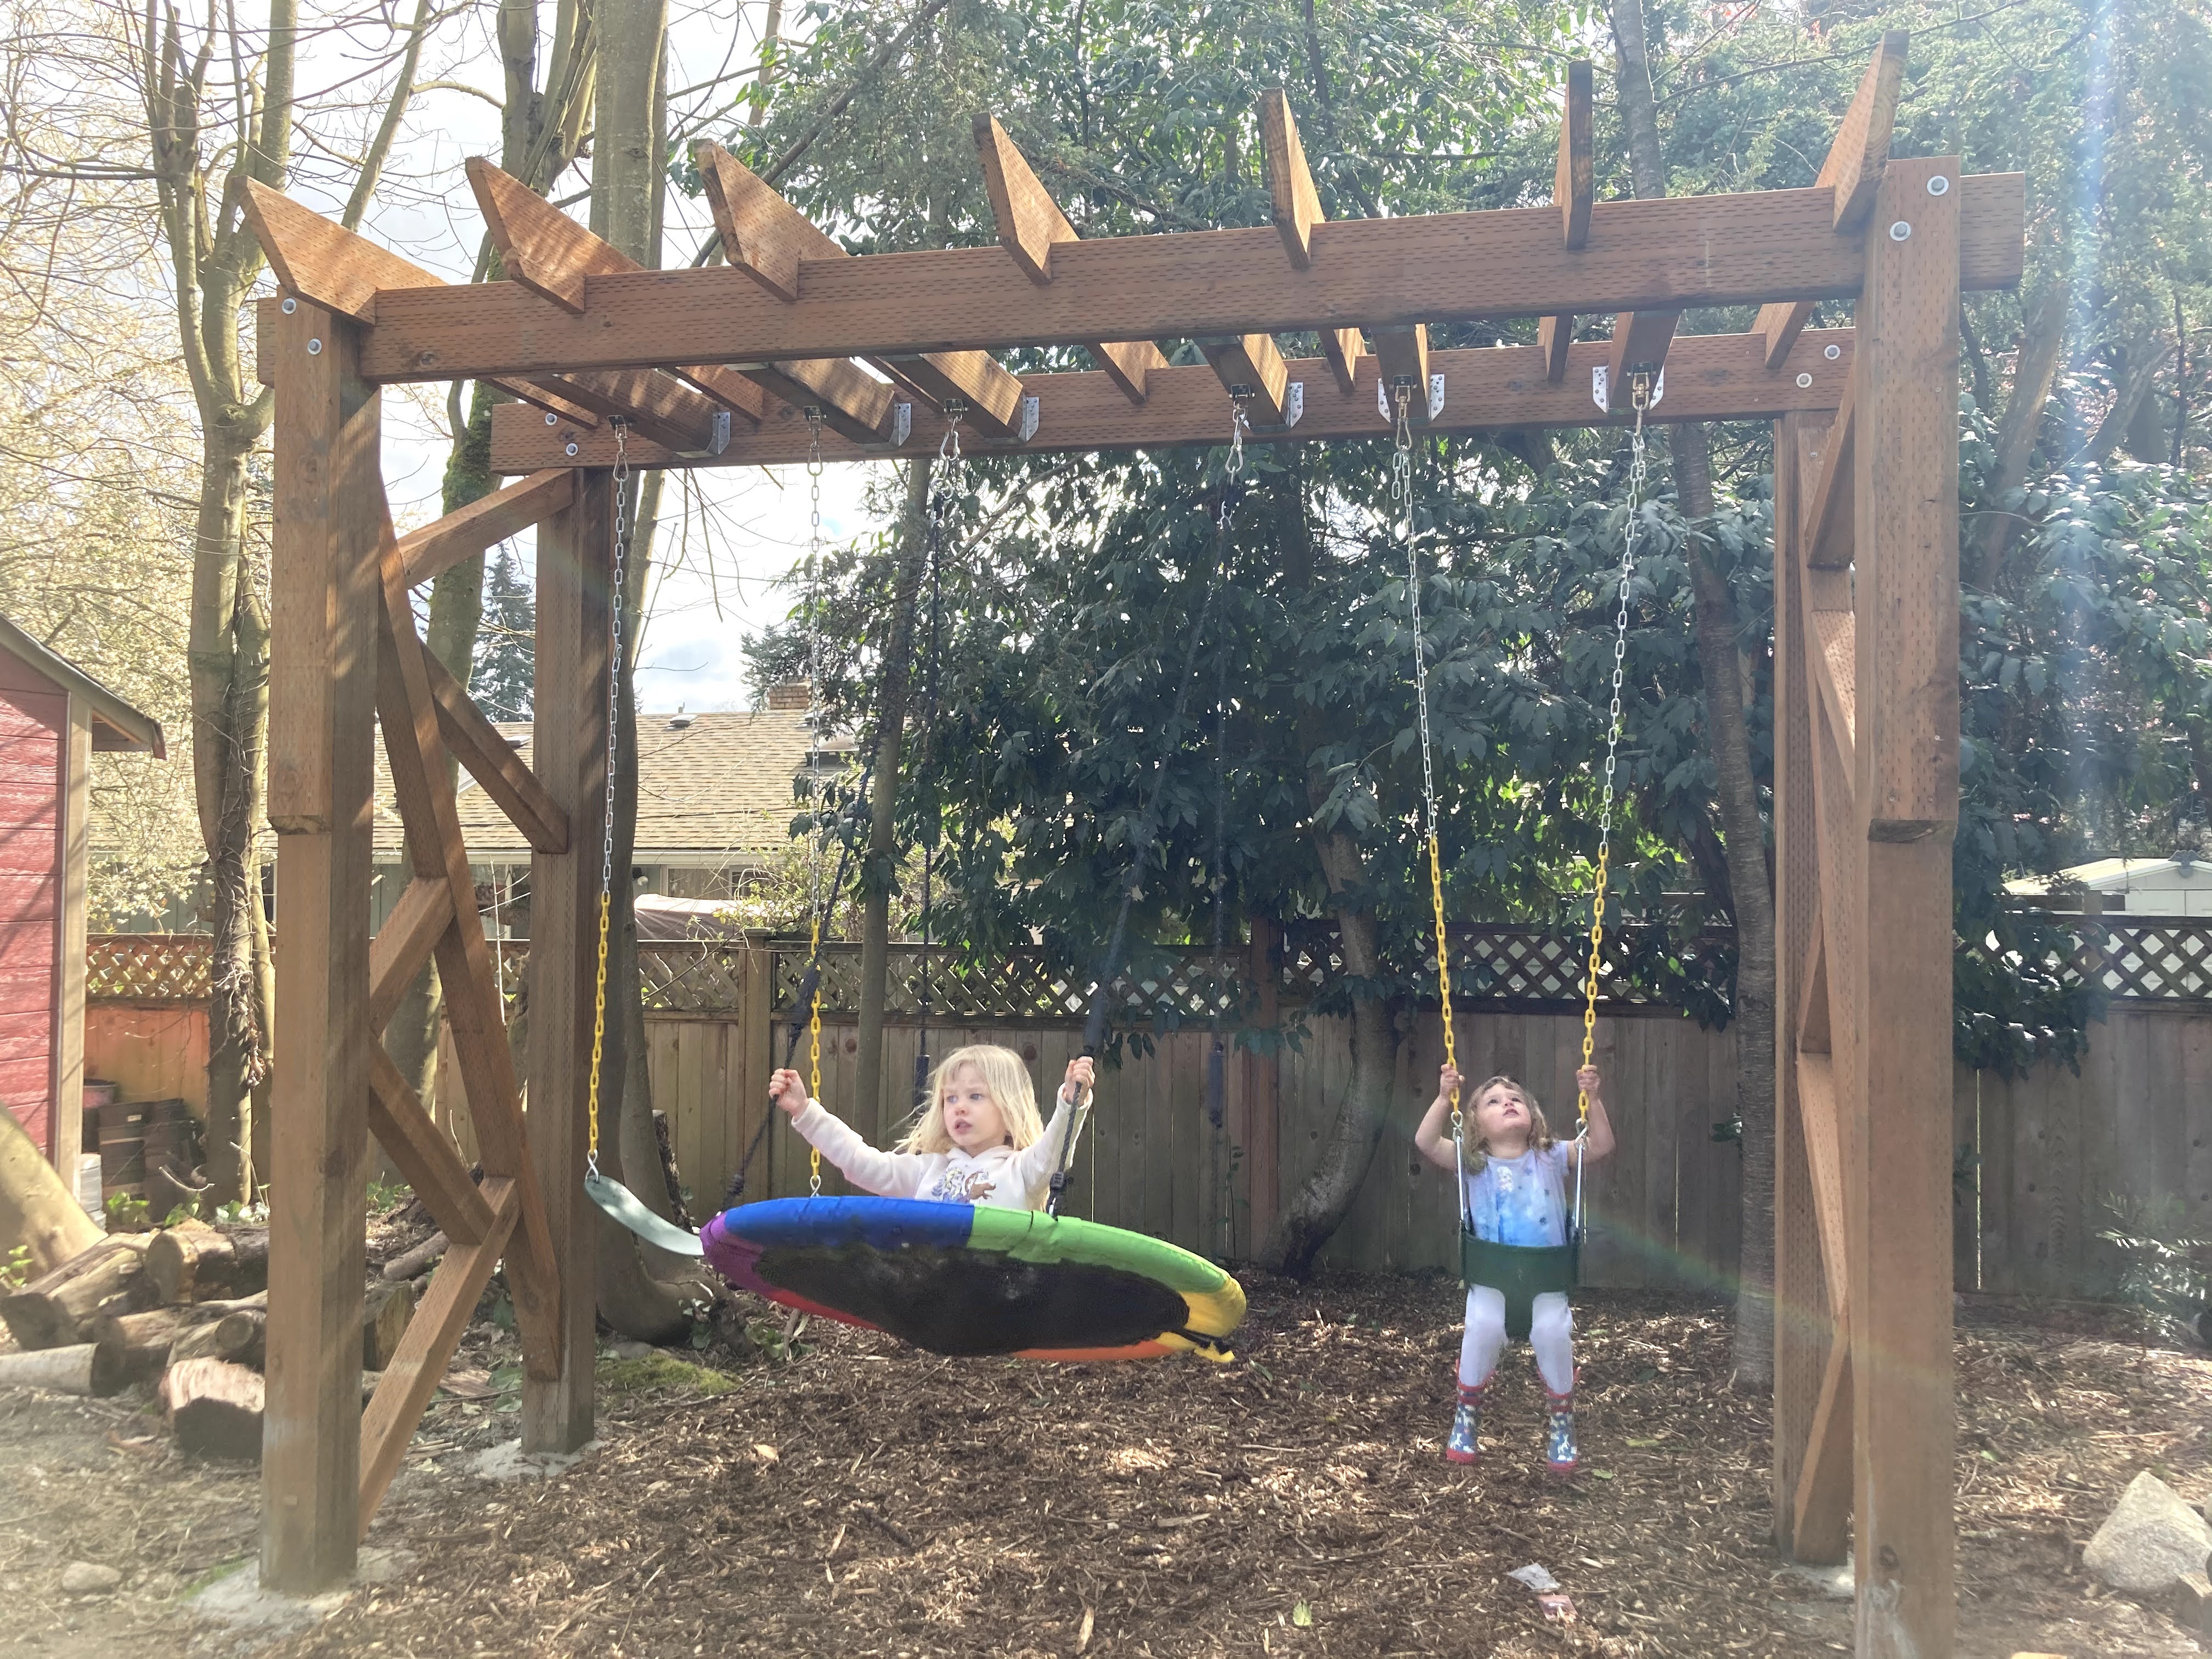
The next big decision was figuring out our spacing for the swings and decorative trellis boards. I was pretty adamant that there needed to be 3 swings, so we started by securing the middle one and then spacing out evenly from there.
The girls did a test swing so Jon could see if the swing set moved much. While it didn’t move much at all when they were on it, there was definitely movement when Jon and I tried it out. Nothing scary, but we were hoping that once we added the decorative bracing on the sides that it would prevent any more wobbling.

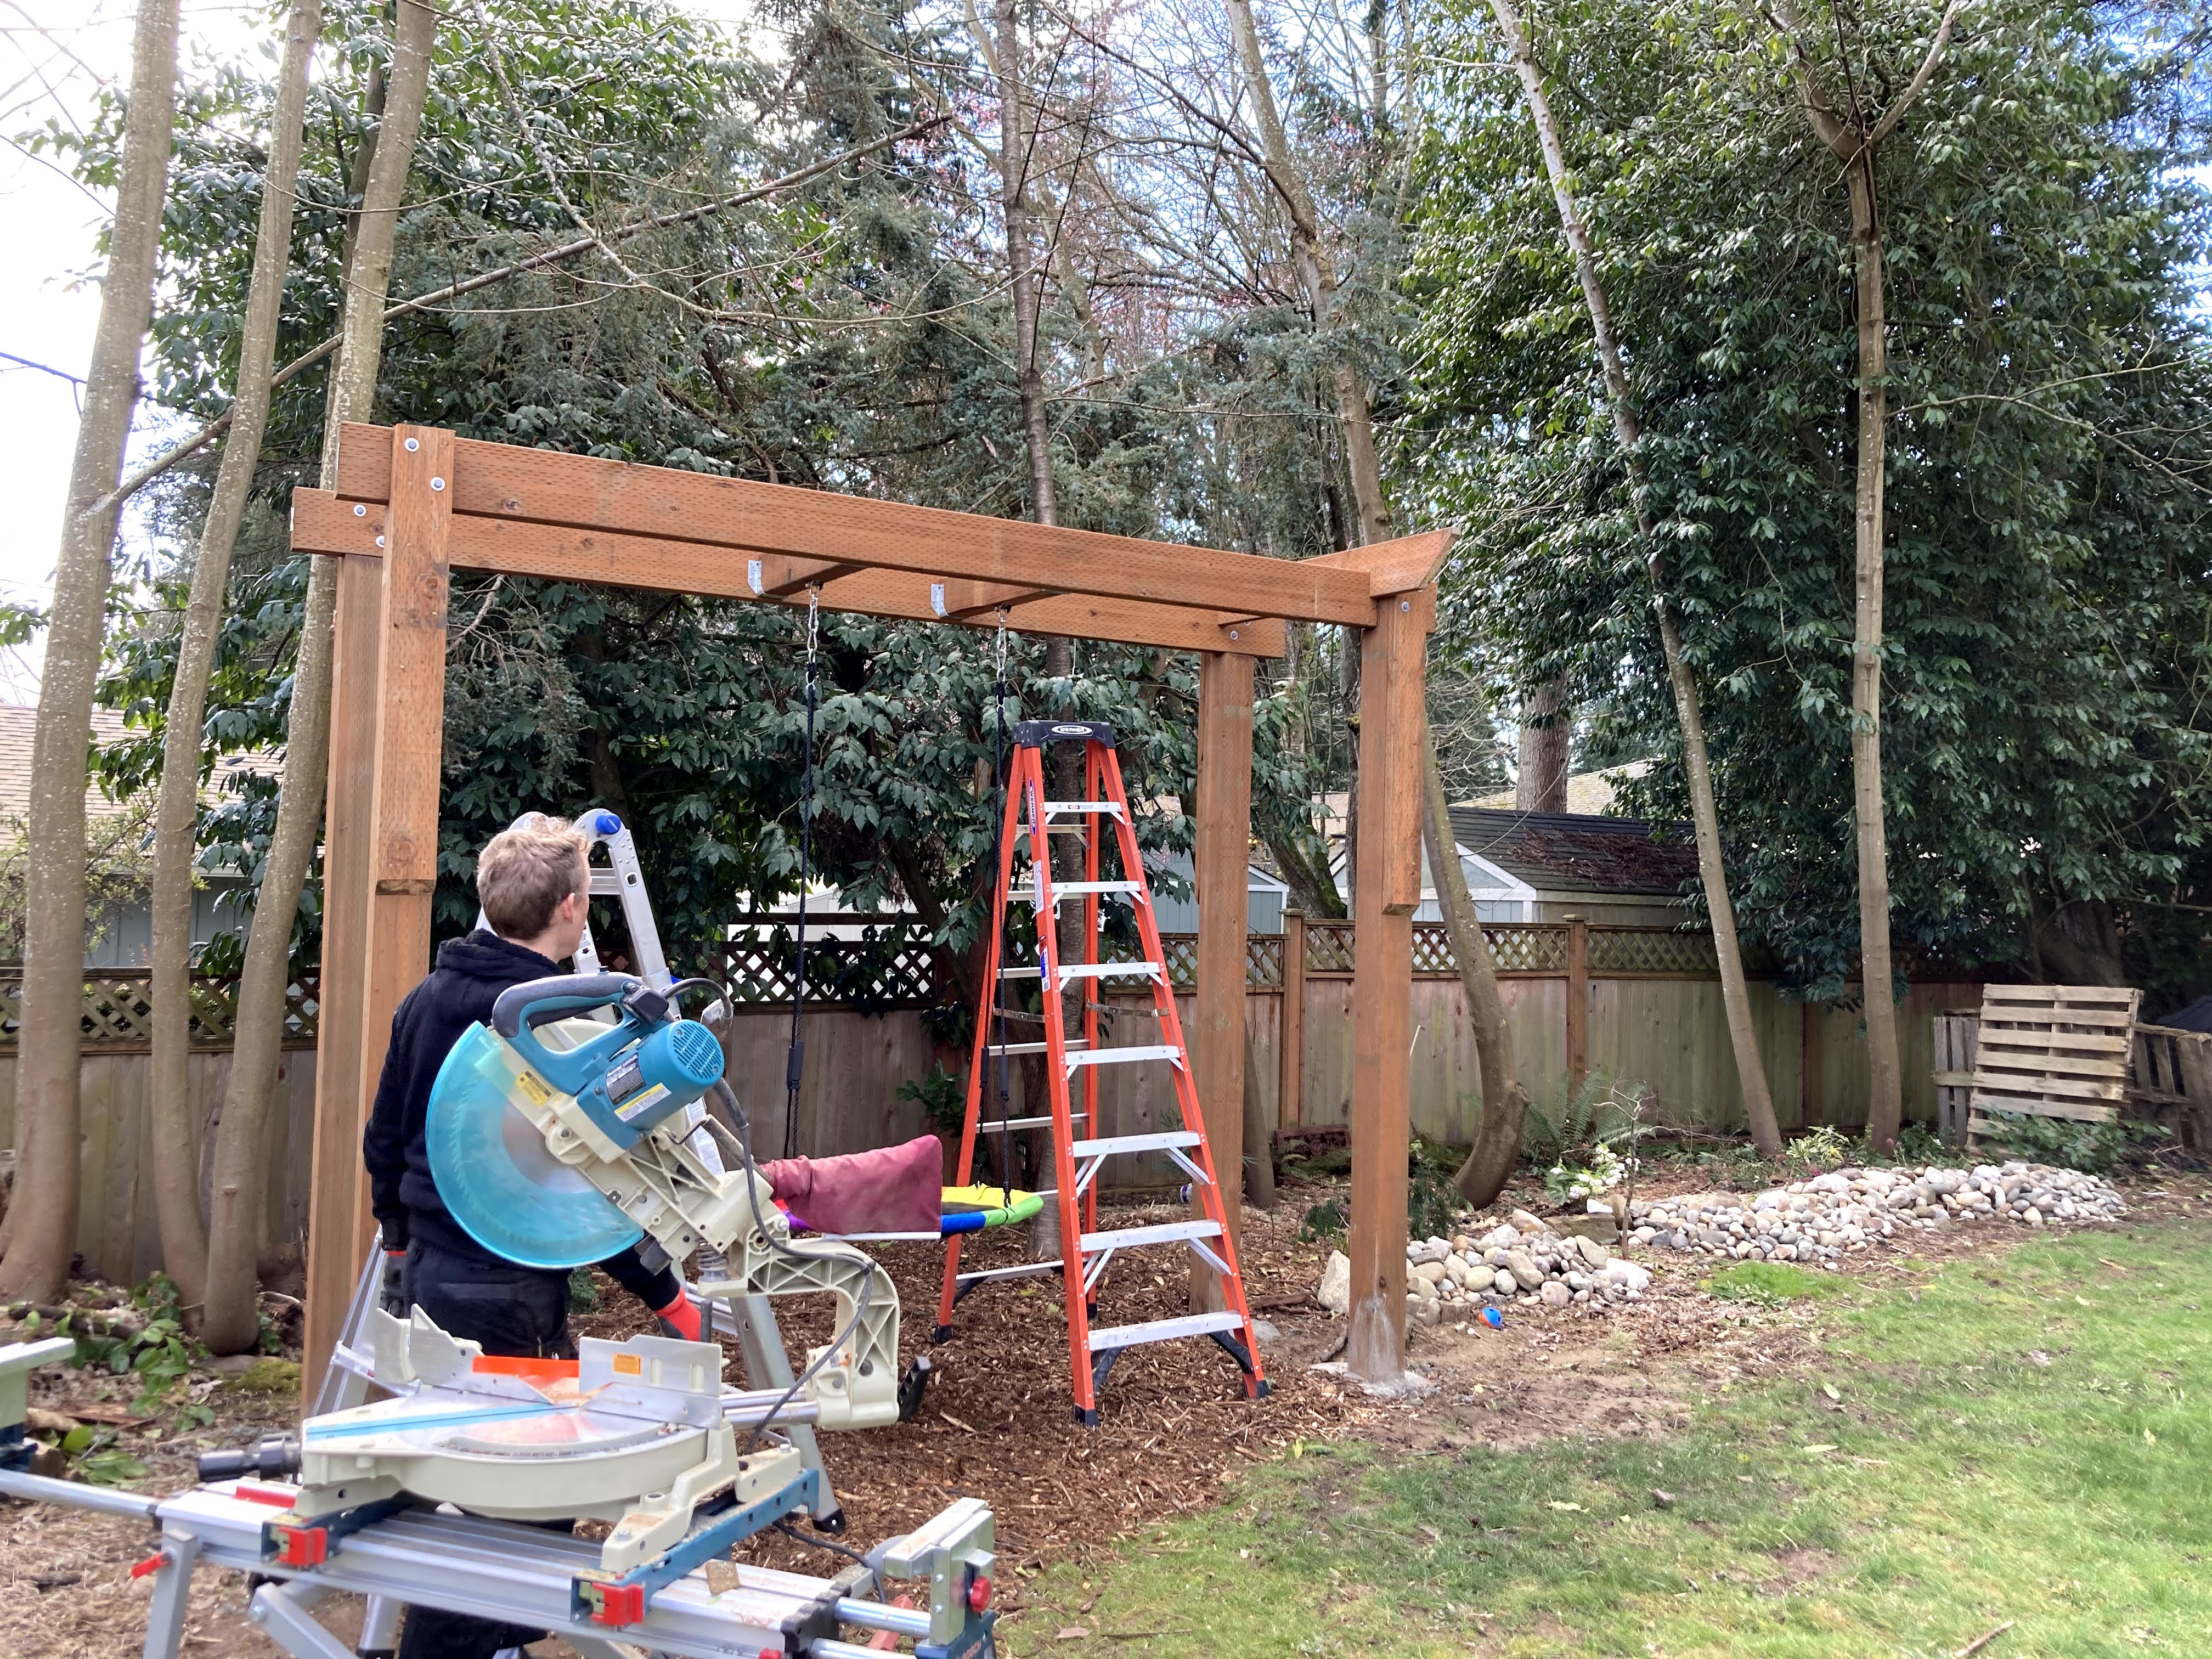


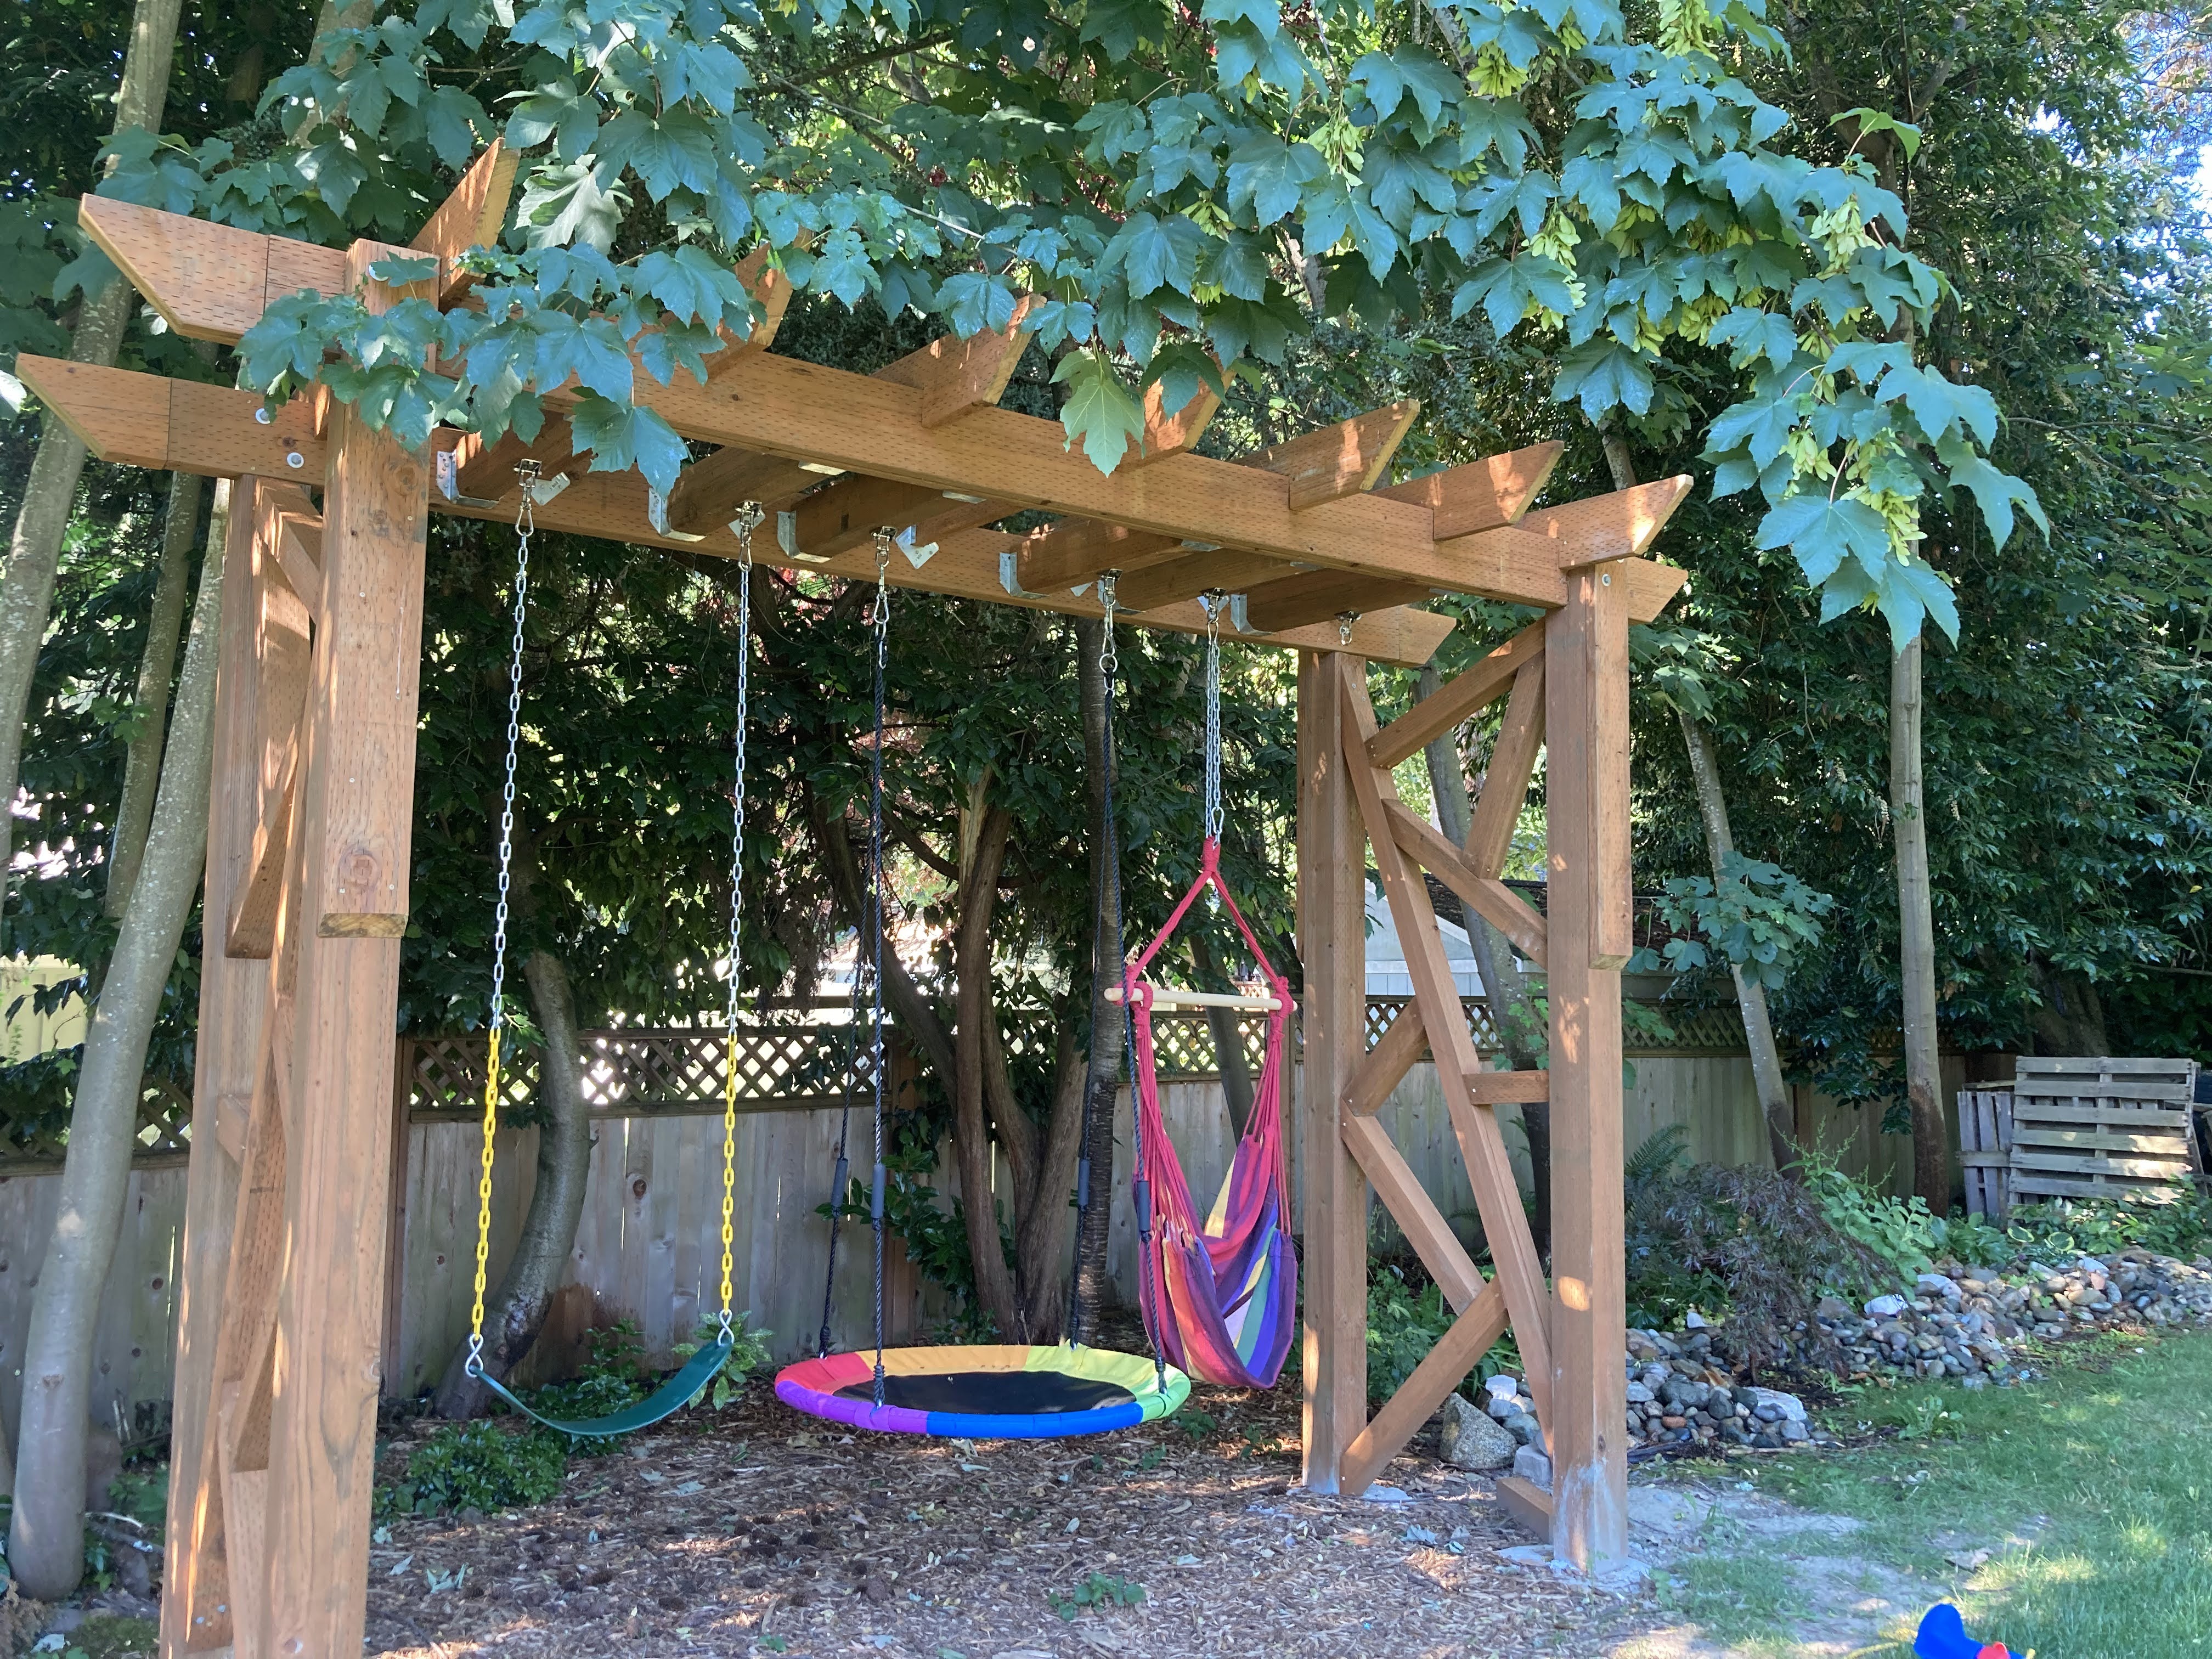
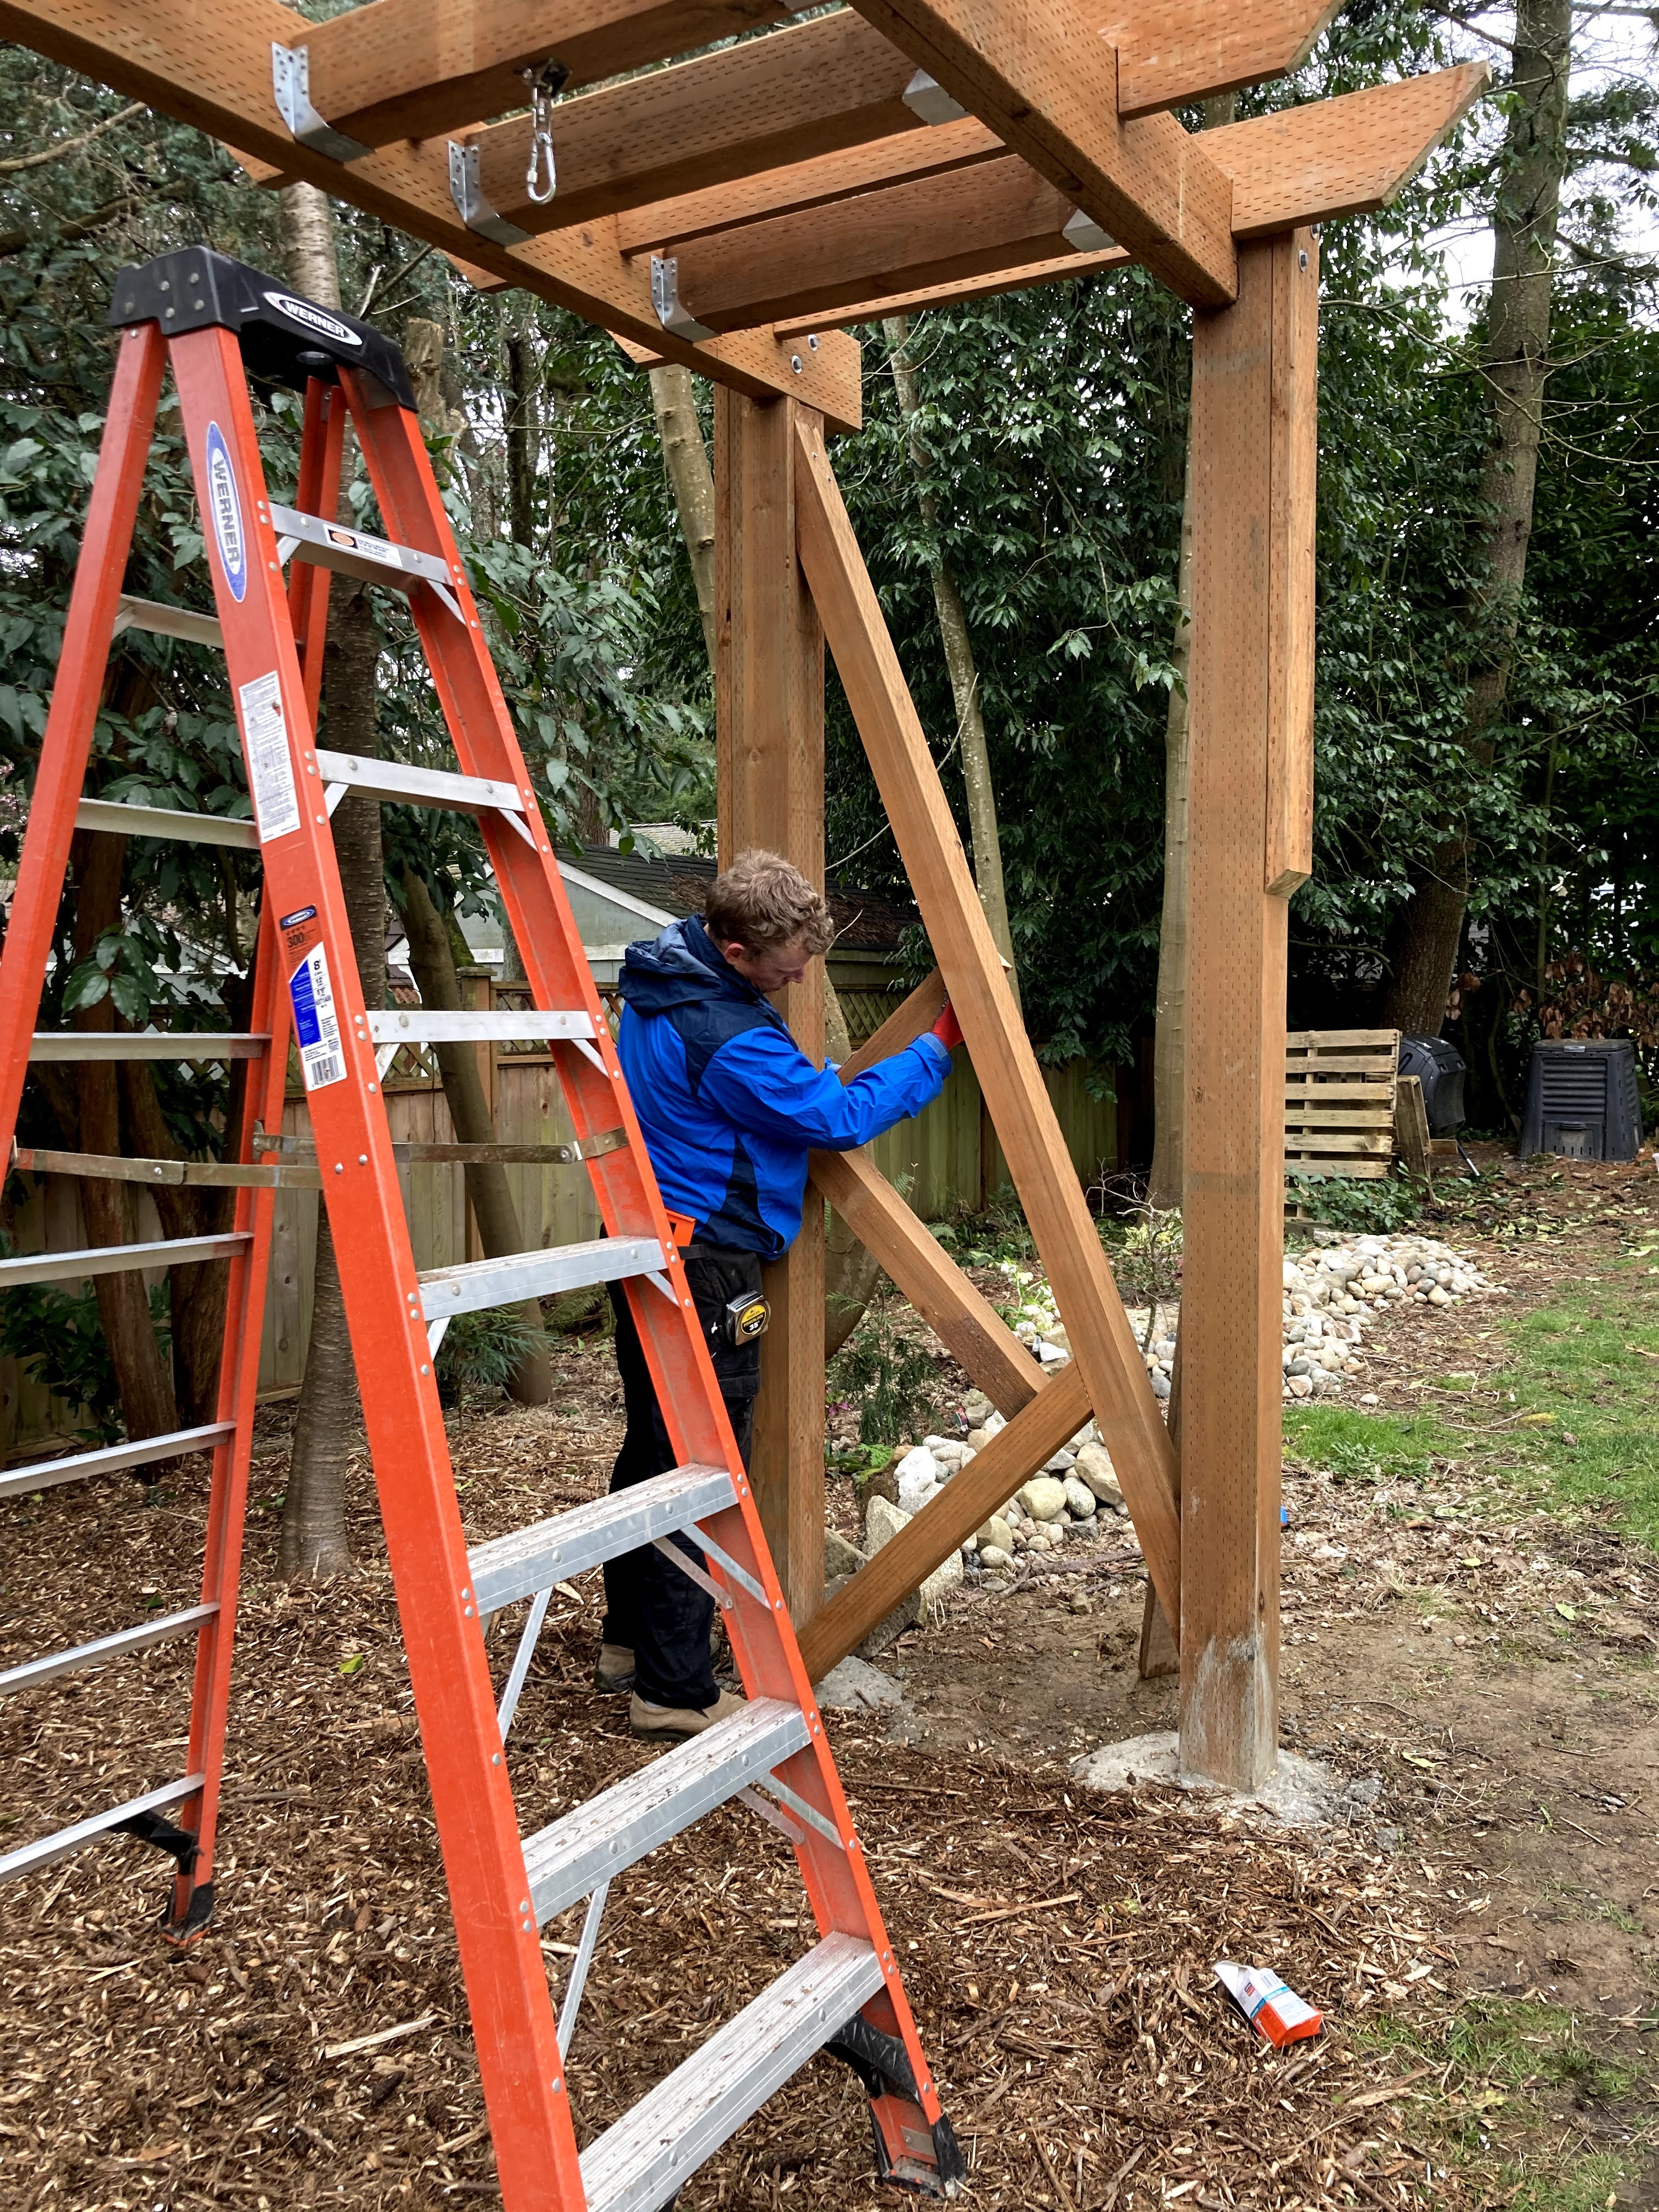
Once all of the swing hardware was attached and all of the decorative trellis boards were added it was time to add the finishing touches – the side supports.
For this we bought four 4×4 posts and planned to attach them in a web-like pattern to provide support but also look interesting and different from your typical trellis.
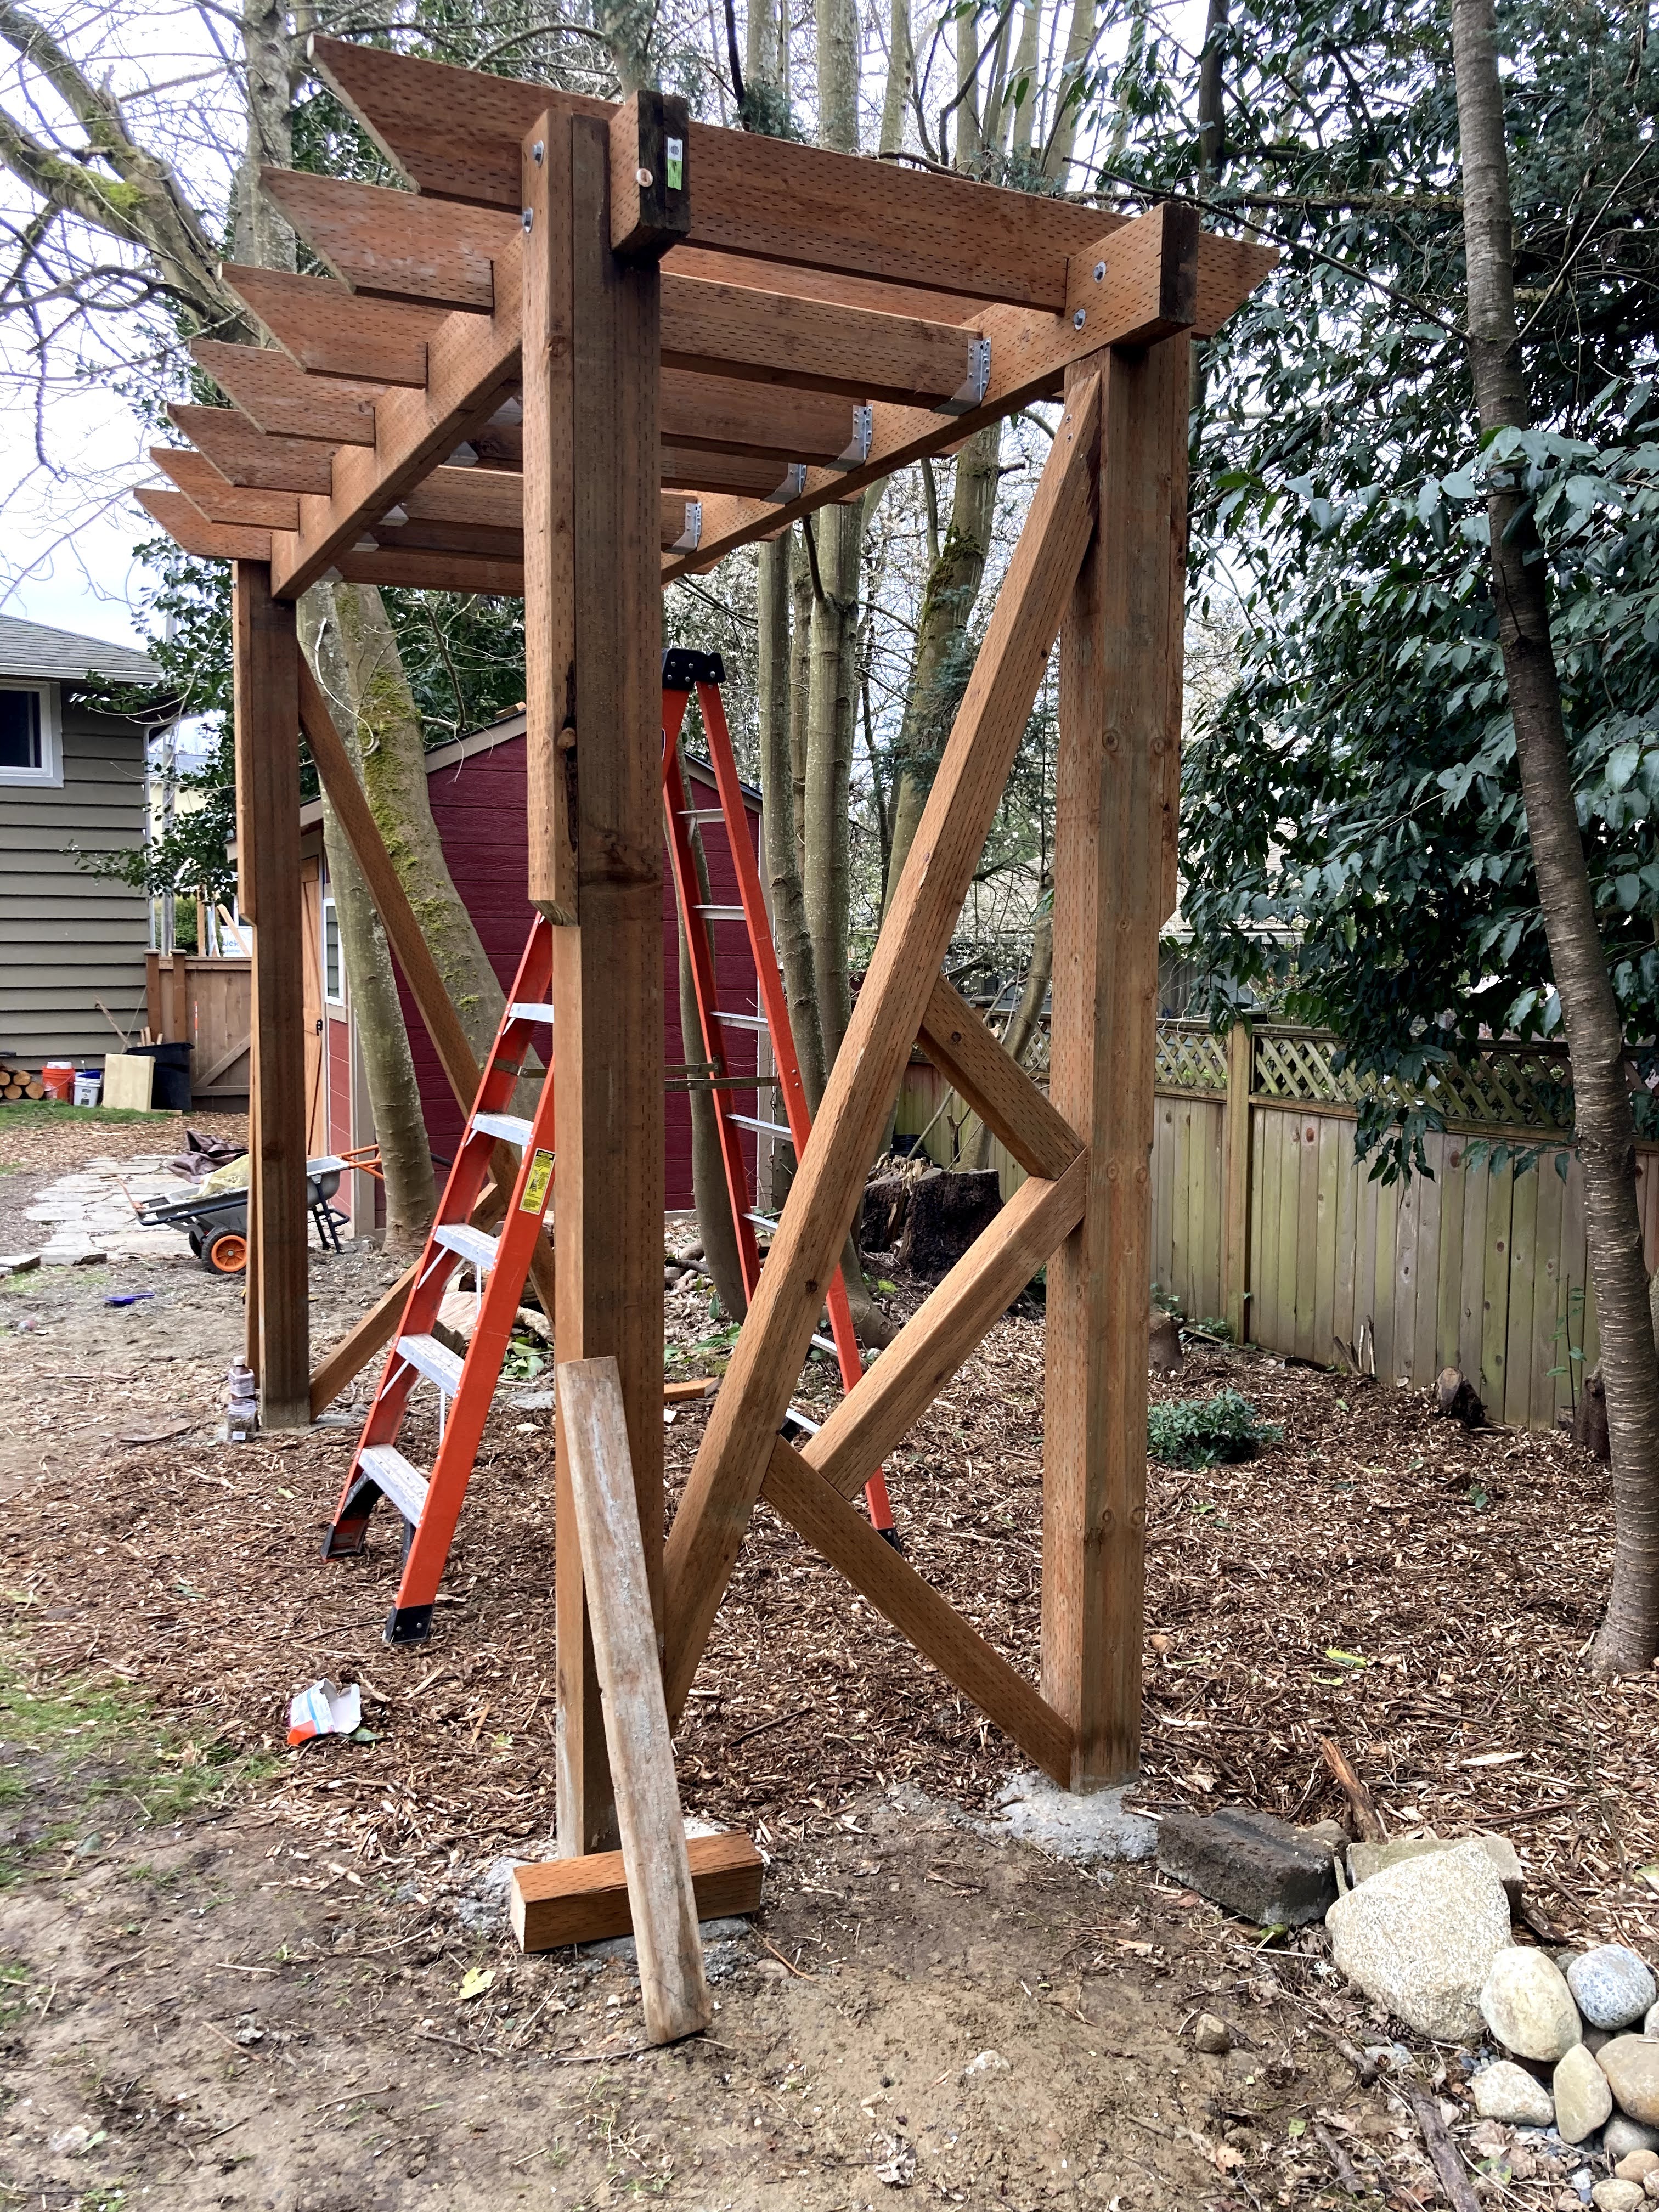

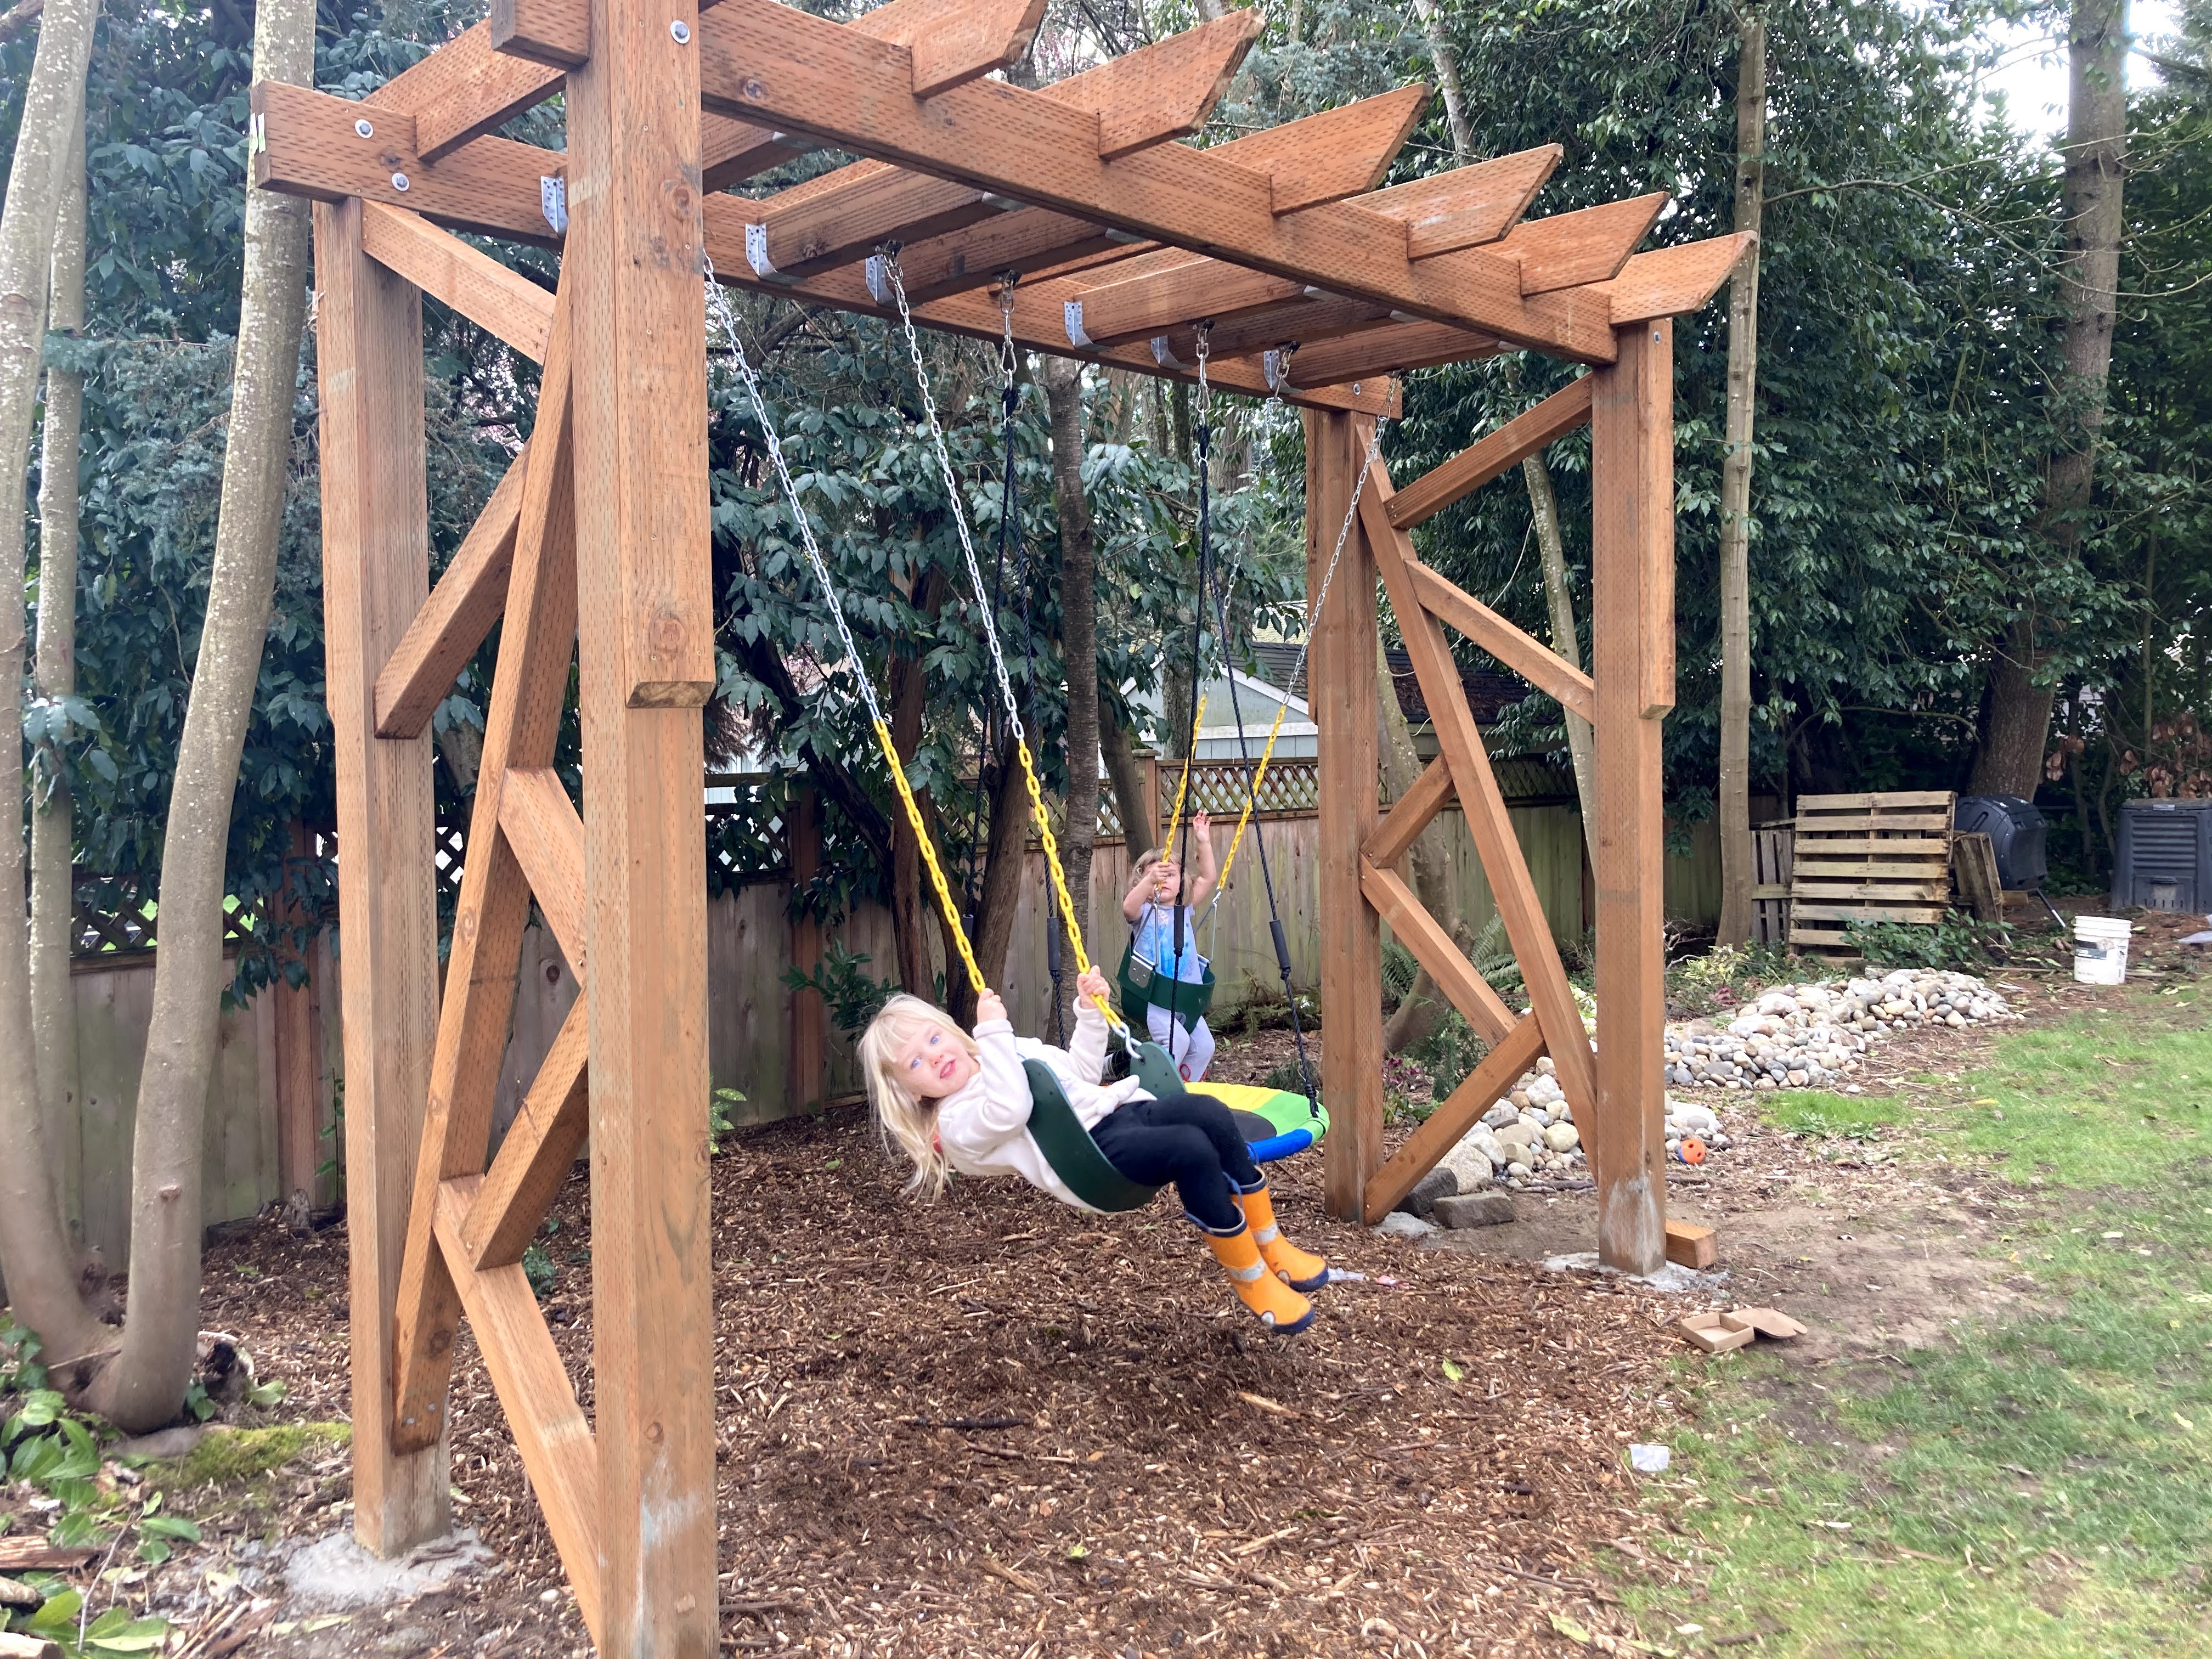
All in all we are extremely happy with the final product. The swing set has become a statement piece in our yard and I love that although it was built for our girls to use now, it’s something that we will all enjoy for many years to come.
Major thank you and kudos to my talented and patient husband. It’s pretty amazing that we can dream things up and then he can make those dreams come to life.