A lot was happening in 2020. A lot of it was bad. Like, the global pandemic, or continued police violence against people of color, and the U.S. having a dangerous sociopath for President who had the potential to be elected again that year, to name a few. But there was a lot of good happening too, even if some of it was hard to see because we were so focused on the ever-present negative.
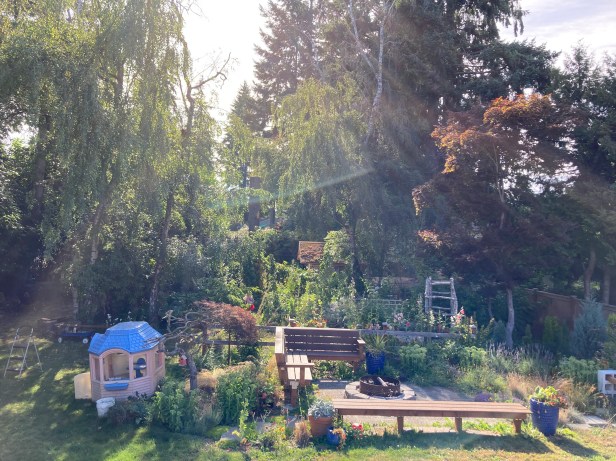
One of the best things that happened for us (other than our families and friends all staying healthy and mostly Covid-free) was that we were able to accomplish a lot of home improvement projects. One of my favorites was installing a firepit with some built in benches and a patio. Prior to the pandemic I had already planned on building a fire pit, and I knew exactly where it was going to go. I just didn’t know we were going to get a free patio to go along with it! Here’s how this project came about:
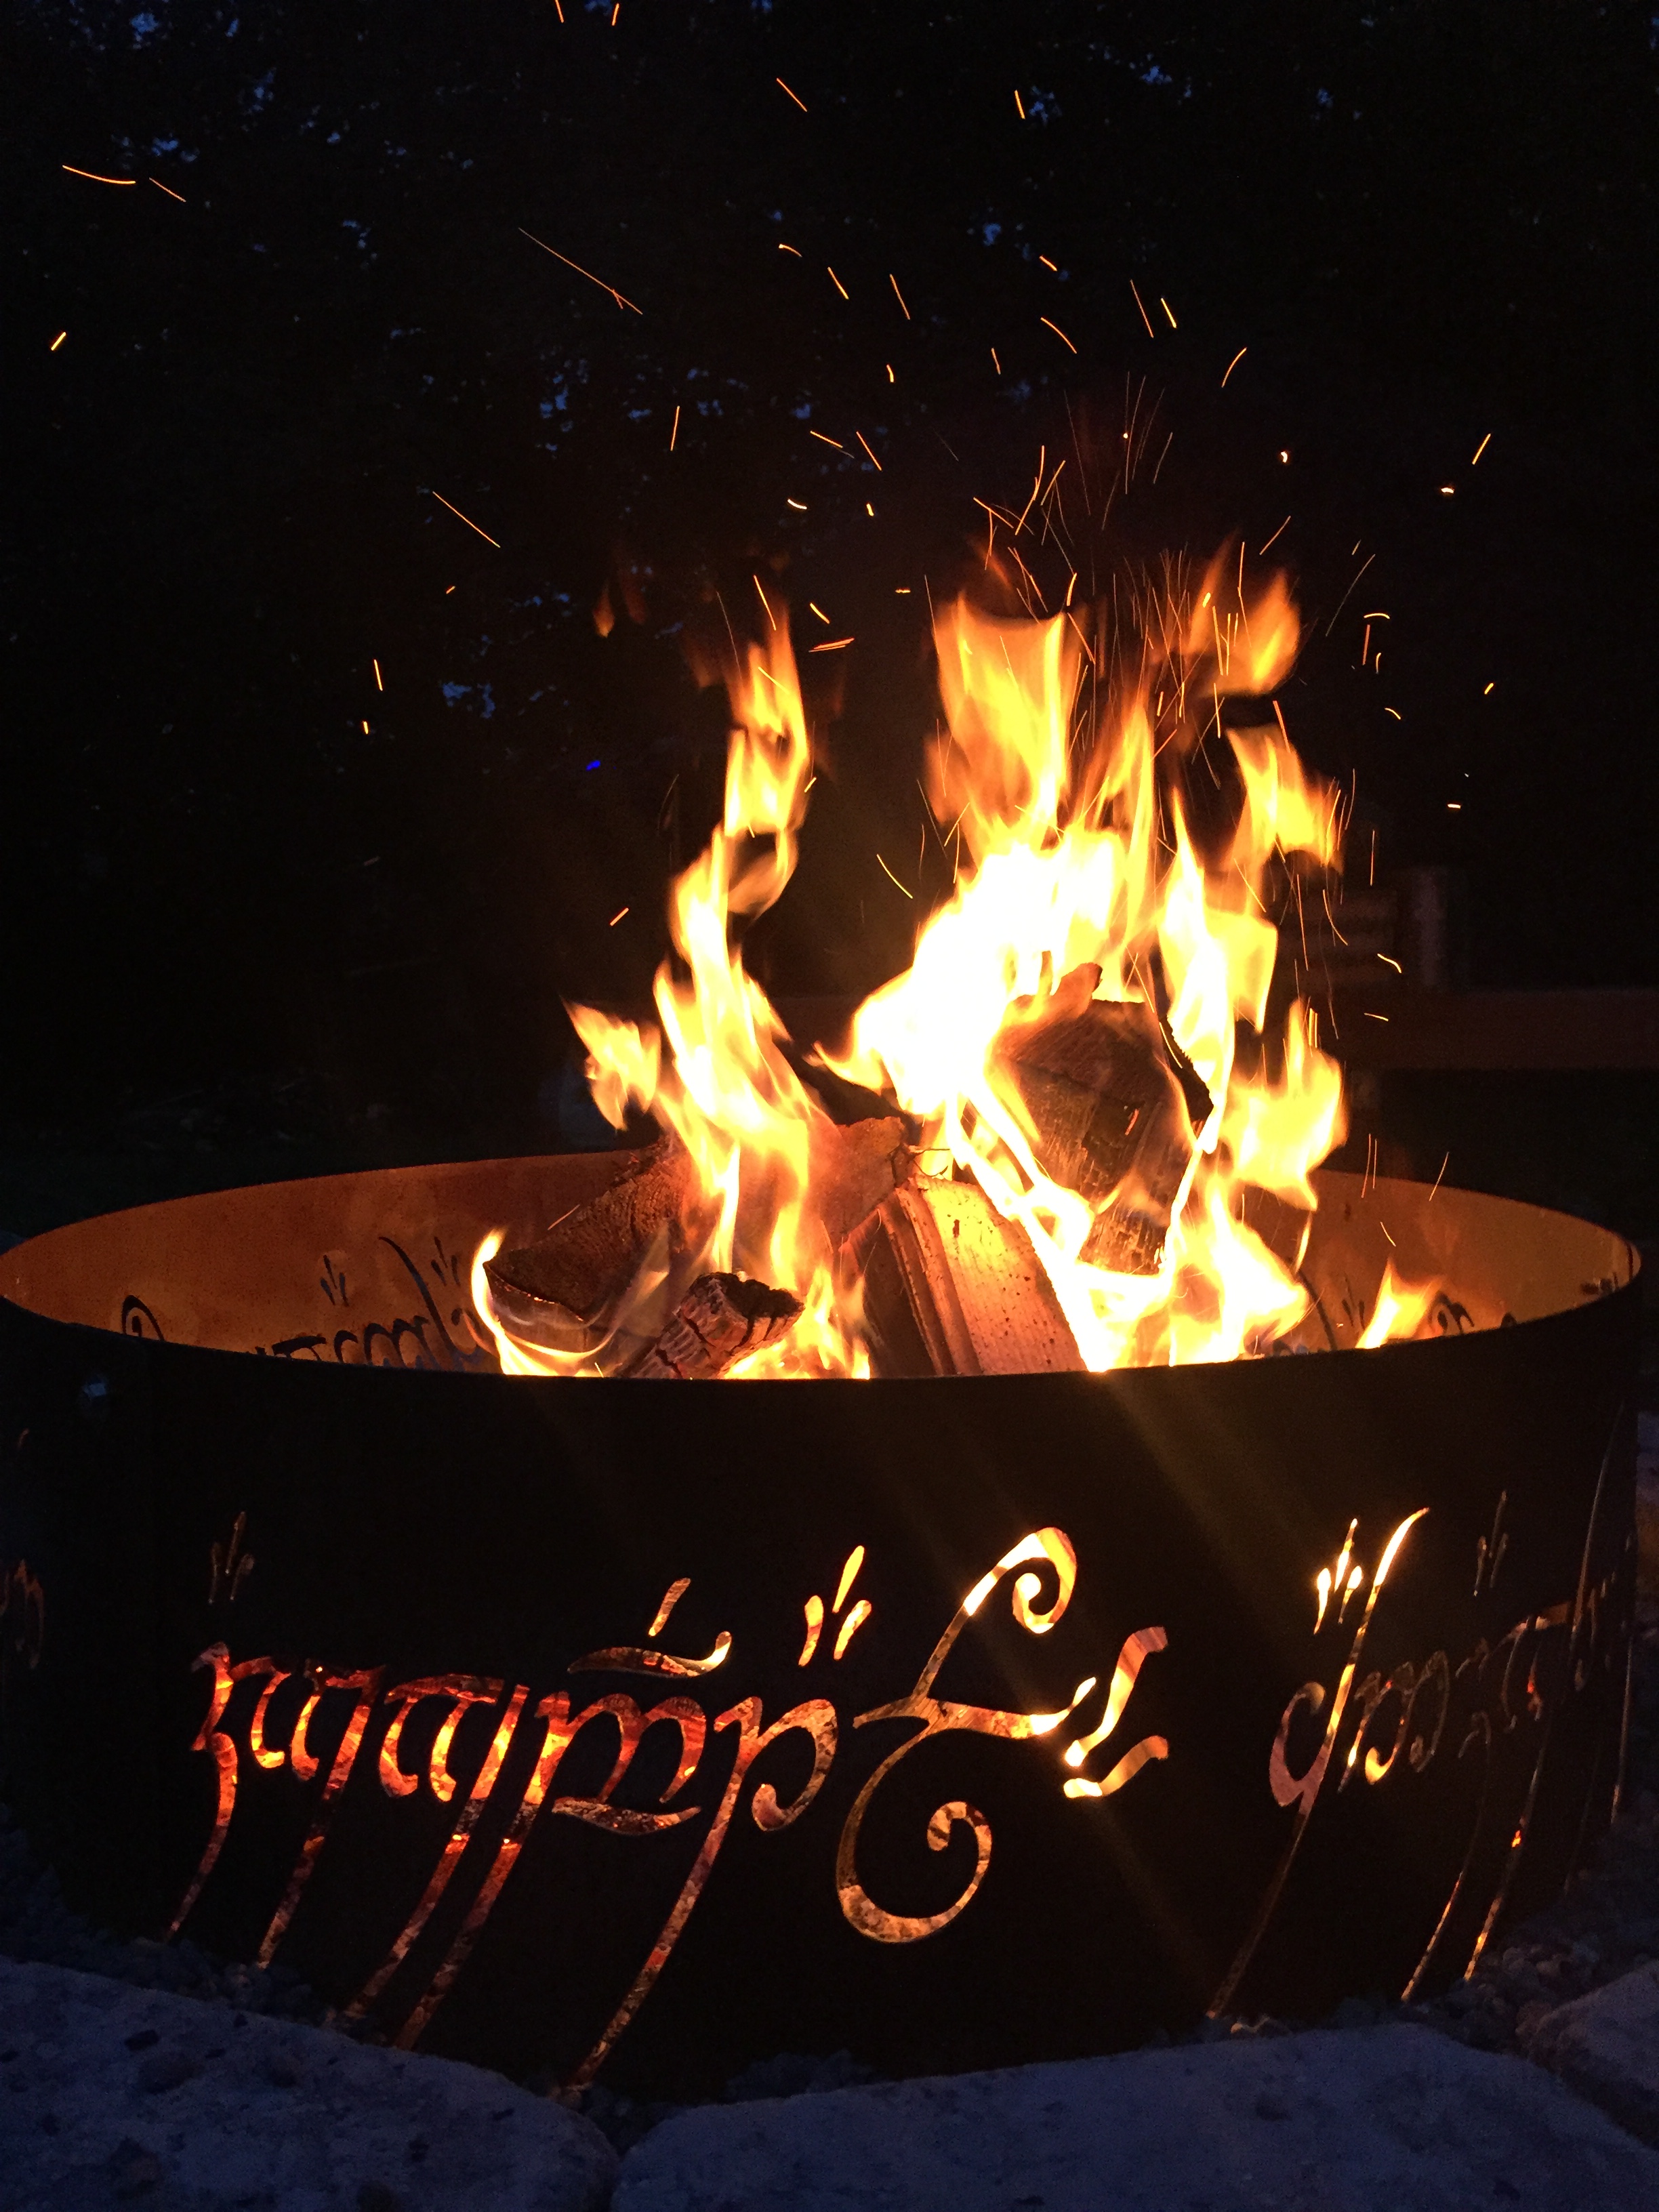
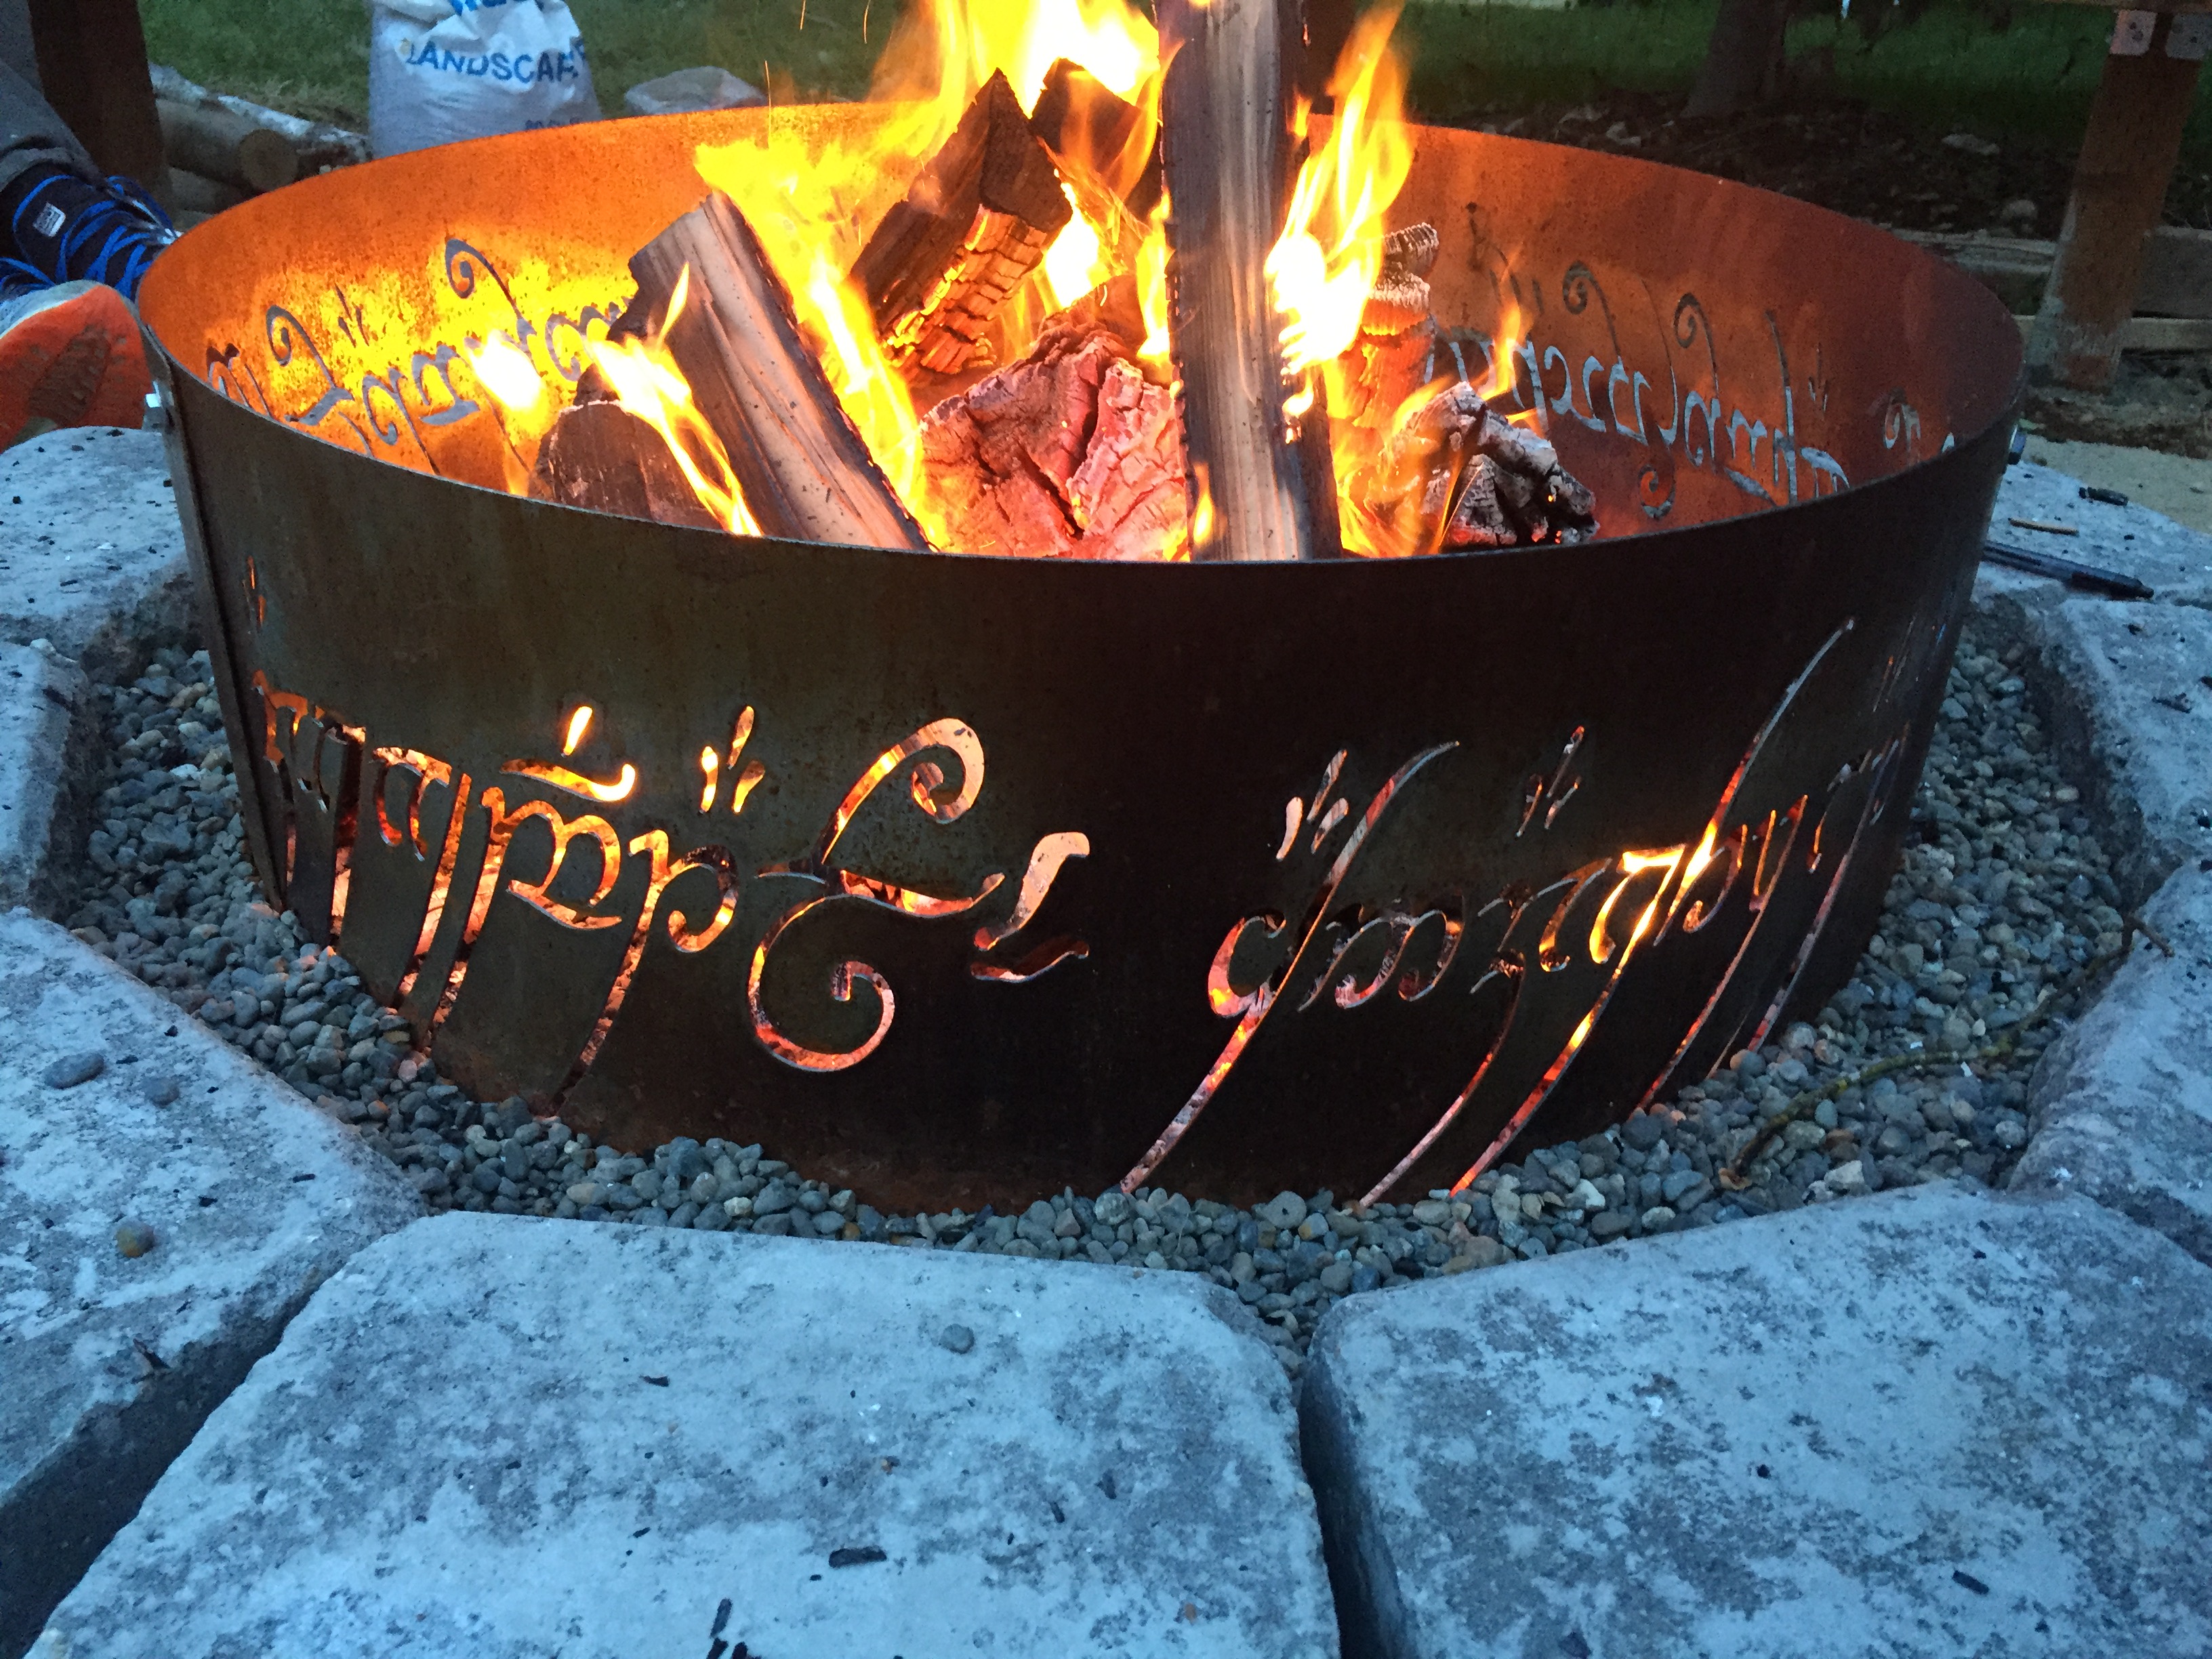
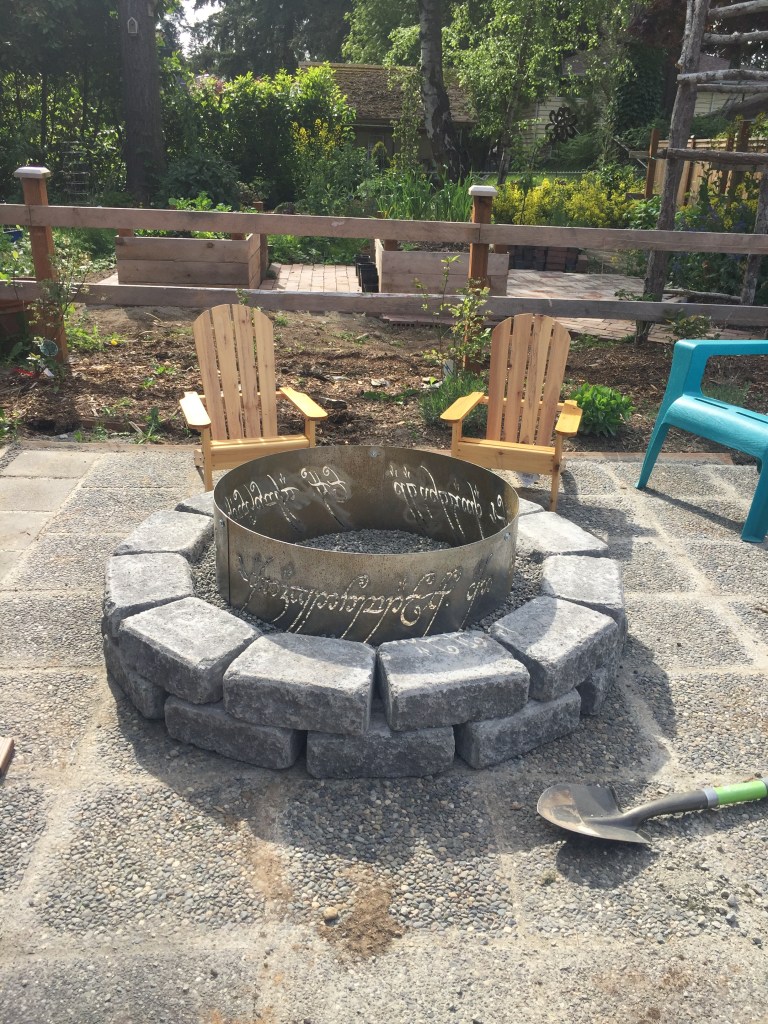
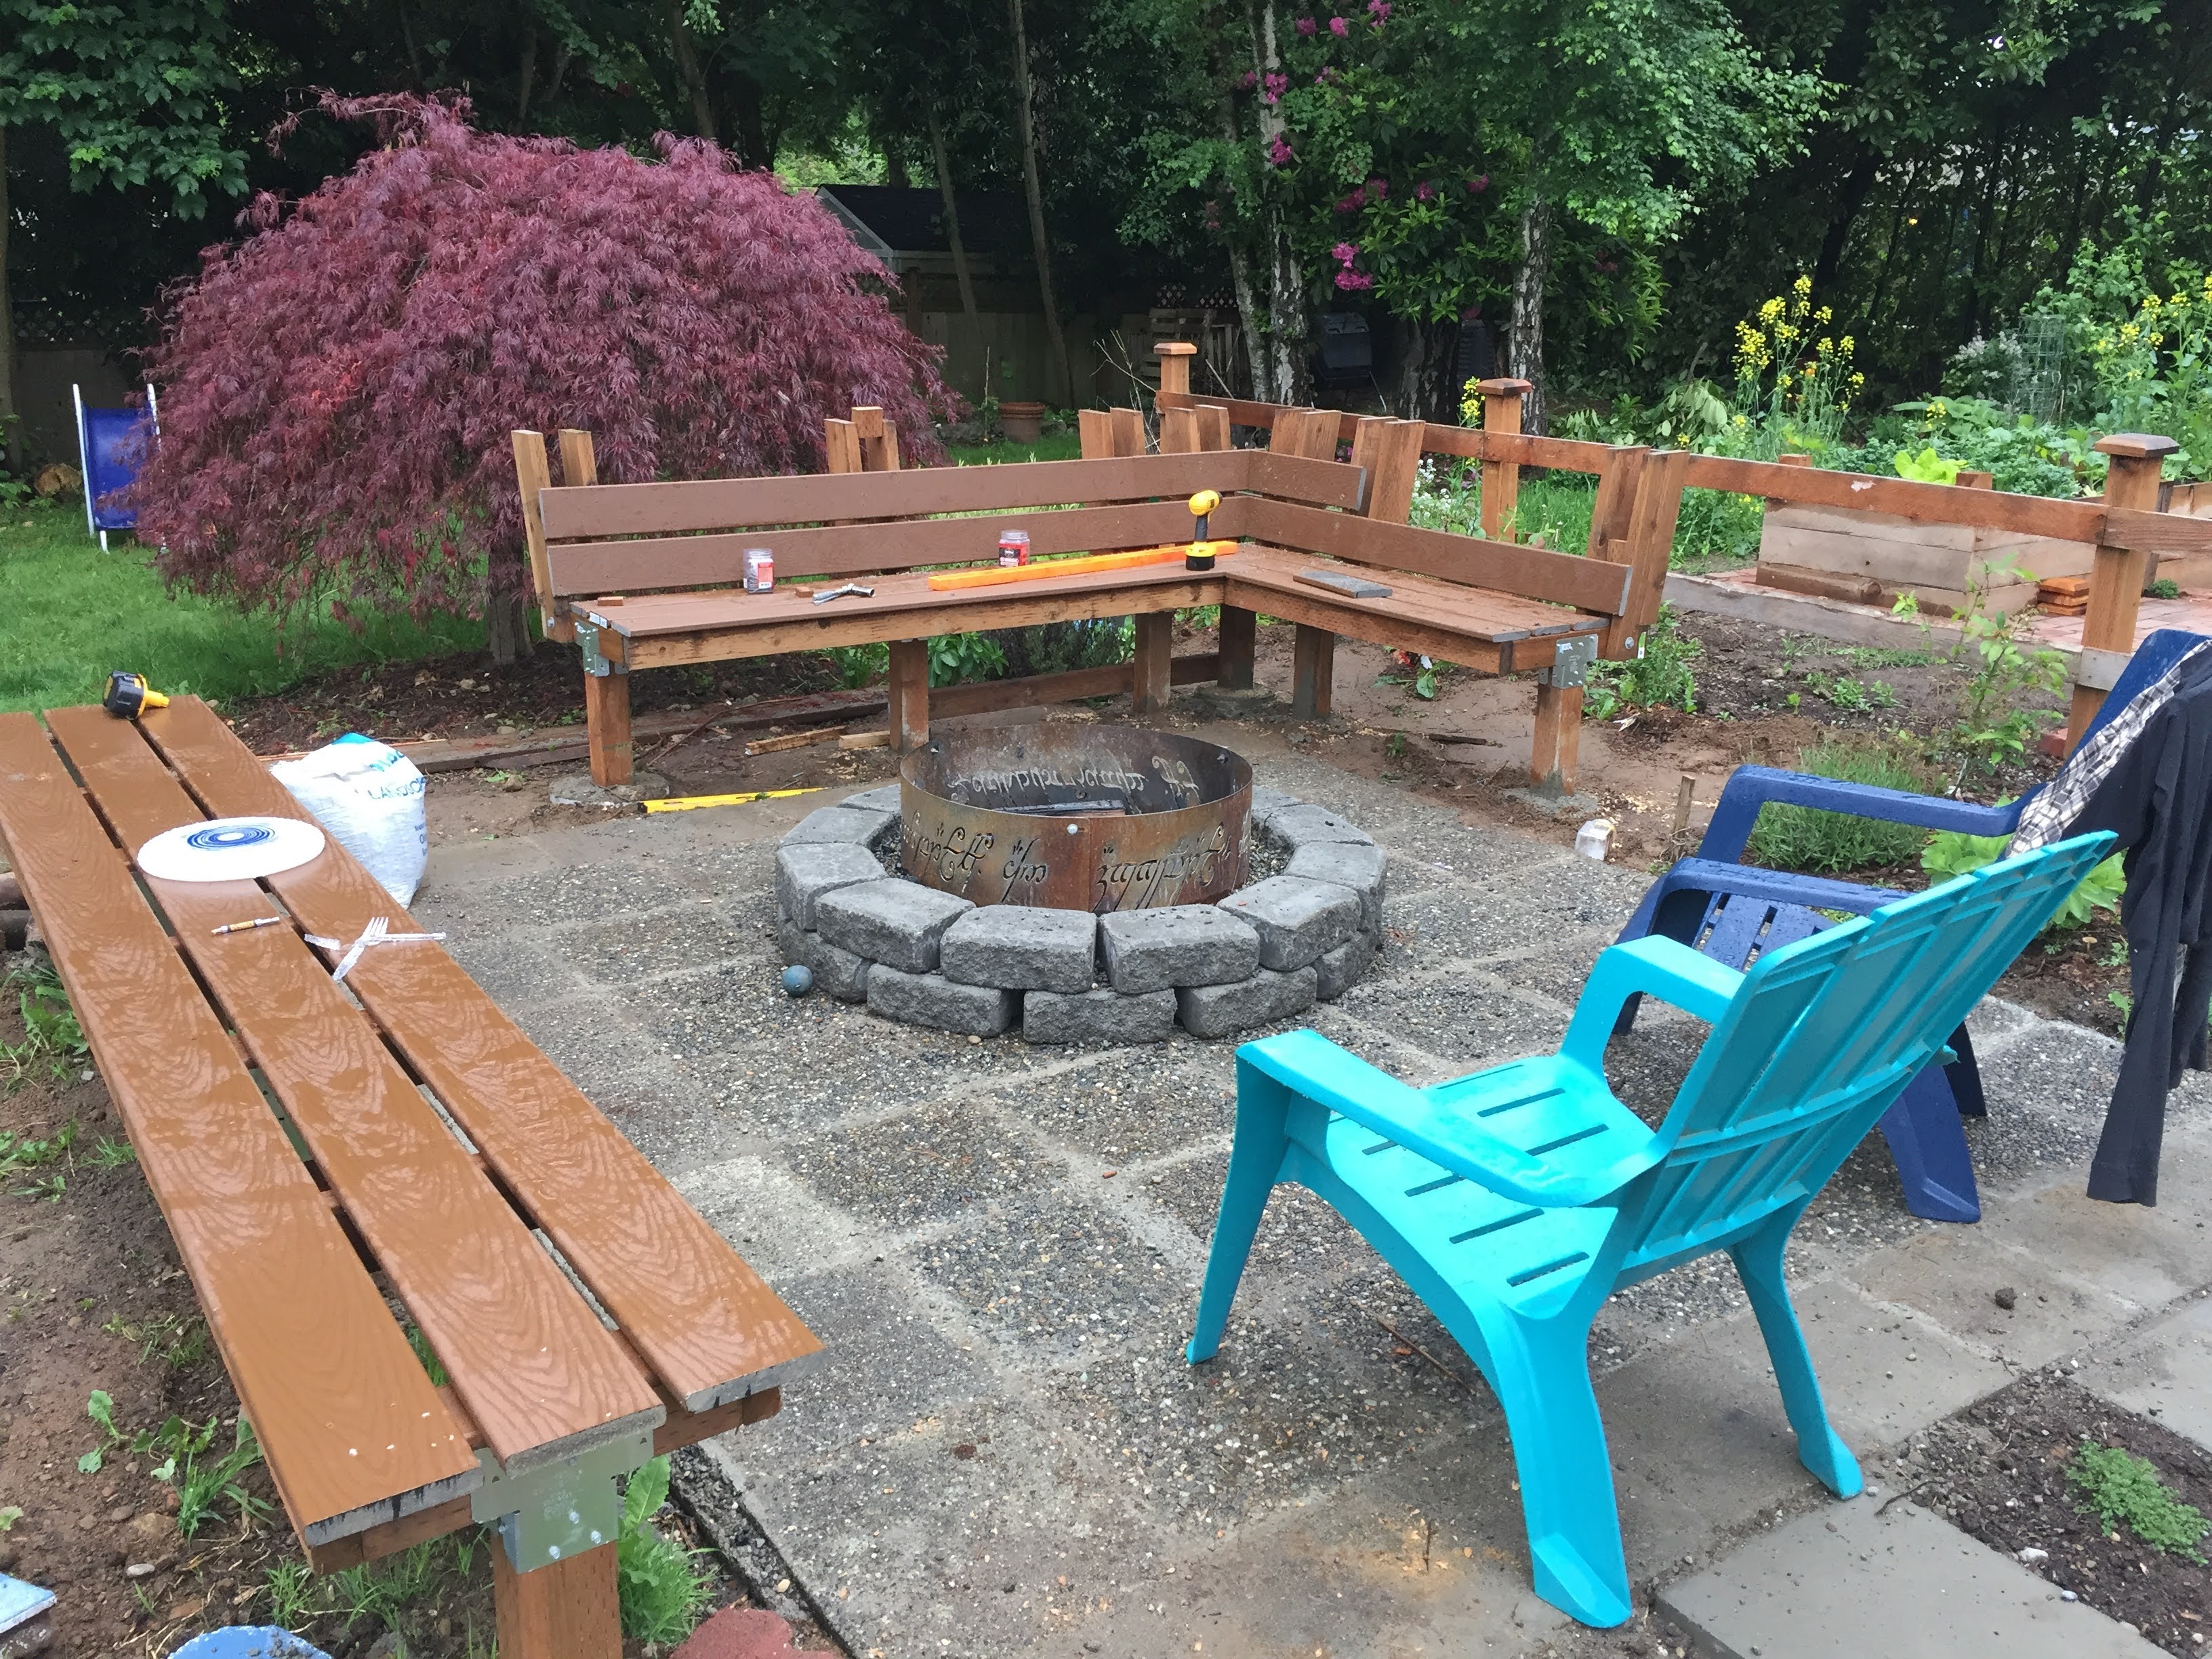
I had purchased my husband a fire ring for his birthday in April. This wasn’t just any ring, it was the One Ring to Rule Them All! Literally. A Lord of the Rings fire ring. It was, and is, glorious.

I figured we would buy some stones and create a nice pit and then put some lawn chairs around it or maybe eventually add some benches. But as luck would have it, there was a house across the street that was getting a major renovation, and the owners were going to demo the whole yard, so everything that was there was up for grabs. Thus, I removed an entire patio worth of pavers into our yard. For free!
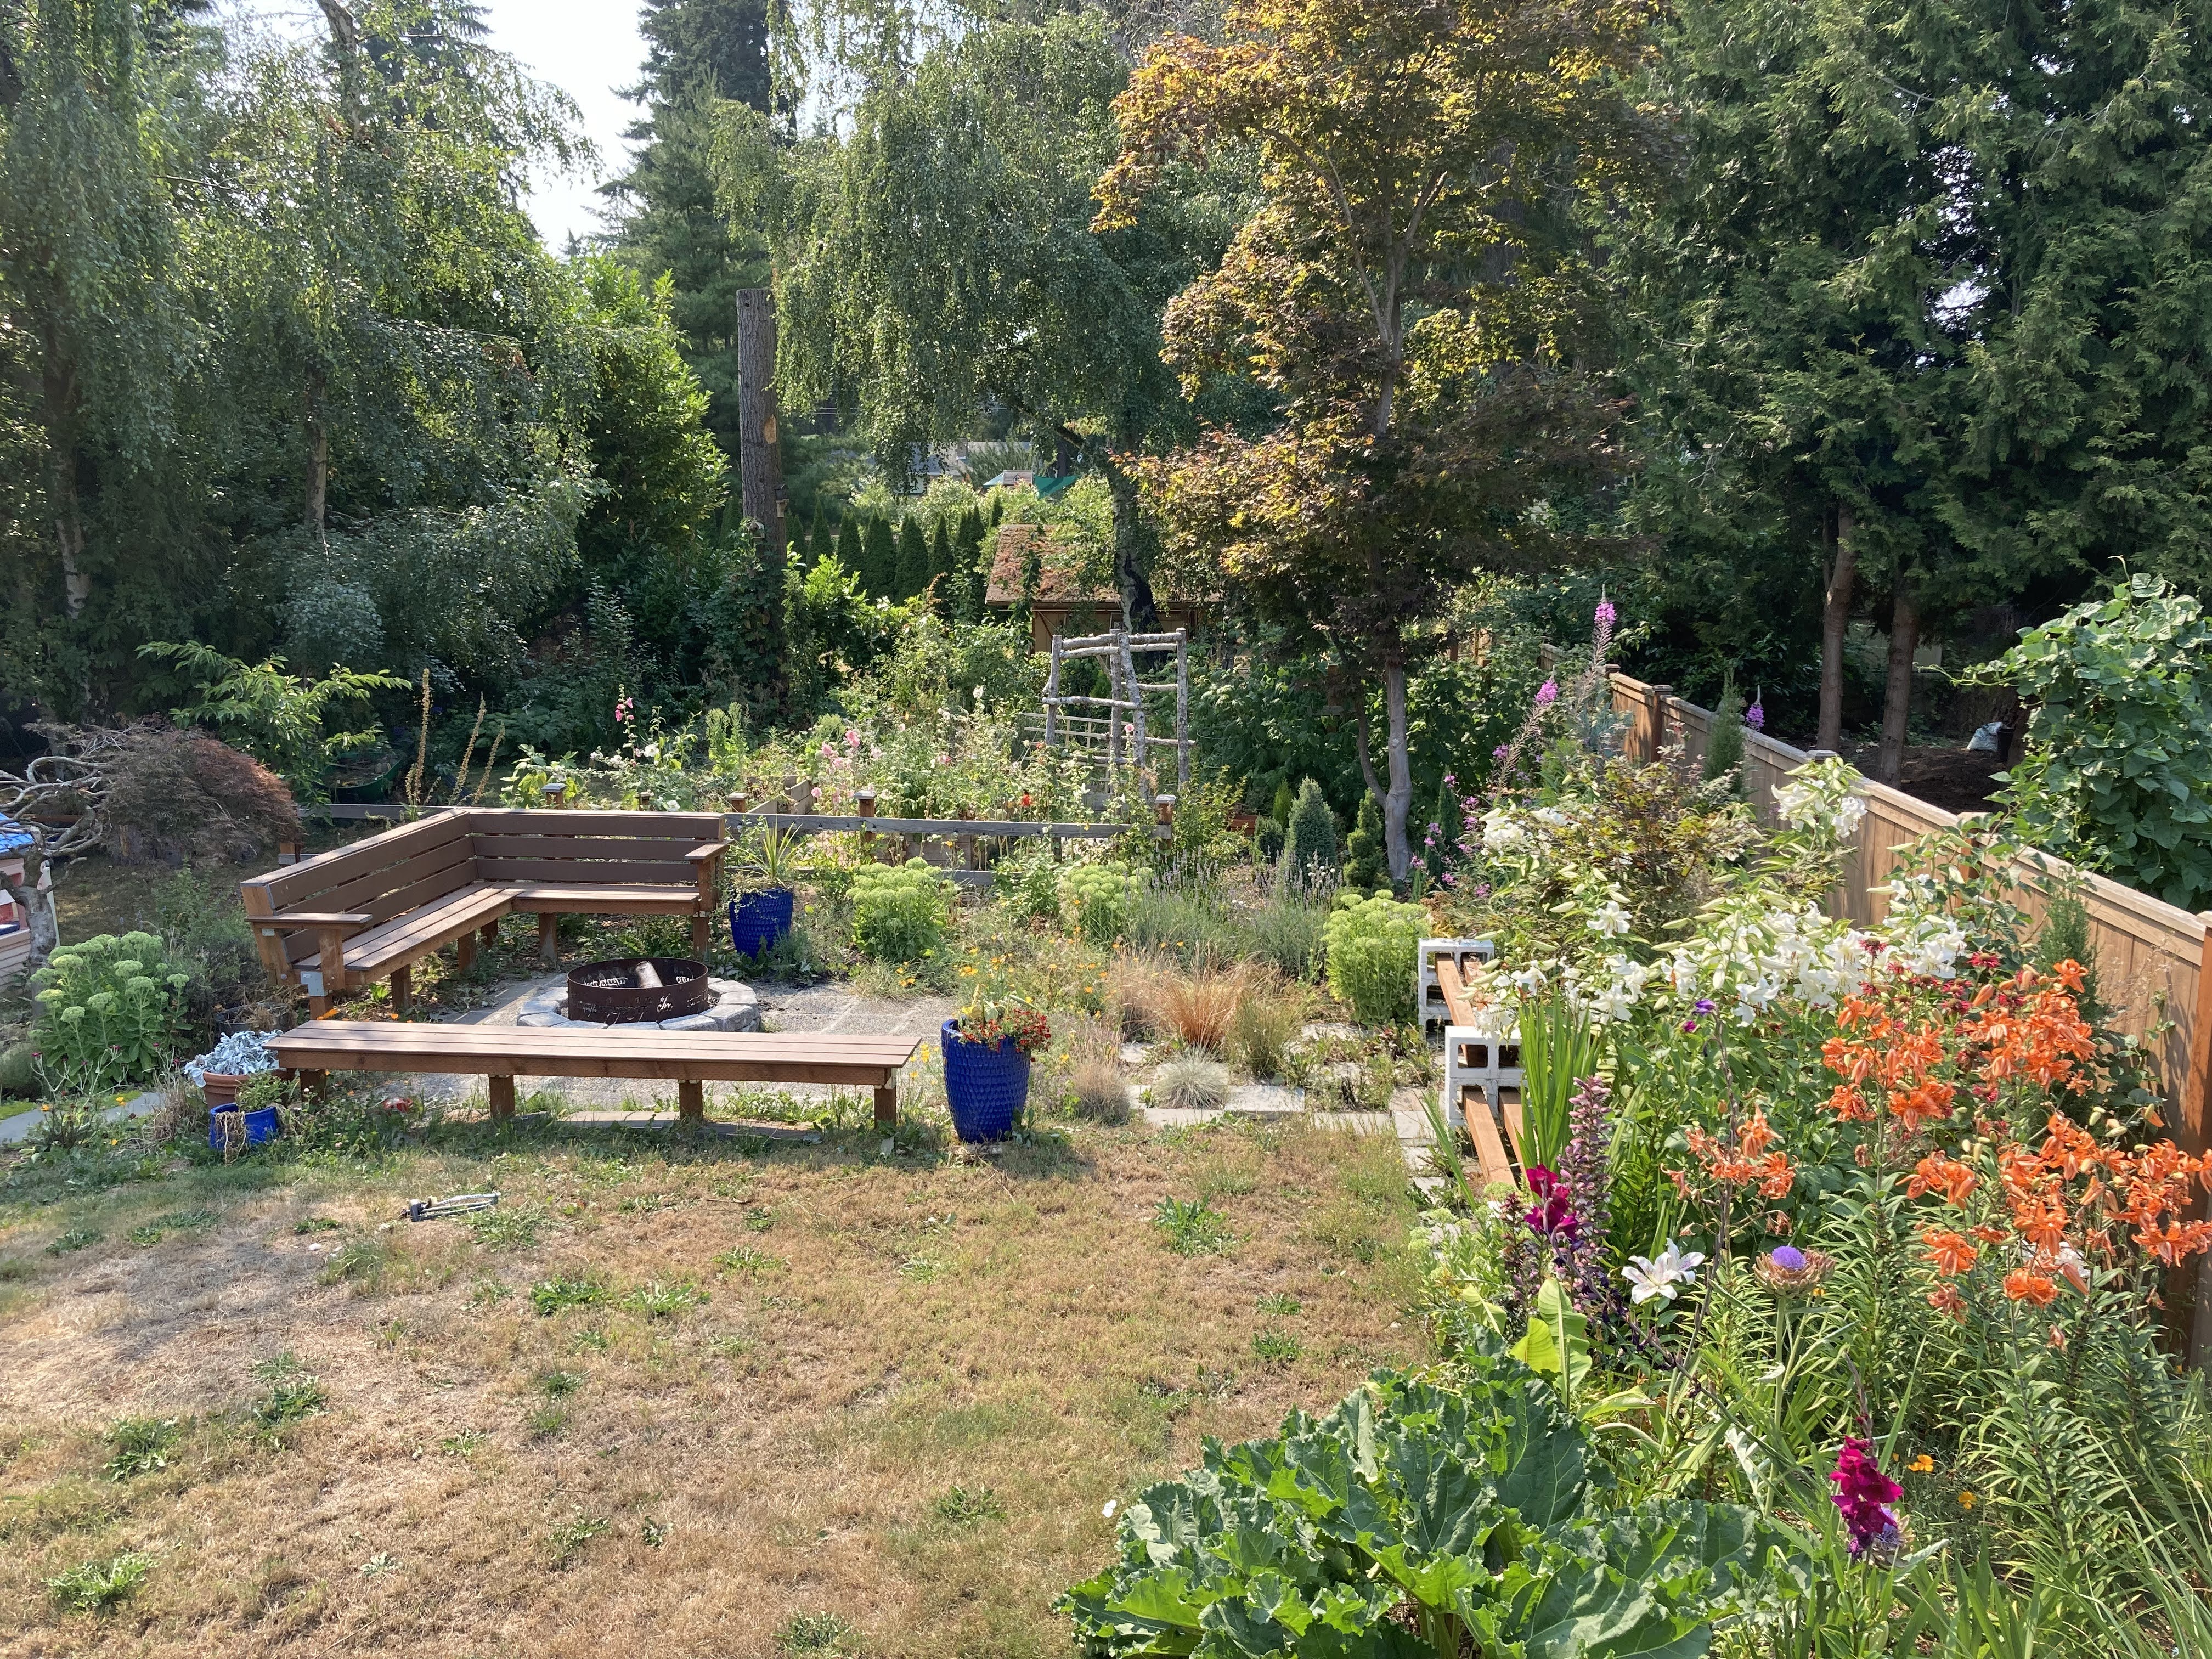
We decided we would build a nice sized patio to put the fire pit on and then Jon got excited about installing some built-in benches to go around the pit. No complaints from me! We looked at some bench designs online and then settled on some that we liked, and then Jon drew out some plans and we got to work on constructing our new outdoor, socially-distance safe entertaining space!
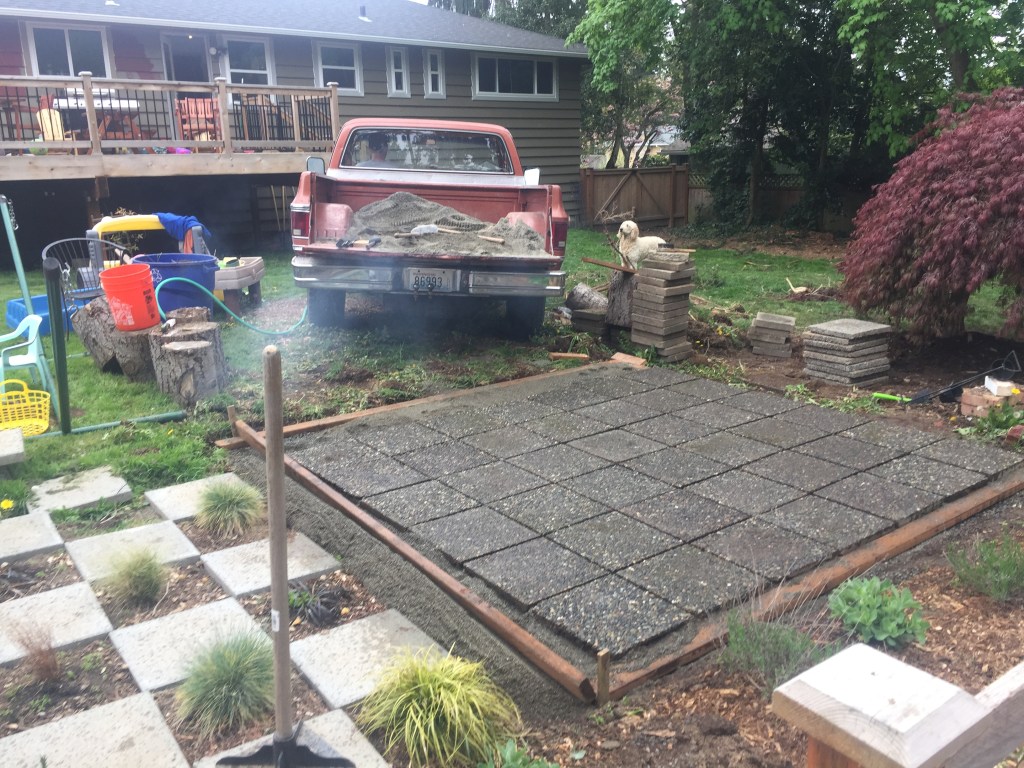
Step one: remove all pavers from across the street. That took about two days because I started moving them by hand with a wheelbarrow. Eventually I got smart and borrowed my dad’s truck to finish the job. We then cleaned the pavers, measured and leveled the future patio site, added a layer of gravel and sand, and then got to work laying the pavers.
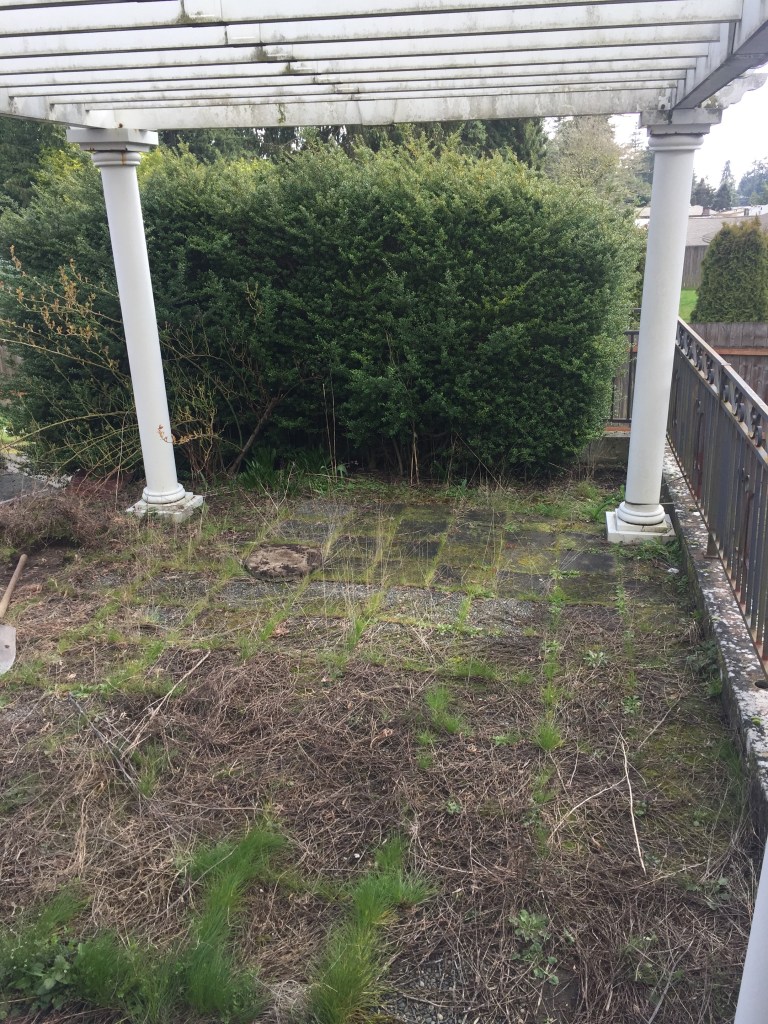
The original patio at the neighbor’s house 
There were a lot more pavers than I realized! 
At first I used a wheelbarrow to take the pavers across the street. Eventually I got wise and borrowed my dad’s truck. It still took two trips! 
Nearly done digging out the pavers. Thankfully they were only set in sand, not concrete! 
As you can (maybe?) see, there were a few different types of pavers. 
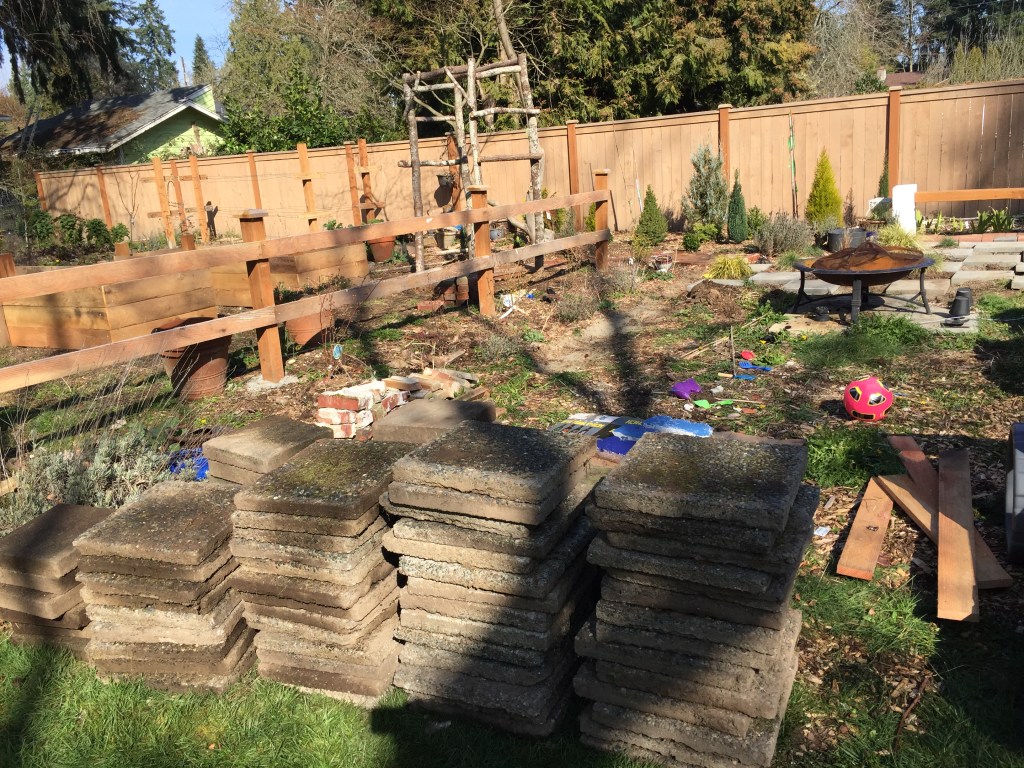
Can’t beat the price on these pavers – FREE!!! 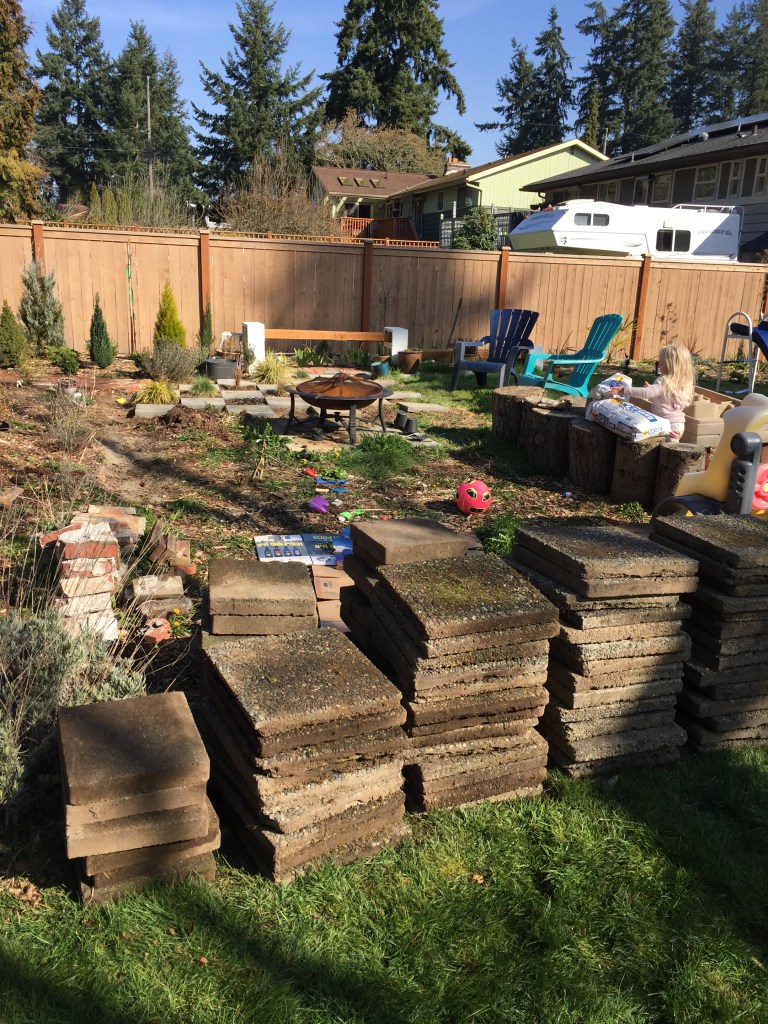
Here you can see the two different types of pavers. 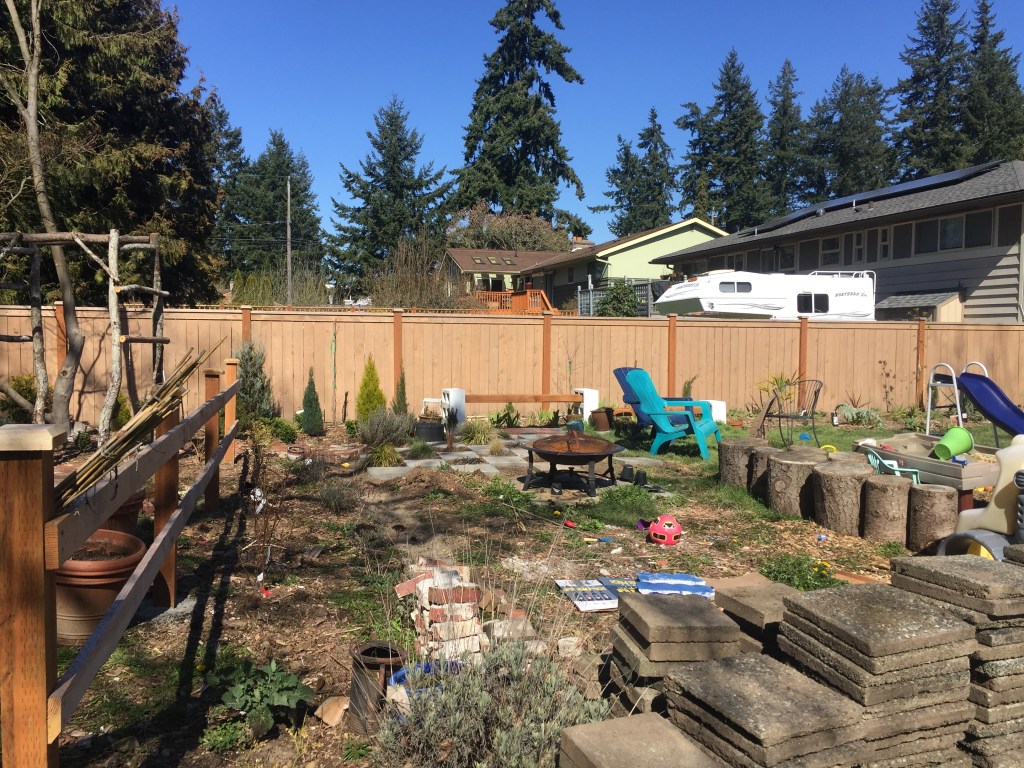
The old fire pit. It didn’t get much use, so we were hoping if we built our new one well enough it would get used a lot more! 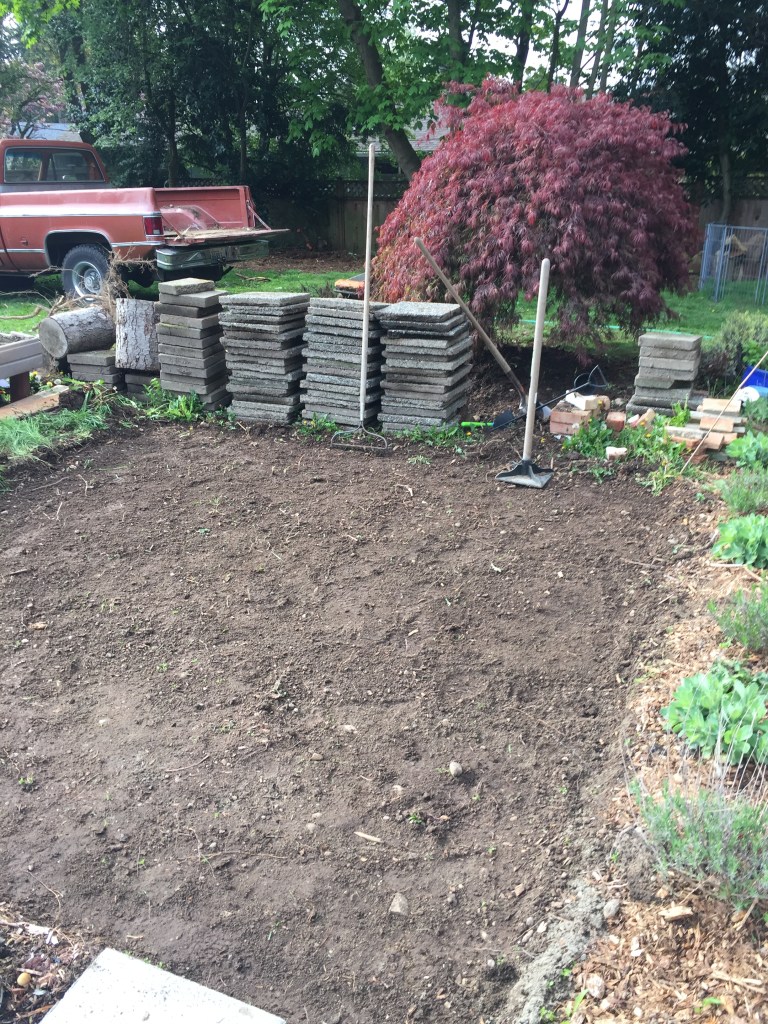
Prepping the site 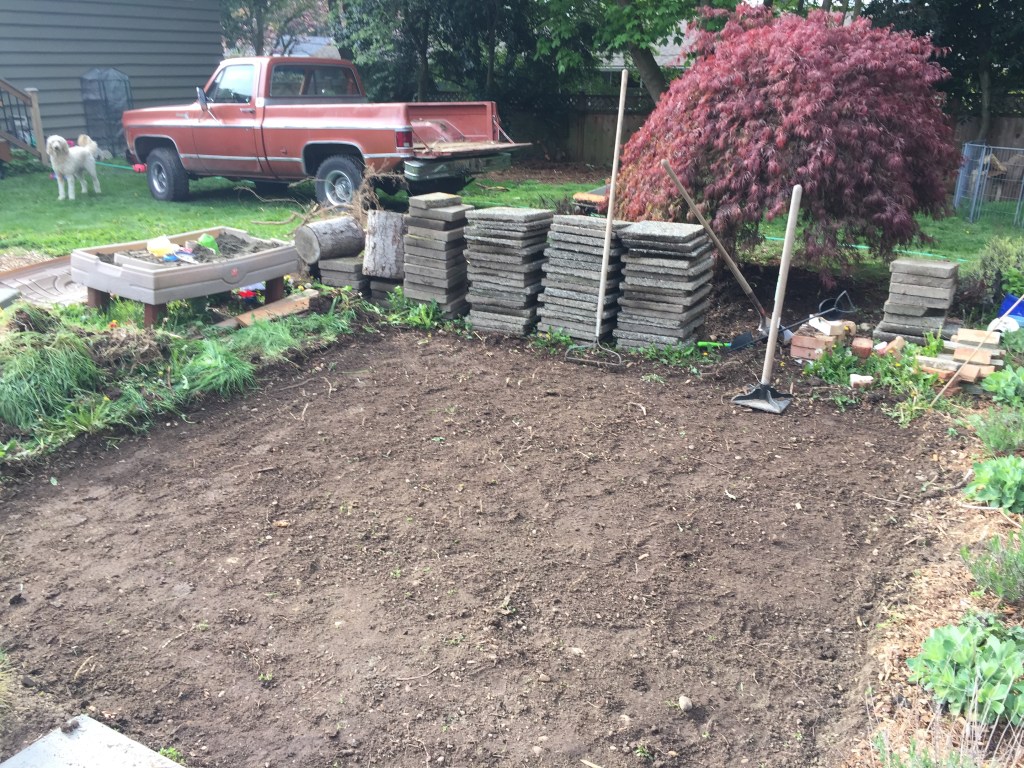
All cleared and pounded down with the hand compactor 
Adding a layer of gravel 
Dumping another bag of gravel – yes, we used bags. Would do differently next time! 
It took a lot of bags (see truck bed) but we finally had enough to create the sub layer 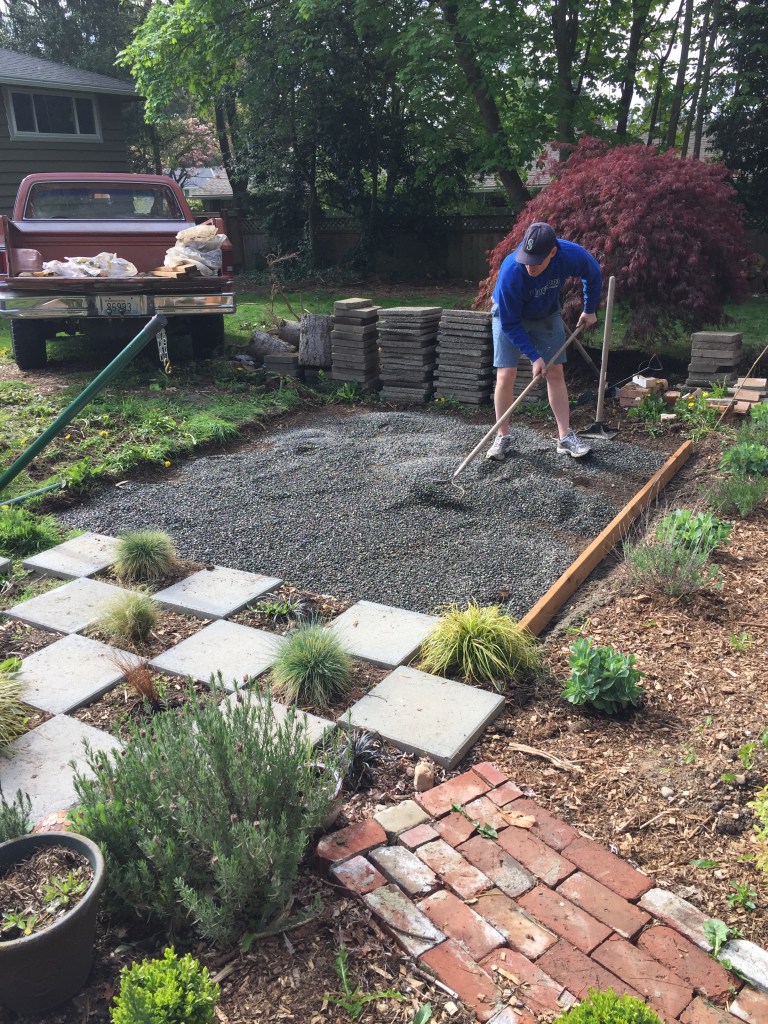
Smoothing and then compacting the gravel sub layer 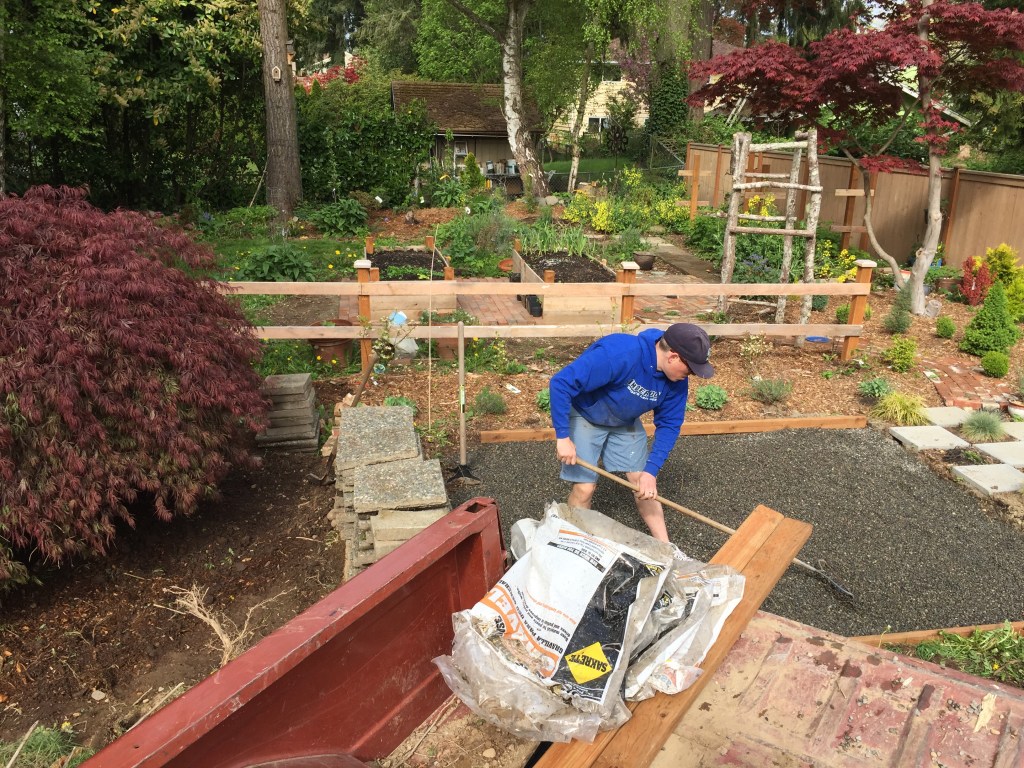

Gravel layer complete! Jon also added the wood barrier so we would be able to lay the pavers in as straight as possible 
We added the sand one row at a time, and used a 2×4 to smooth it level 
Getting the pavers installed! 

We used a scrap of wood to space the pavers as we installed them to be sure they would be as evenly spaced as possible 
Done with the inner layer of pavers! 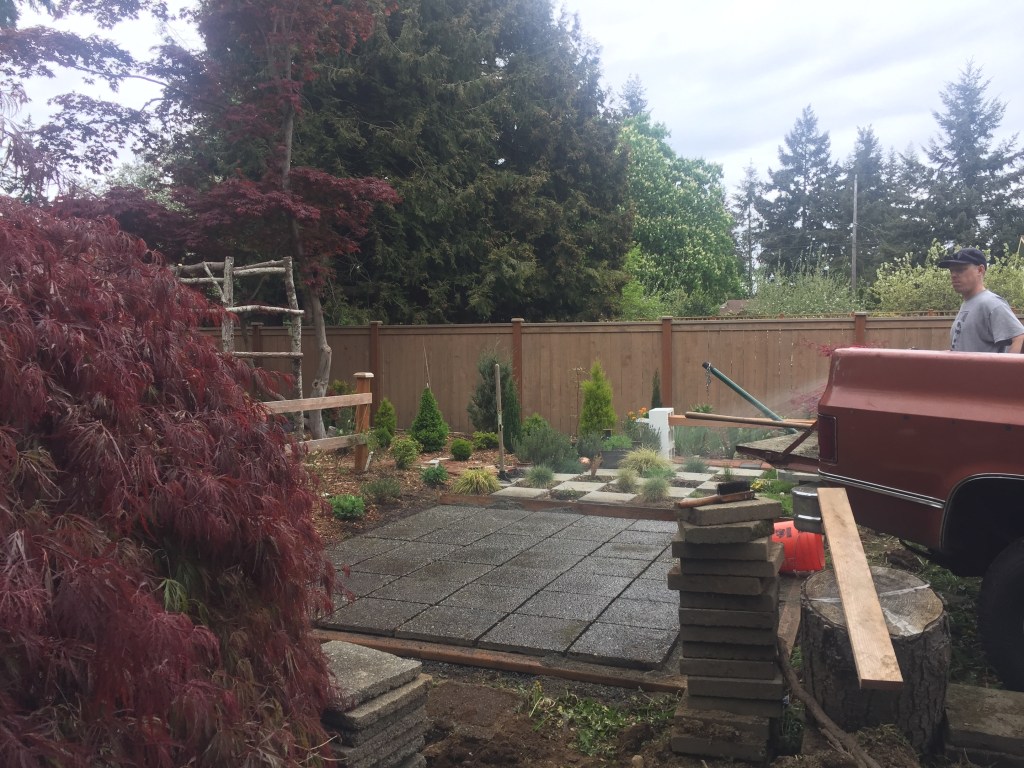

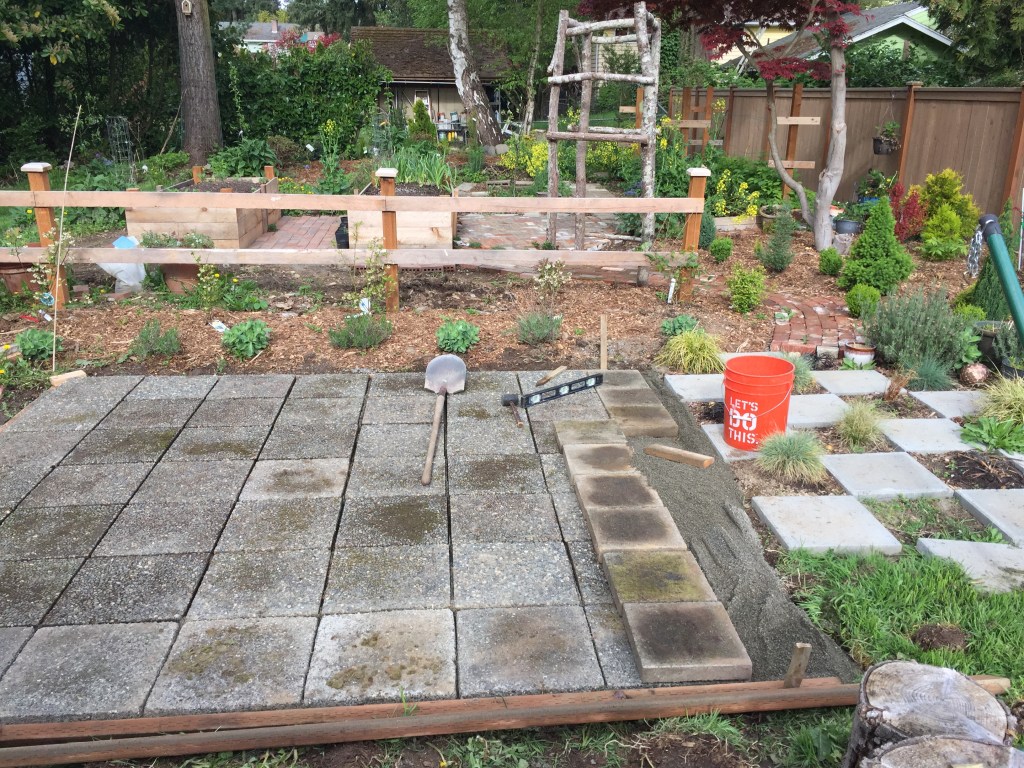
Because there were different styles of pavers, we decided to add one more row of the different style to either end of the patio to increase overall space 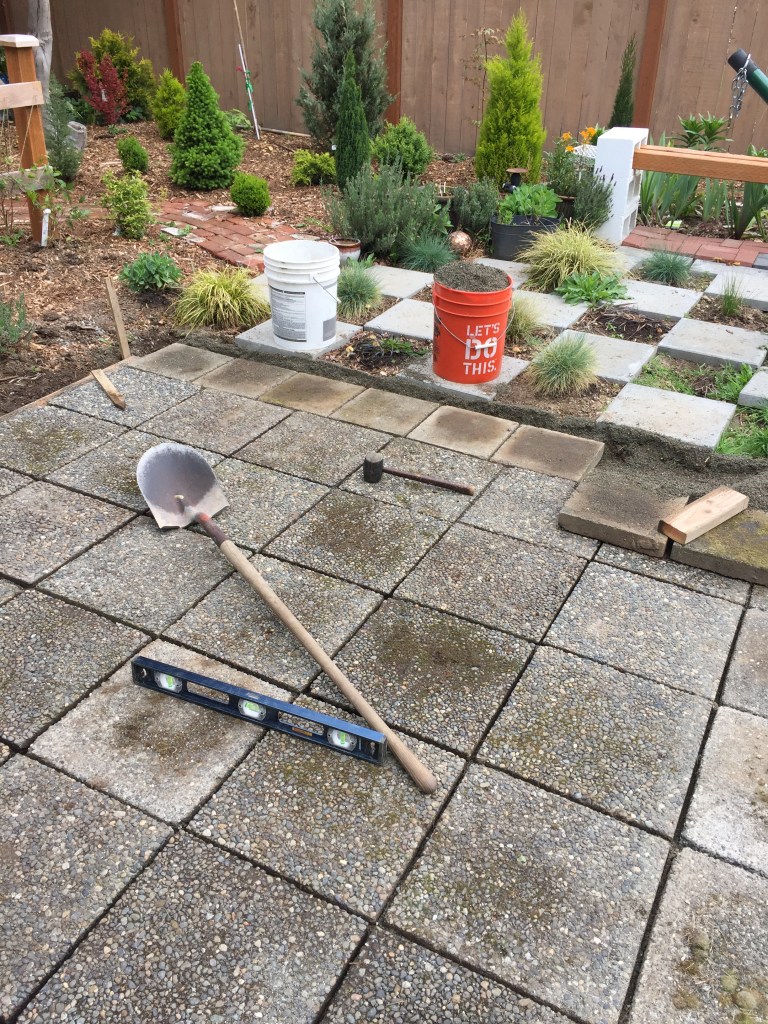
Adding the outside row of pavers 

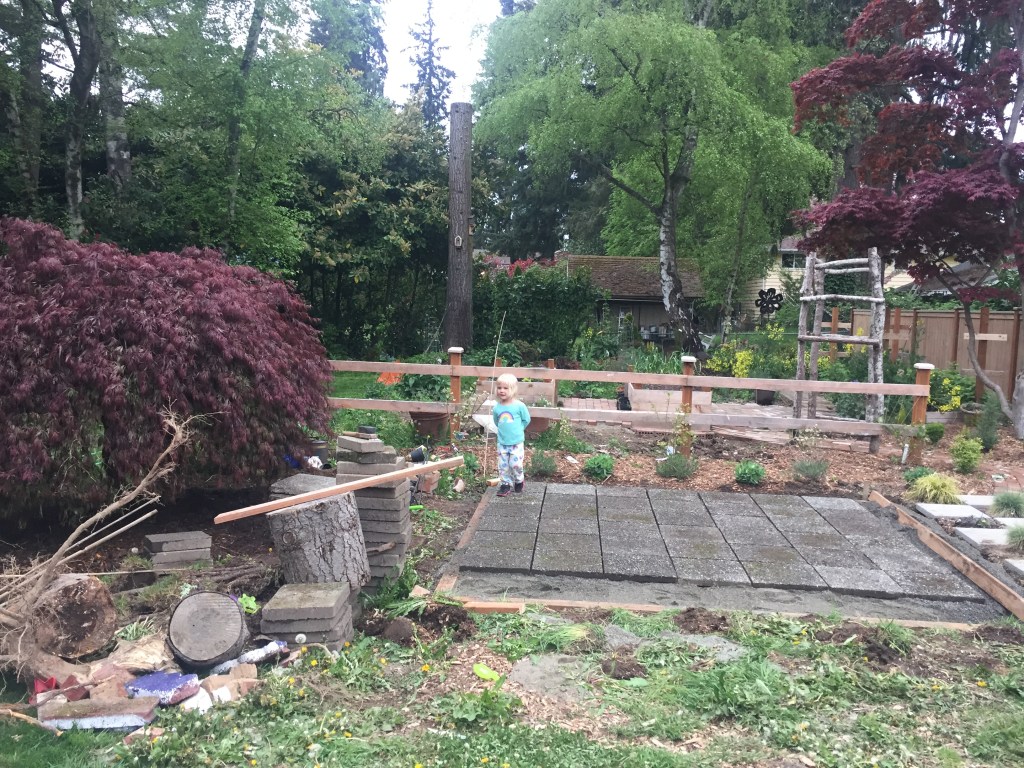
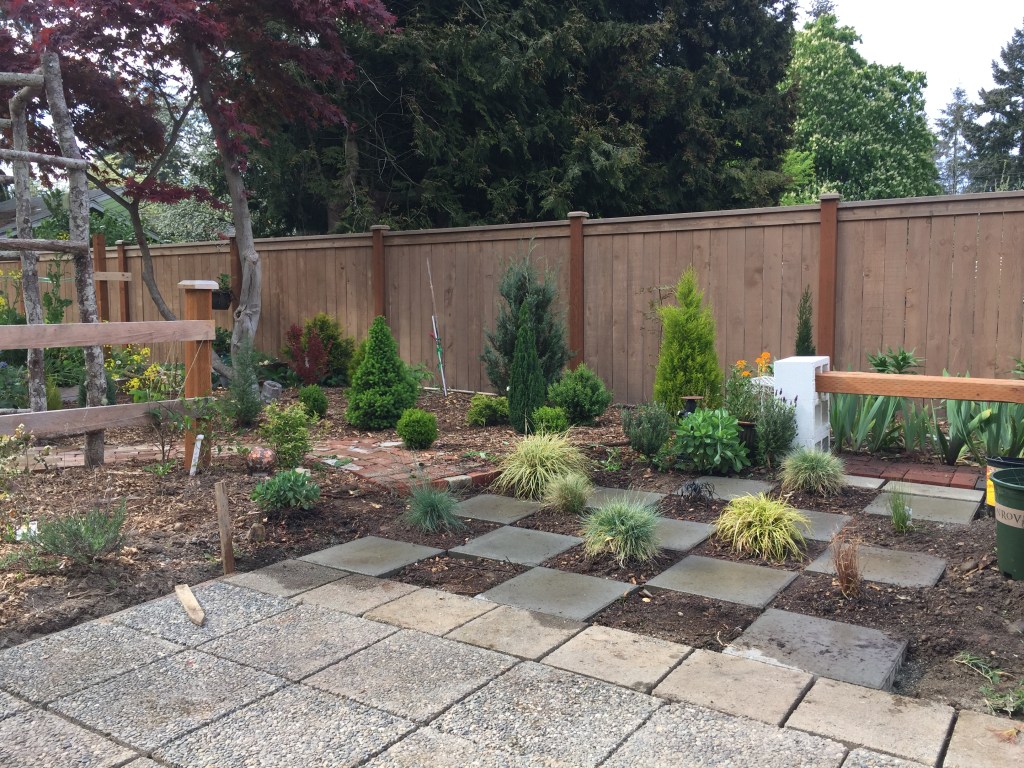
I created a checkerboard patio using the pavers I had bought and placed under the old fire pit 
Testing out the patio! 

One last row to go! 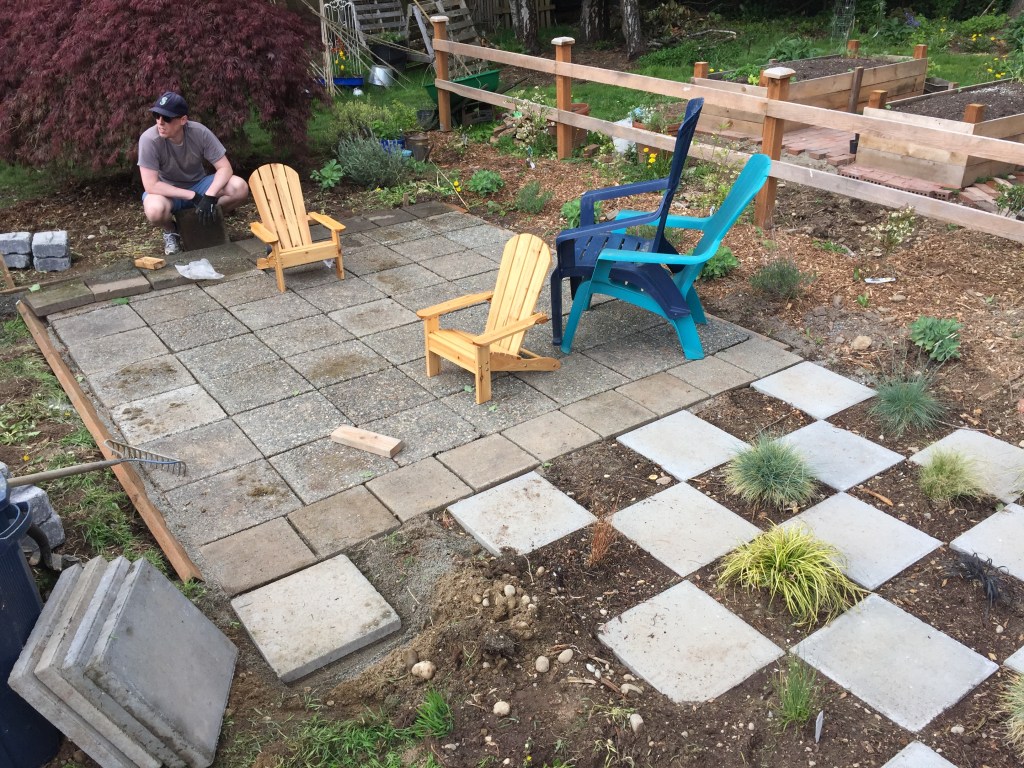

Here is the pile of fire pit stones we purchased from Home Depot 
Once the patio was installed, we poured a bag or two of Quick Crete over it and swept it between the pavers the sprayed with water to set 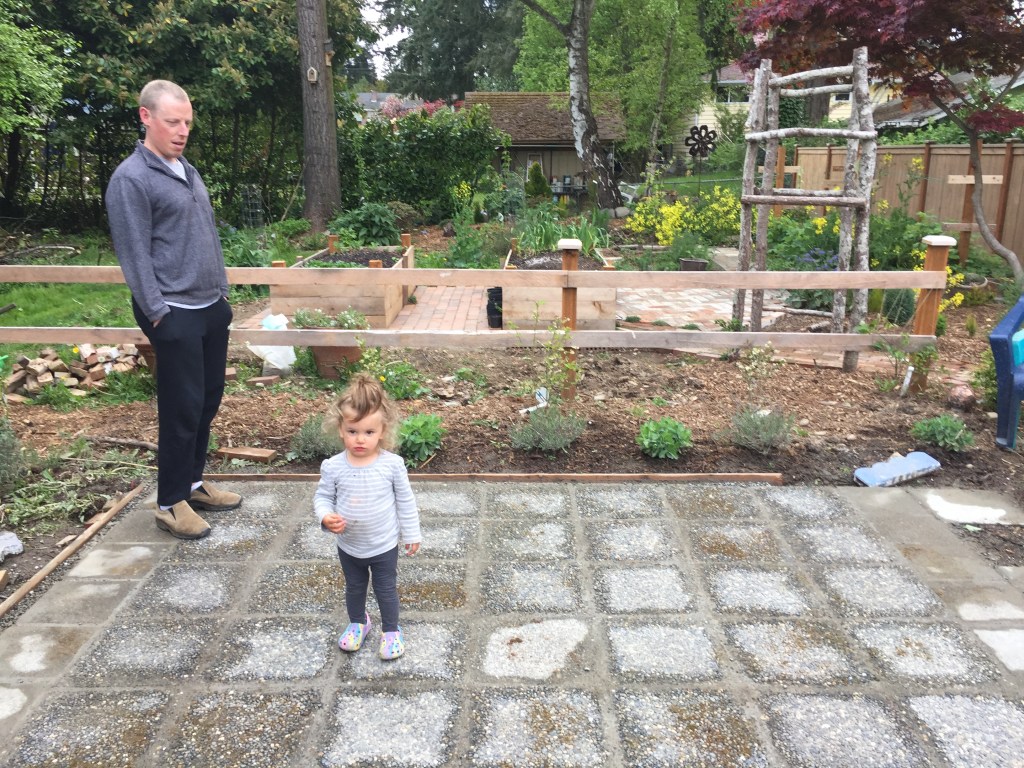
Here the Quick Crete is drying. We wanted to prevent weeds from growing through the patio and this was much faster than setting the pavers in concrete 
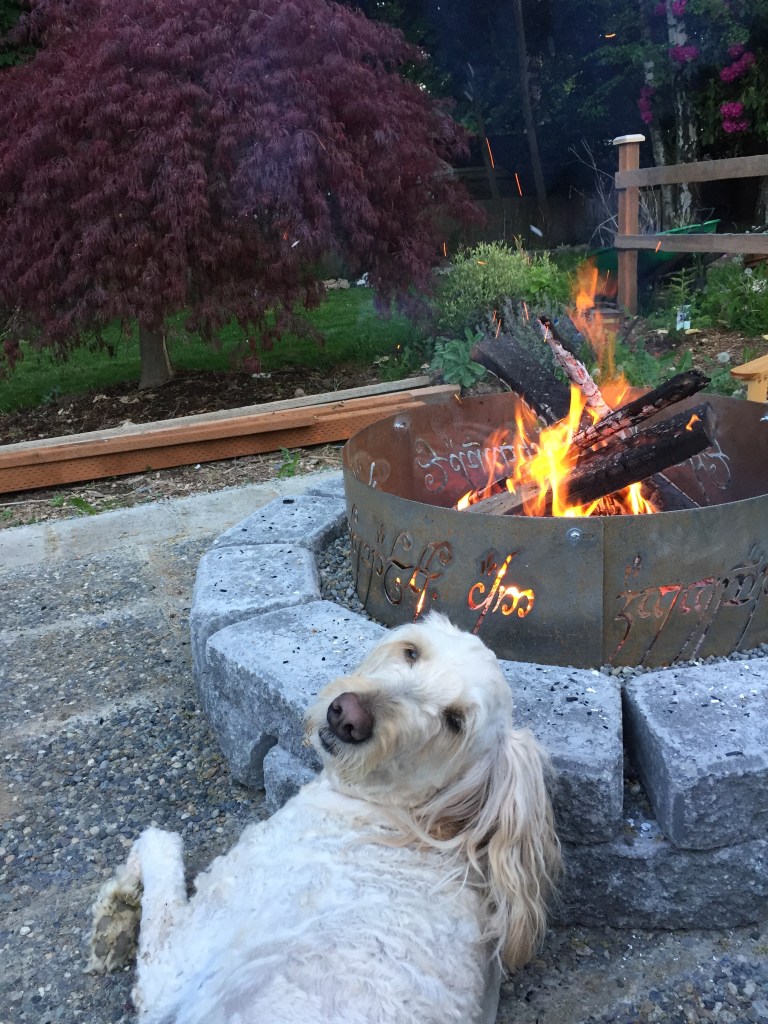
We stacked the fire pit stones, added a few bags of pea gravel to fill it up, and put the Ring on top. It was finally done!!!
Here are the steps we took to create our patio and fire pit:
- Measure, clear and level area
- Add a sub layer of gravel – typically use 1/4 minus for this
- Add a layer of sand. We added our sand one row at a time. We had a long 2×4 that spanned the entire length of the row we were installing so we would smooth the sand so it was all one level, then add the pavers.
- When adding the pavers, we used a scrap of wood that was about an inch wide and set it between the pavers so they would all be as equally spaced as possible. We would also look at the corners where the four pavers came together and try to get them to line up as much as possible. The stones were not perfectly uniform in size, thickness or shape, so we had to do some manual adjusting. Once stones were mostly set, we would check with a level and make sure they were also as level as possible.
- Once all pavers were set and we were satisfied with spacing and level of it, we added some bags of Quick Crete (fast drying concrete). We poured it over the entire patio and then swept it between the cracks. We then sprayed it down with water to let it set. We had to go back several times and spray the pavers off to make sure the concrete was just setting in the cracks and not on top of the stones. It was a little more work than we were expecting, but still less work than setting each paver in concrete. Adding this concrete between the cracks would prevent weeds from coming up in our patio and we are very satisfied with the end result.
- Once patio was complete, we bought some fire pit stones from Home Depot.
- After stones were laid, we filled the ring with pea gravel and then set our Ring on top.
- Last, and most important step was testing it out! This was a roaring, raging, blazing success!!

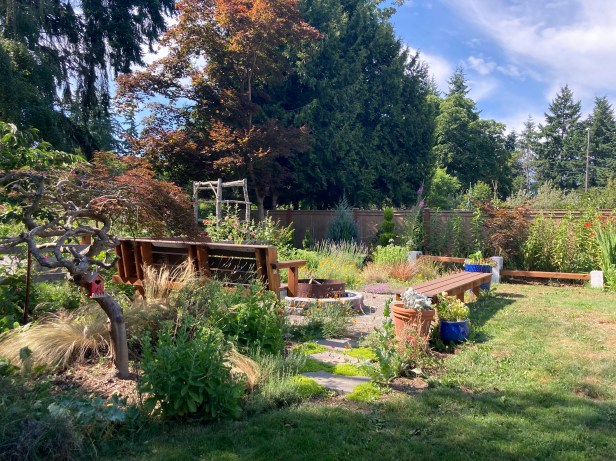
Once our patio and fire pit were built, the final piece of the equation was planning and constructing the built-in benches.
My husband and I did some searching online and compared pictures we found and then came up with our own designs for both benches.
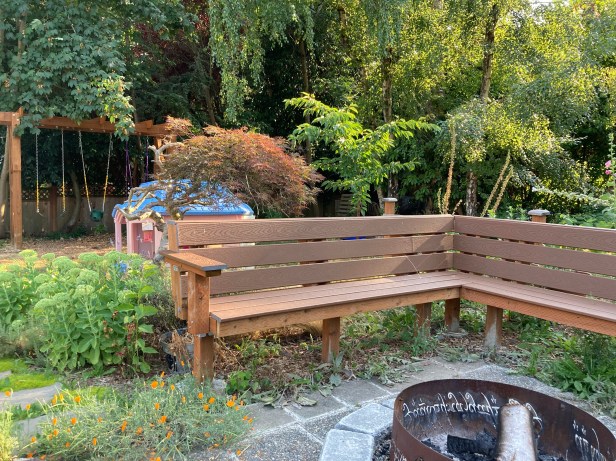
We opted to put in one that was more of an L-shape with arm rests to put your drinks on or to lean against. This one would be the nicer “lounger” with a back and eventually I plan on getting some nice cushions and pillows to put on for when people come over. I also wanted to make sure this one had an entire board on the back to use as a ledge so people could put their drinks down there as well.
The second bench would be the entire length of the decking boards so we wouldn’t waste any money by cutting them. This one wouldn’t have a back because we wanted people to have the option to sit either way. Eventually when the pandemic is over, we plan on having large BBQs in the backyard and thought this bench would be a nice versatile option where people can choose which way to face.
We poured concrete for each of the footings, so these benches are VERY solid. We also tried to build them so they looked nice but didn’t break the bank. I think we spent about $500 total. We used the cheapest composite decking boards that were available from Home Depot. We didn’t wrap the benches to dress them up, but I figure that’s something we can still do at a later date if and when our budget permits. Besides, they have been a functional and beautiful addition to our yard just as they are and have been worth every penny!

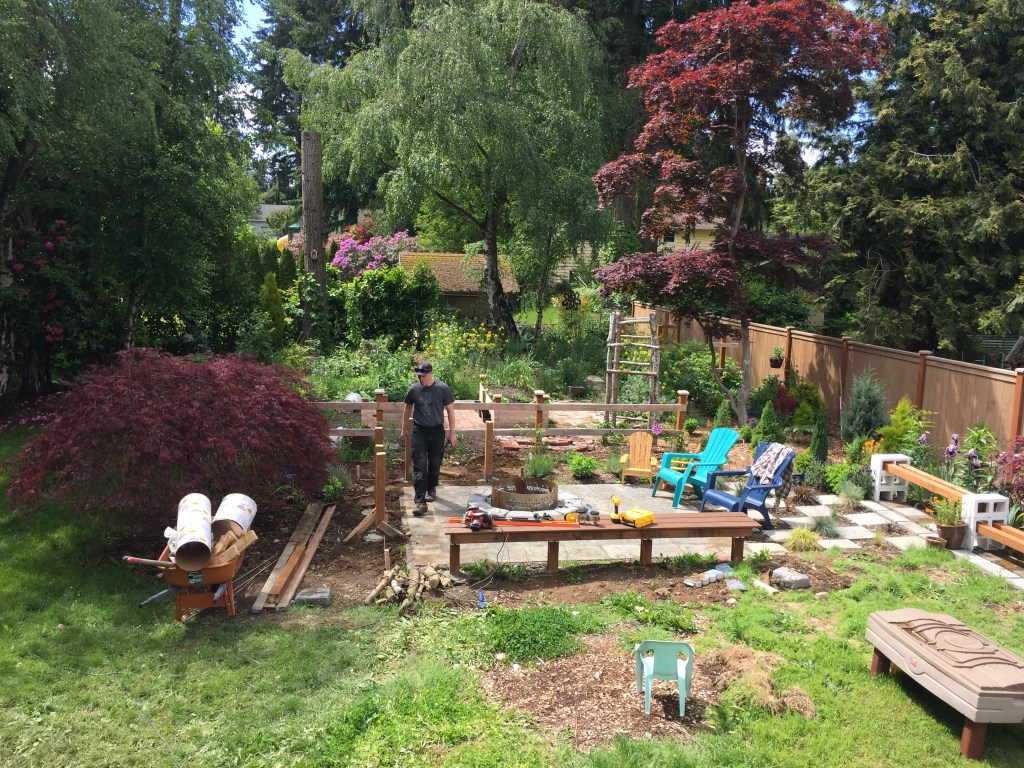

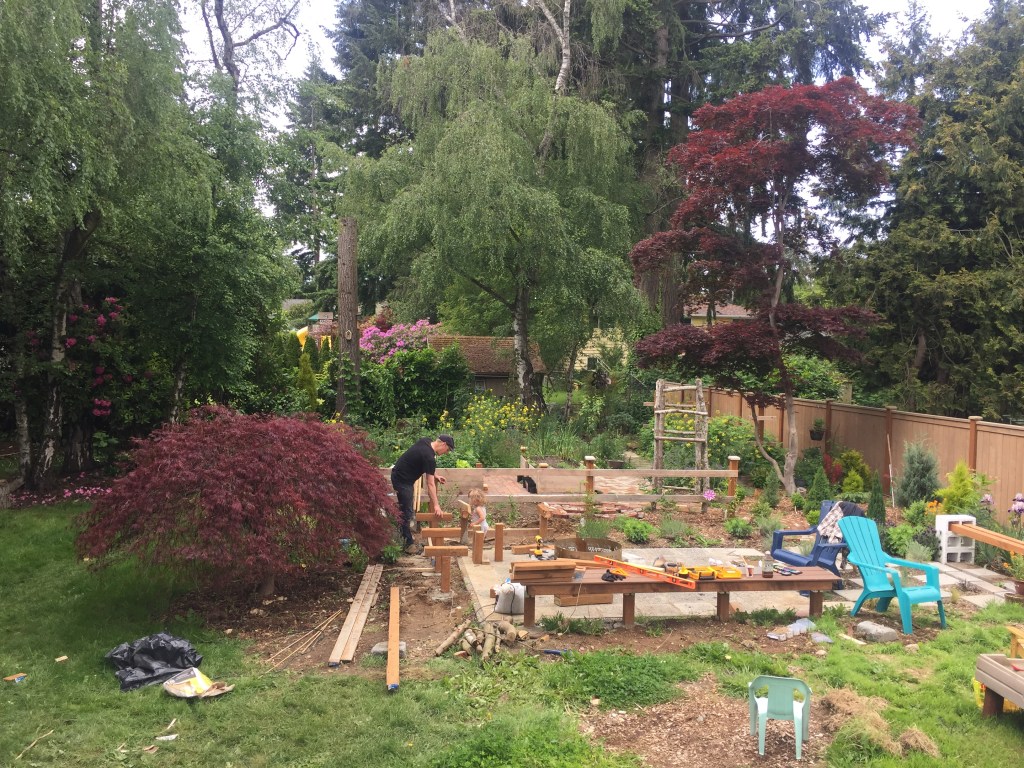
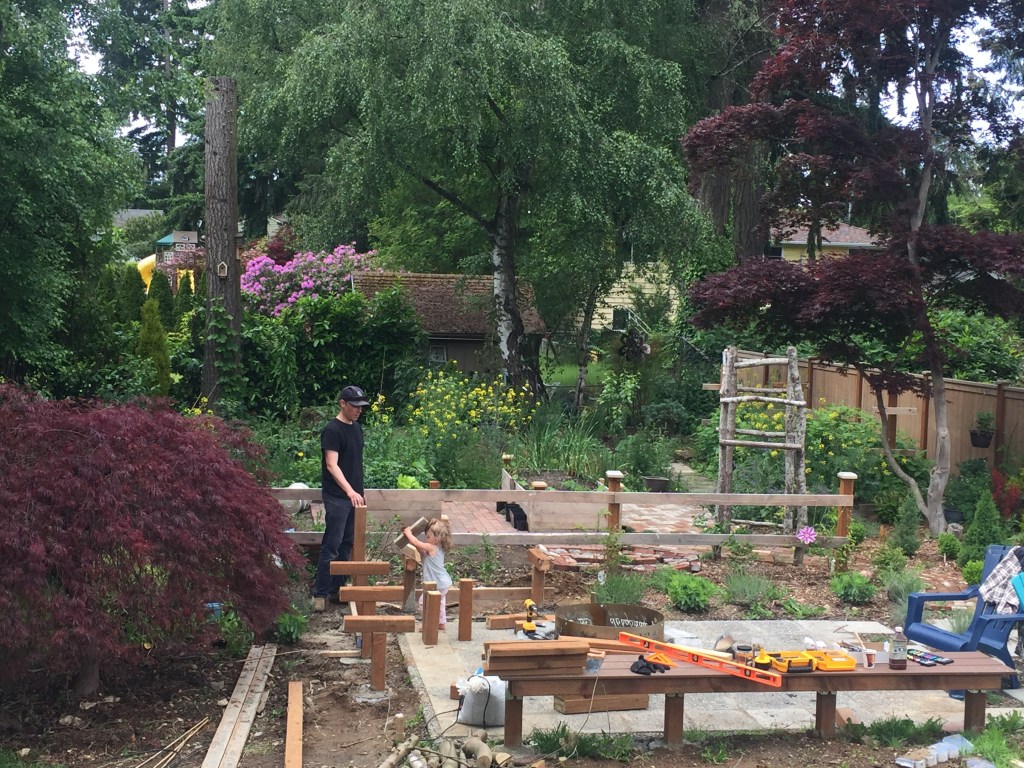
Working on the benches, May 2020 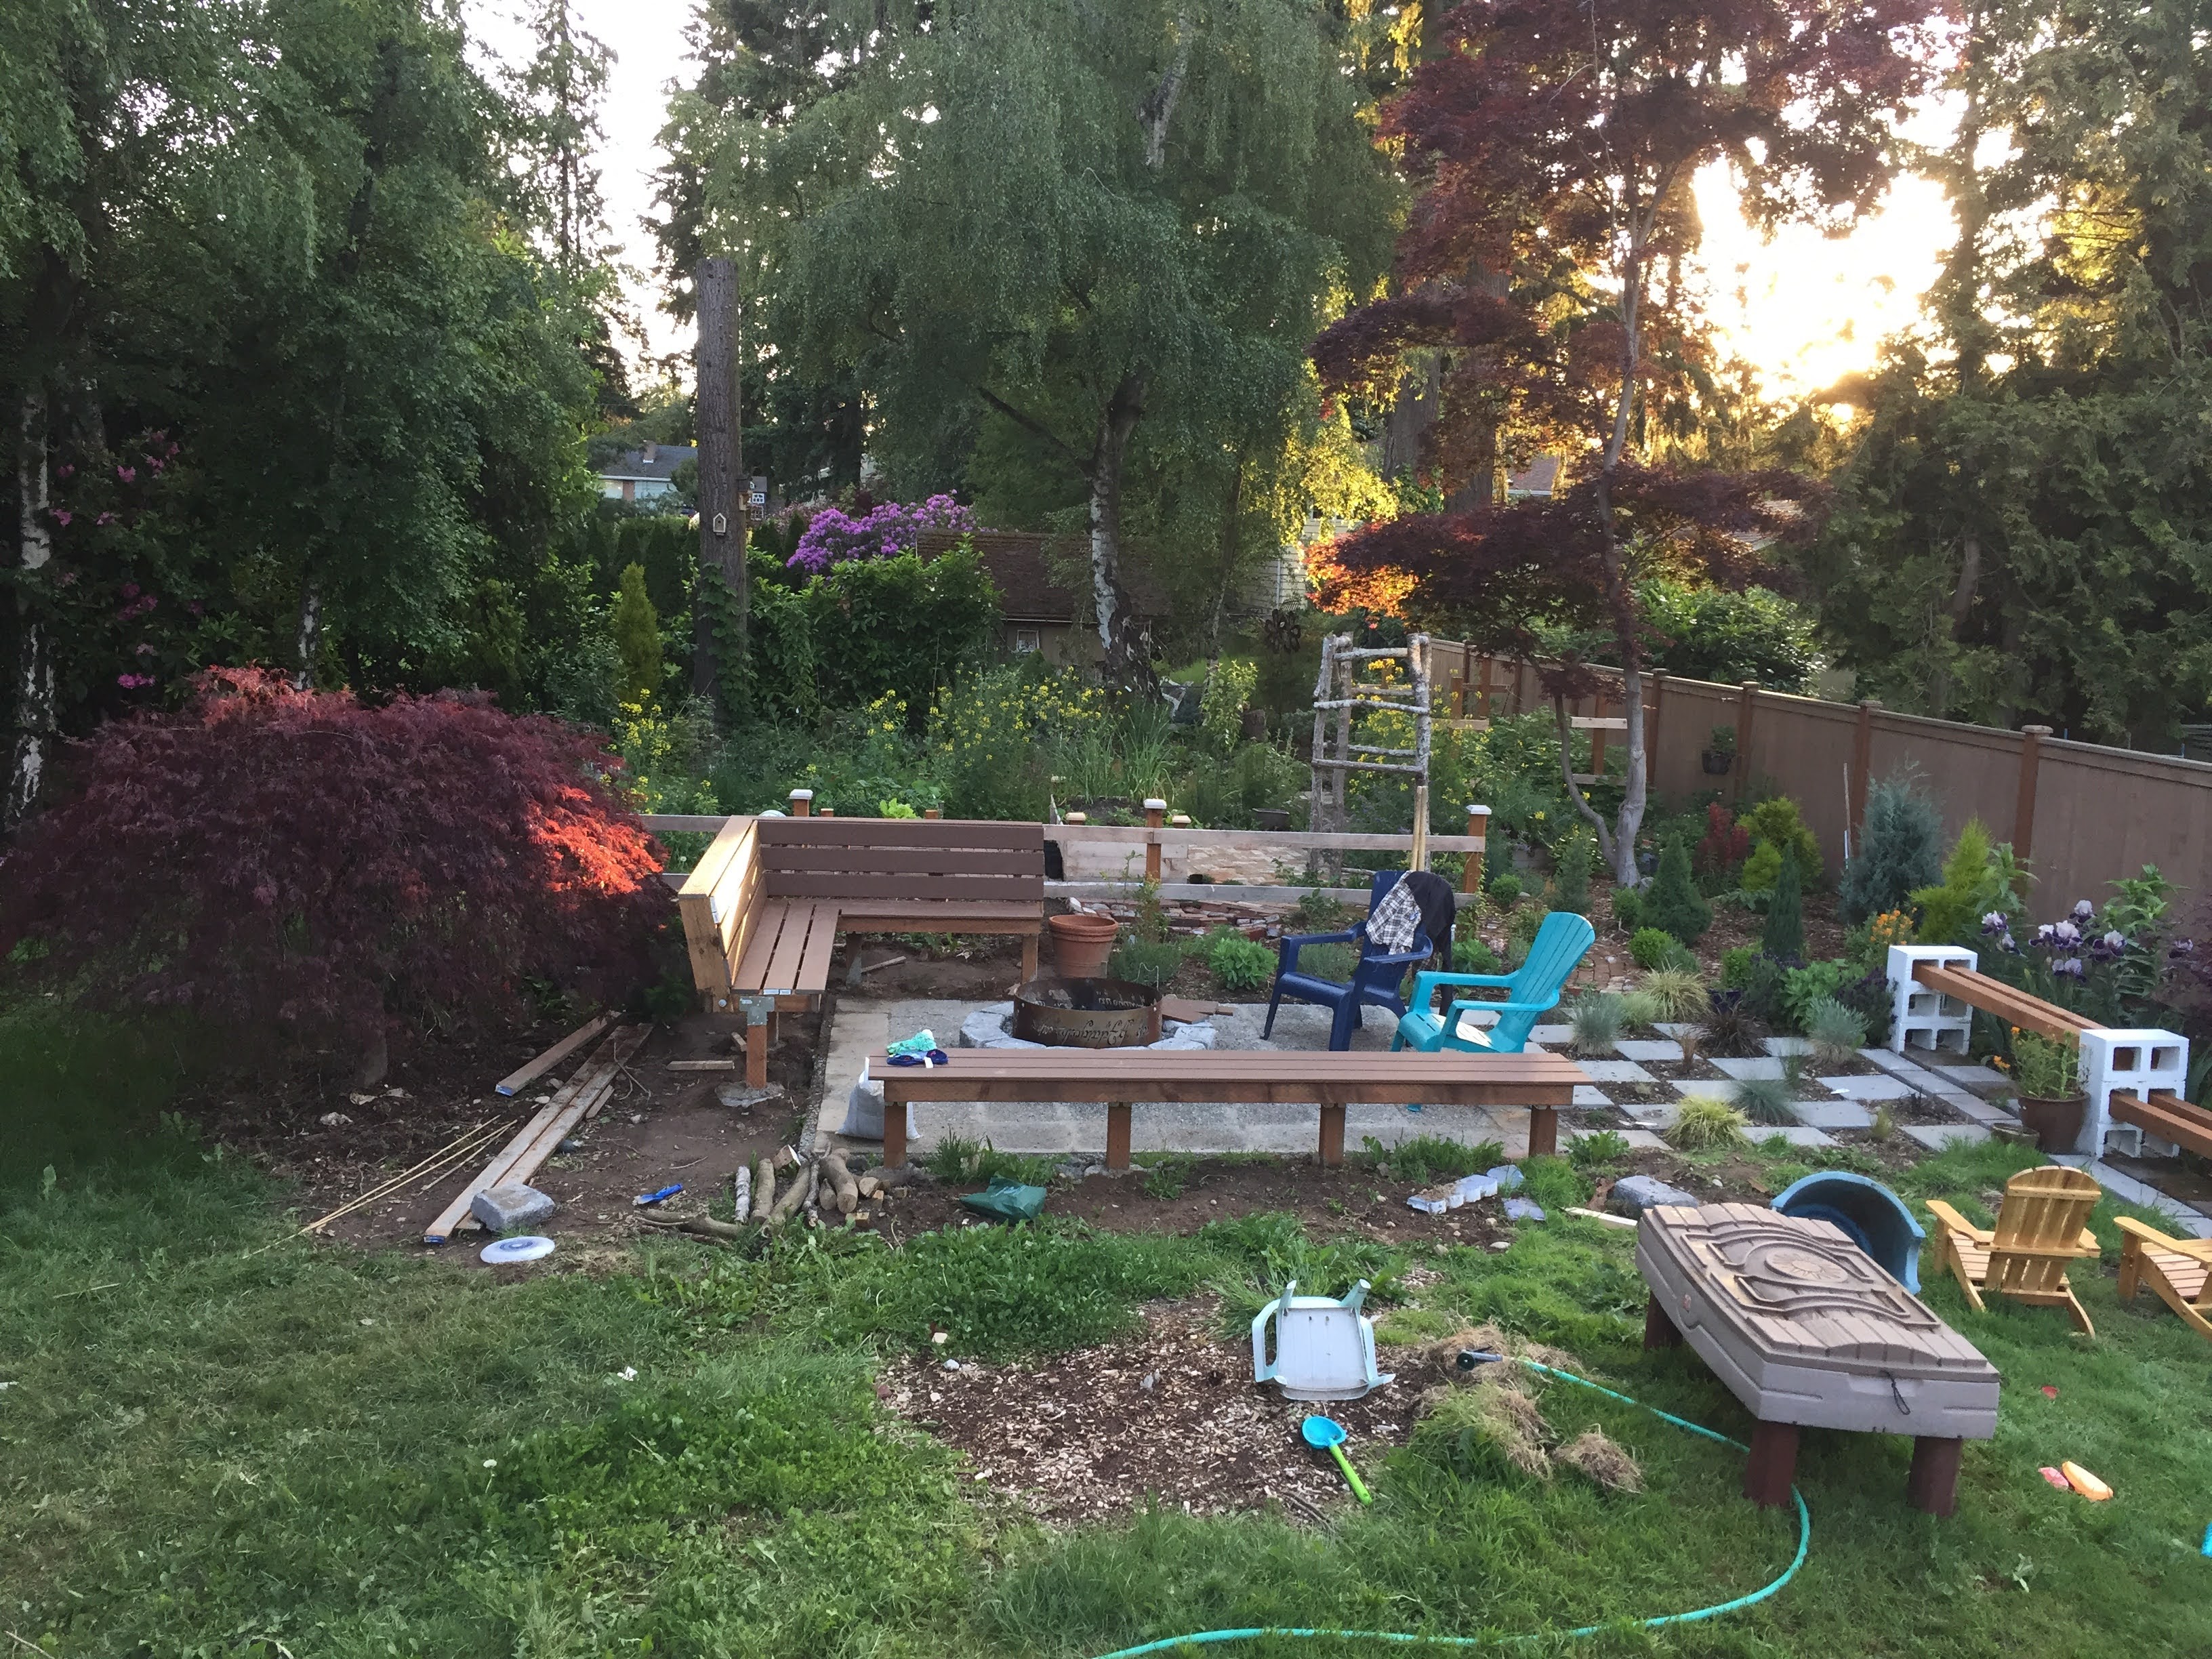
Built in benches are nearly done – just need arm rests!