Are you looking for a cost effective way to keep weeds down in your yard? Want to add a little old world charm to your garden but not sure where to start? Consider using bricks for whatever your next project is! I’ve seen them used to great effect for so many things. You can get some great ideas if you search #brickgarden on Instagram! Below are a few of the ways I’ve incorporated them into my own yard. I’m certainly no master brick layer or stone mason, but this has definitely given me an introduction into hardscaping and I’m loving it so far!
We live in a house with a quarter of an acre yard. For being located in the suburbs of Seattle, that’s a pretty decent sized lot. I decided we needed to redo the entire yard when we bought the house because . . . I wanted to ; ) One of the biggest problems with starting from scratch on a yard this size is that the price tag to do so was also going to be quite sizeable. Plants aren’t cheap. Patios, decks, sheds, benches and pathways all can cost a lot of money. Which is why my husband and I have made it our mission to do nearly all of the projects ourselves.
Additionally, one of my favorite things is to incorporate materials and plants that I’ve gotten for free. One of the best resources when it comes to free things is using bricks. Below are the brickwork projects I’ve done so far.
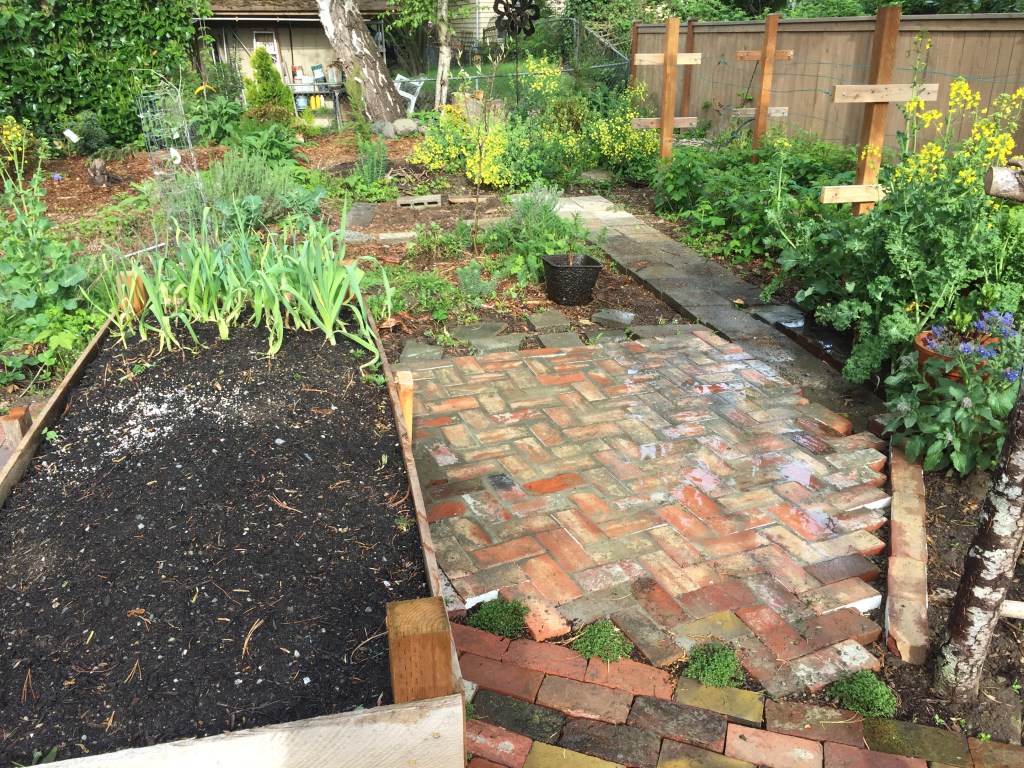
This path was the first of my brick work projects and was started in 2019.


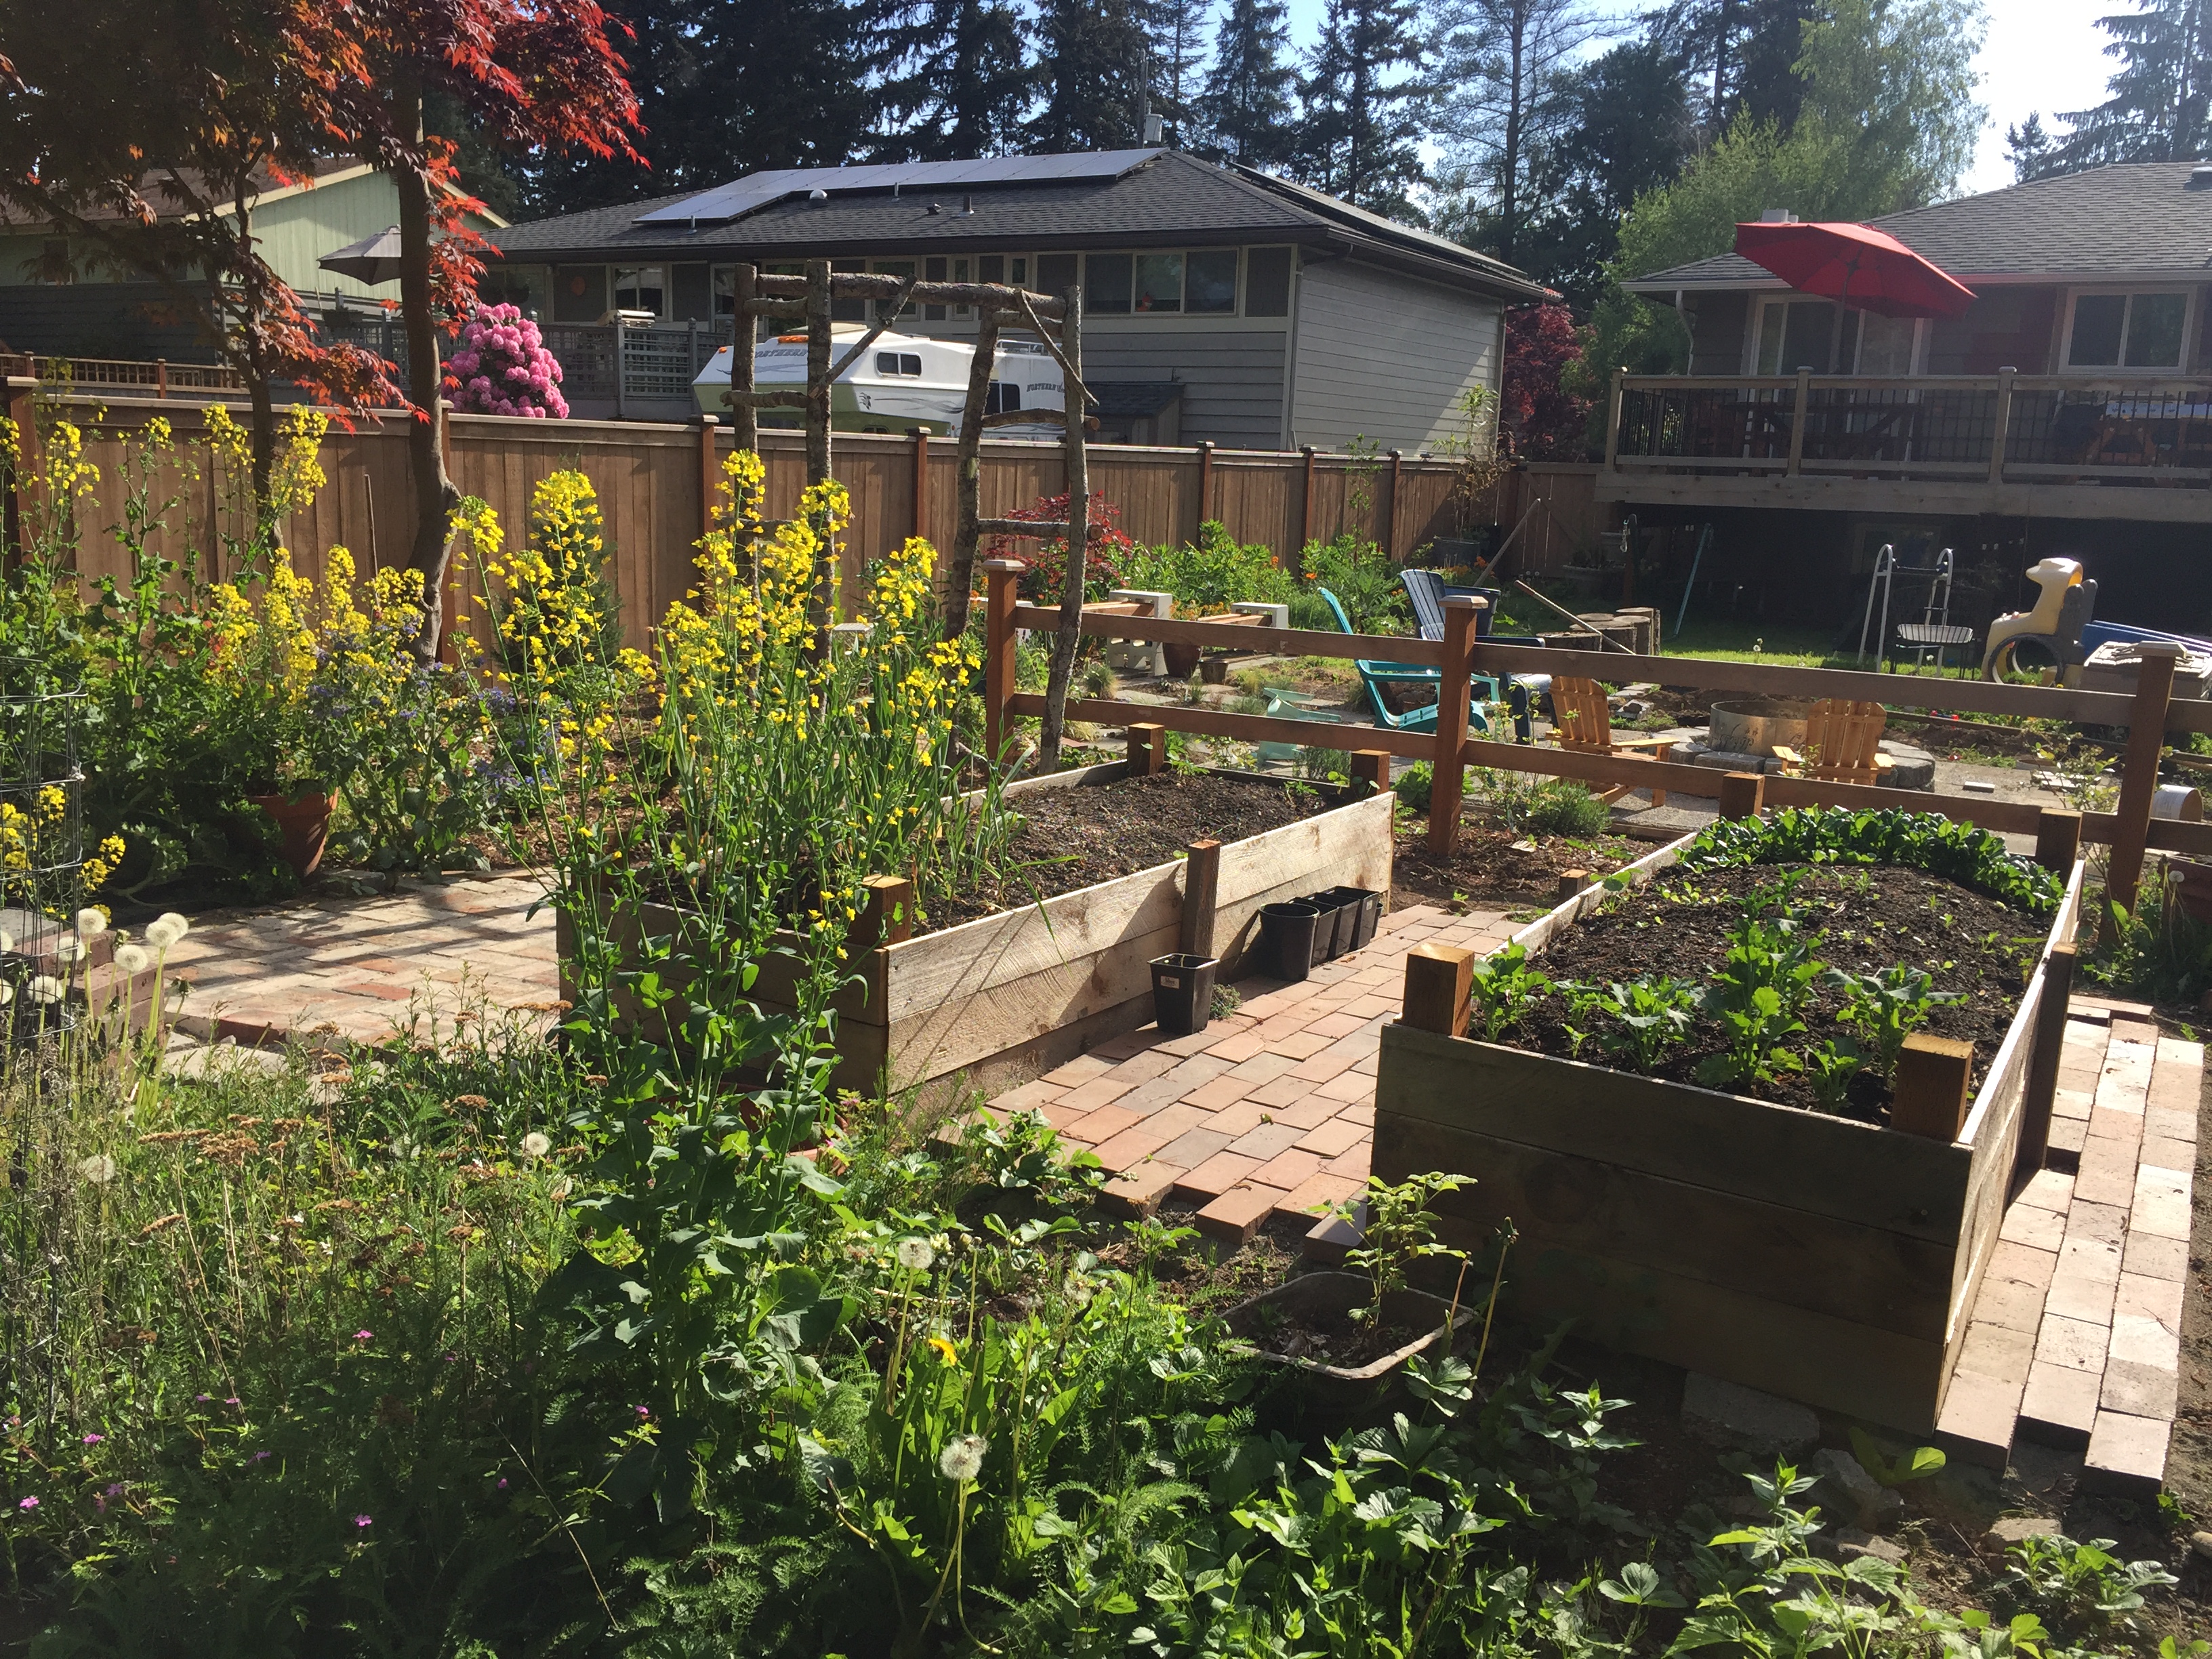
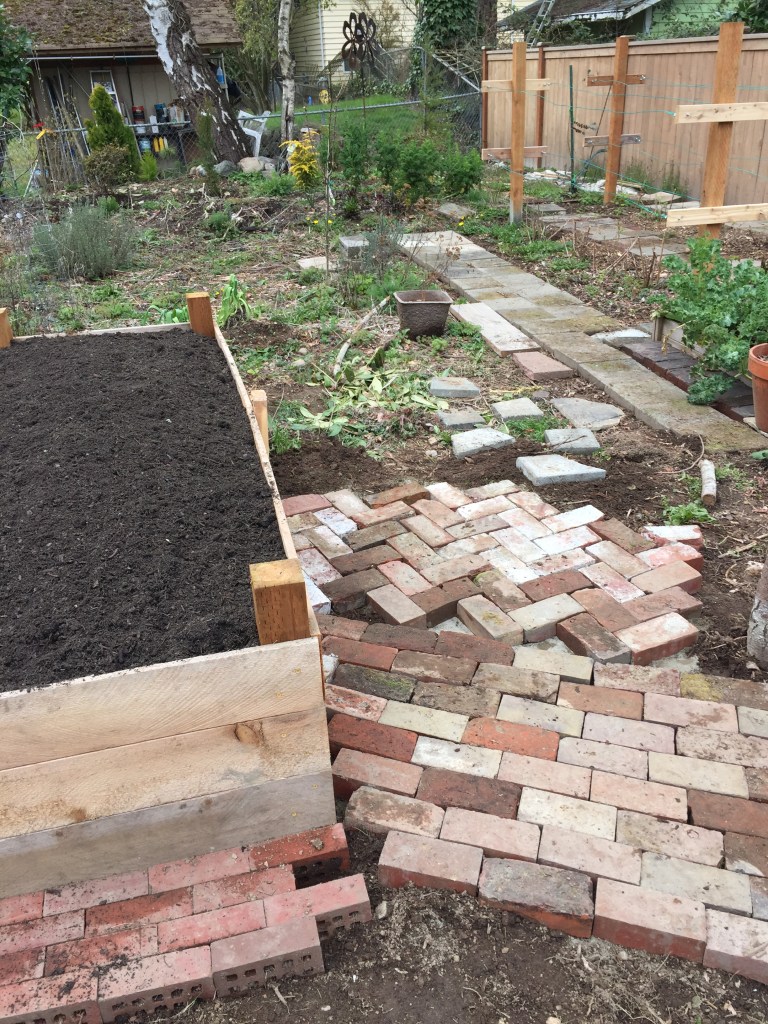
The long term vision of mine has always been to have a raised bed veggie patch along with an orchard in the back, right quarter of the yard. It was going to be our ‘food forest!’ I decided I wanted to use use bricks in between the planter boxes to keep the weeds down. The pictures above shows the path in February of 2020.
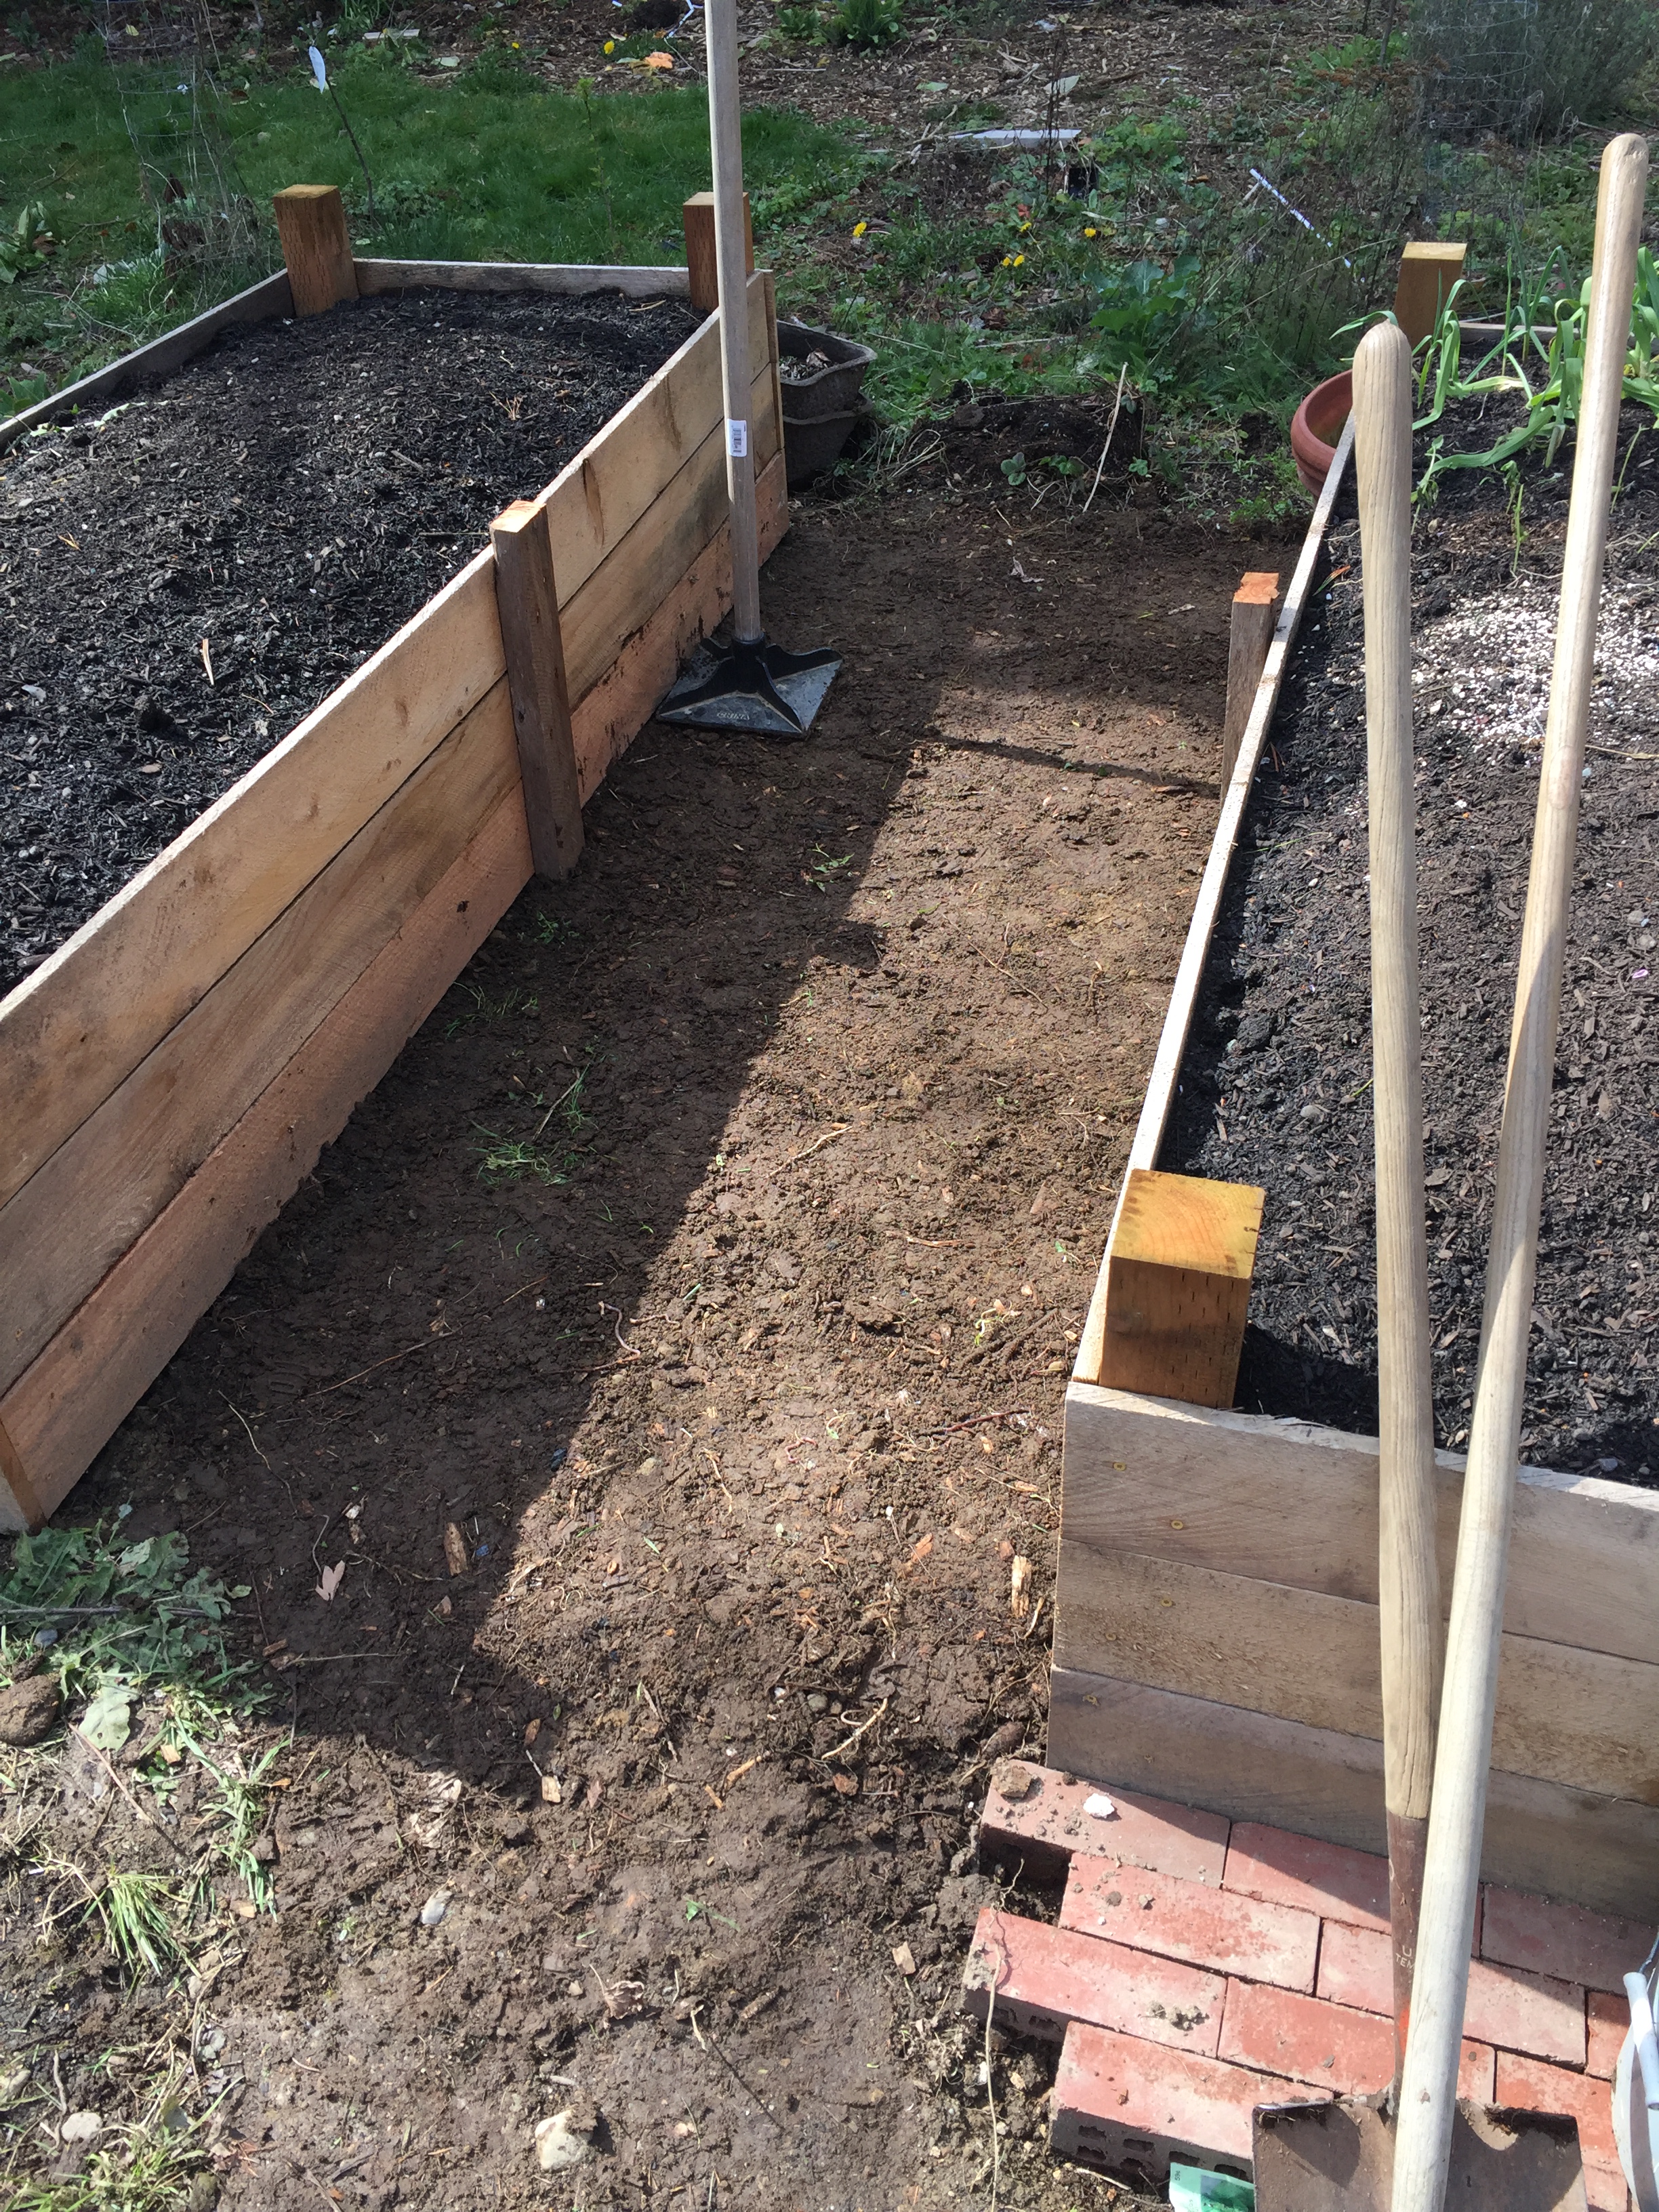
By the end of March, 2020 we had built our Raspberry trellises and the first of the raised beds (from wood we got for free from my parents – thanks Mom and Dad!!). I had acquired some more free bricks (I’ve gotten all mine either off Craigslist or Facebook Market) and got started on covering more of the space where weeds were likely to take over.
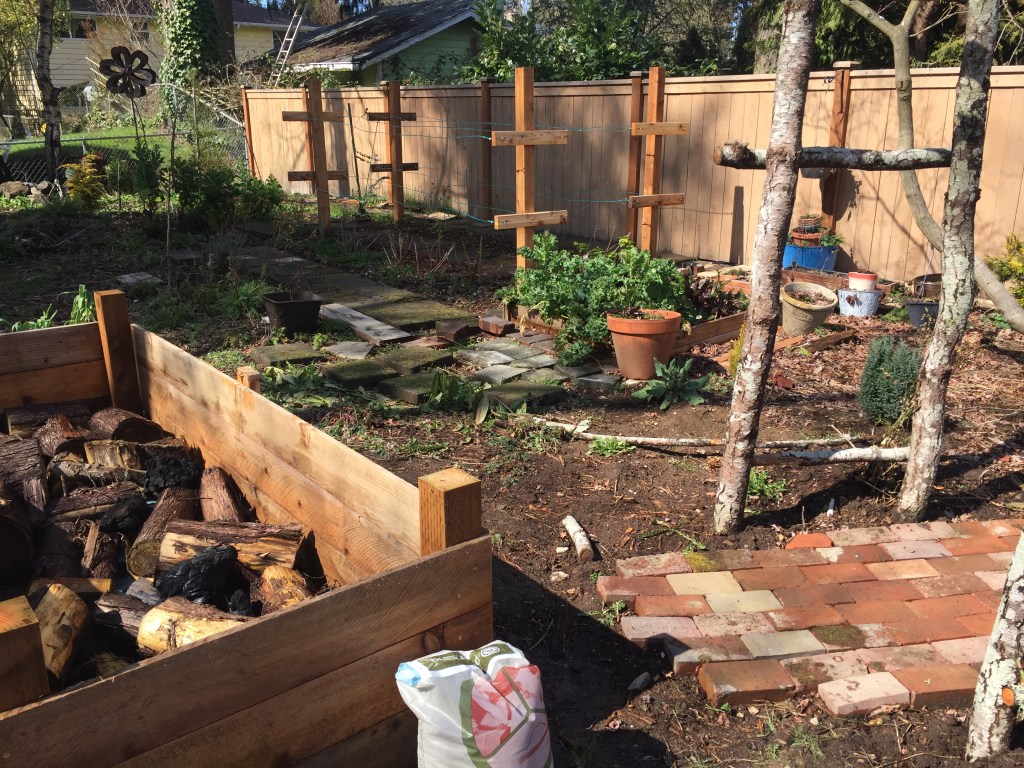
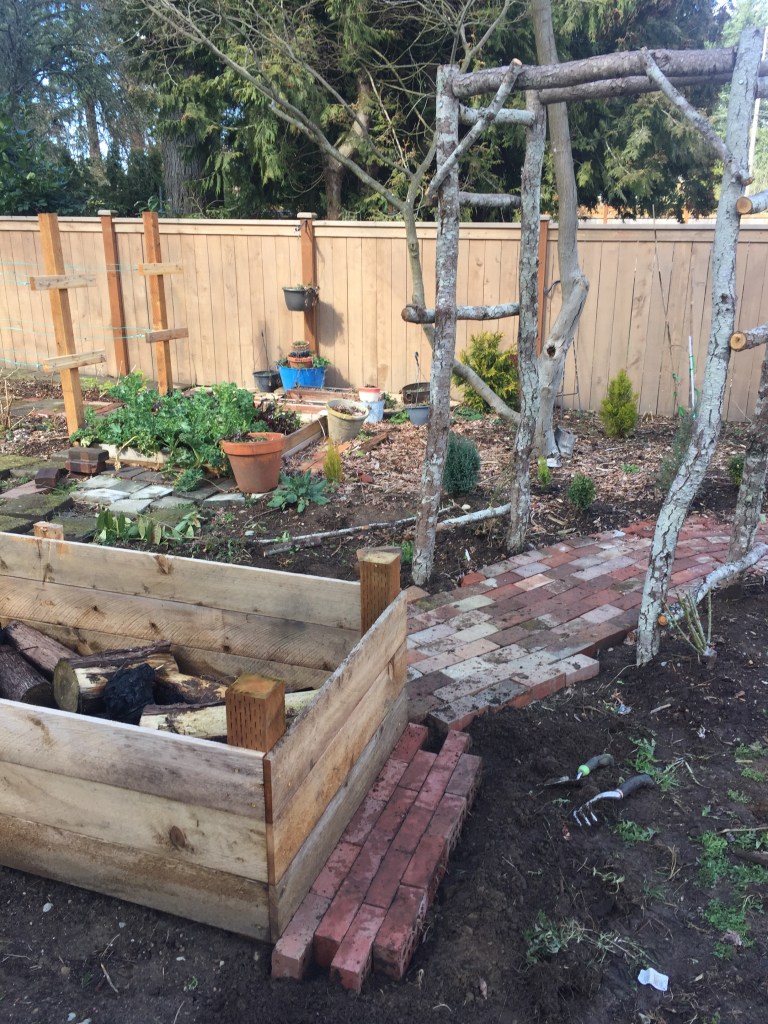
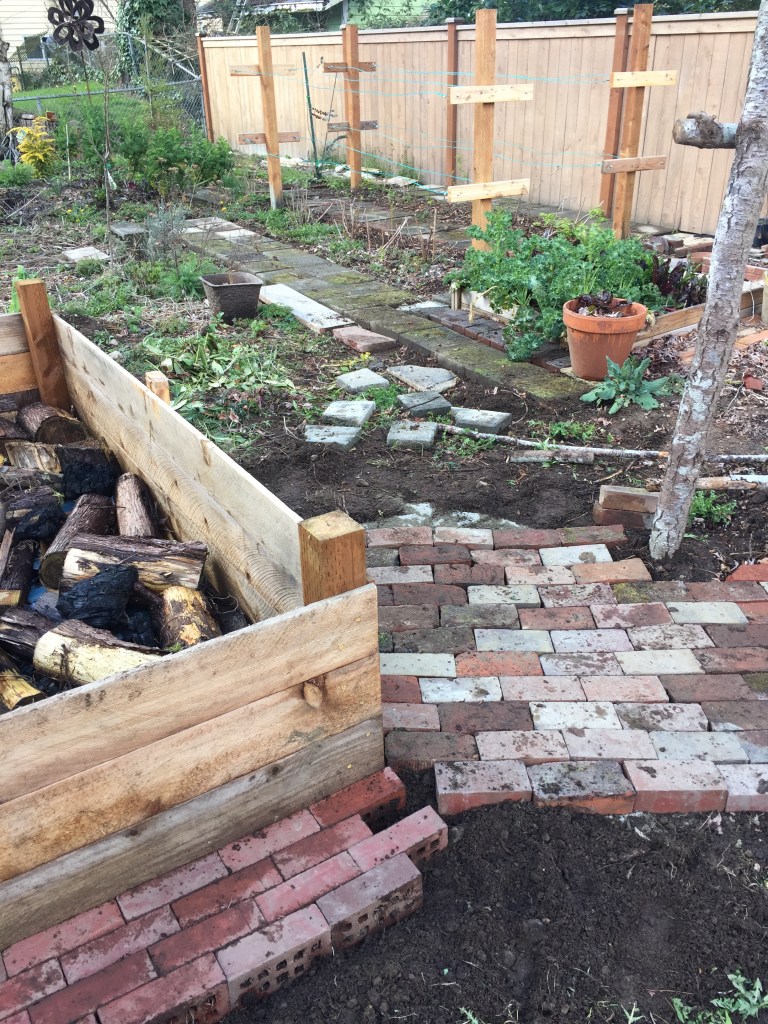
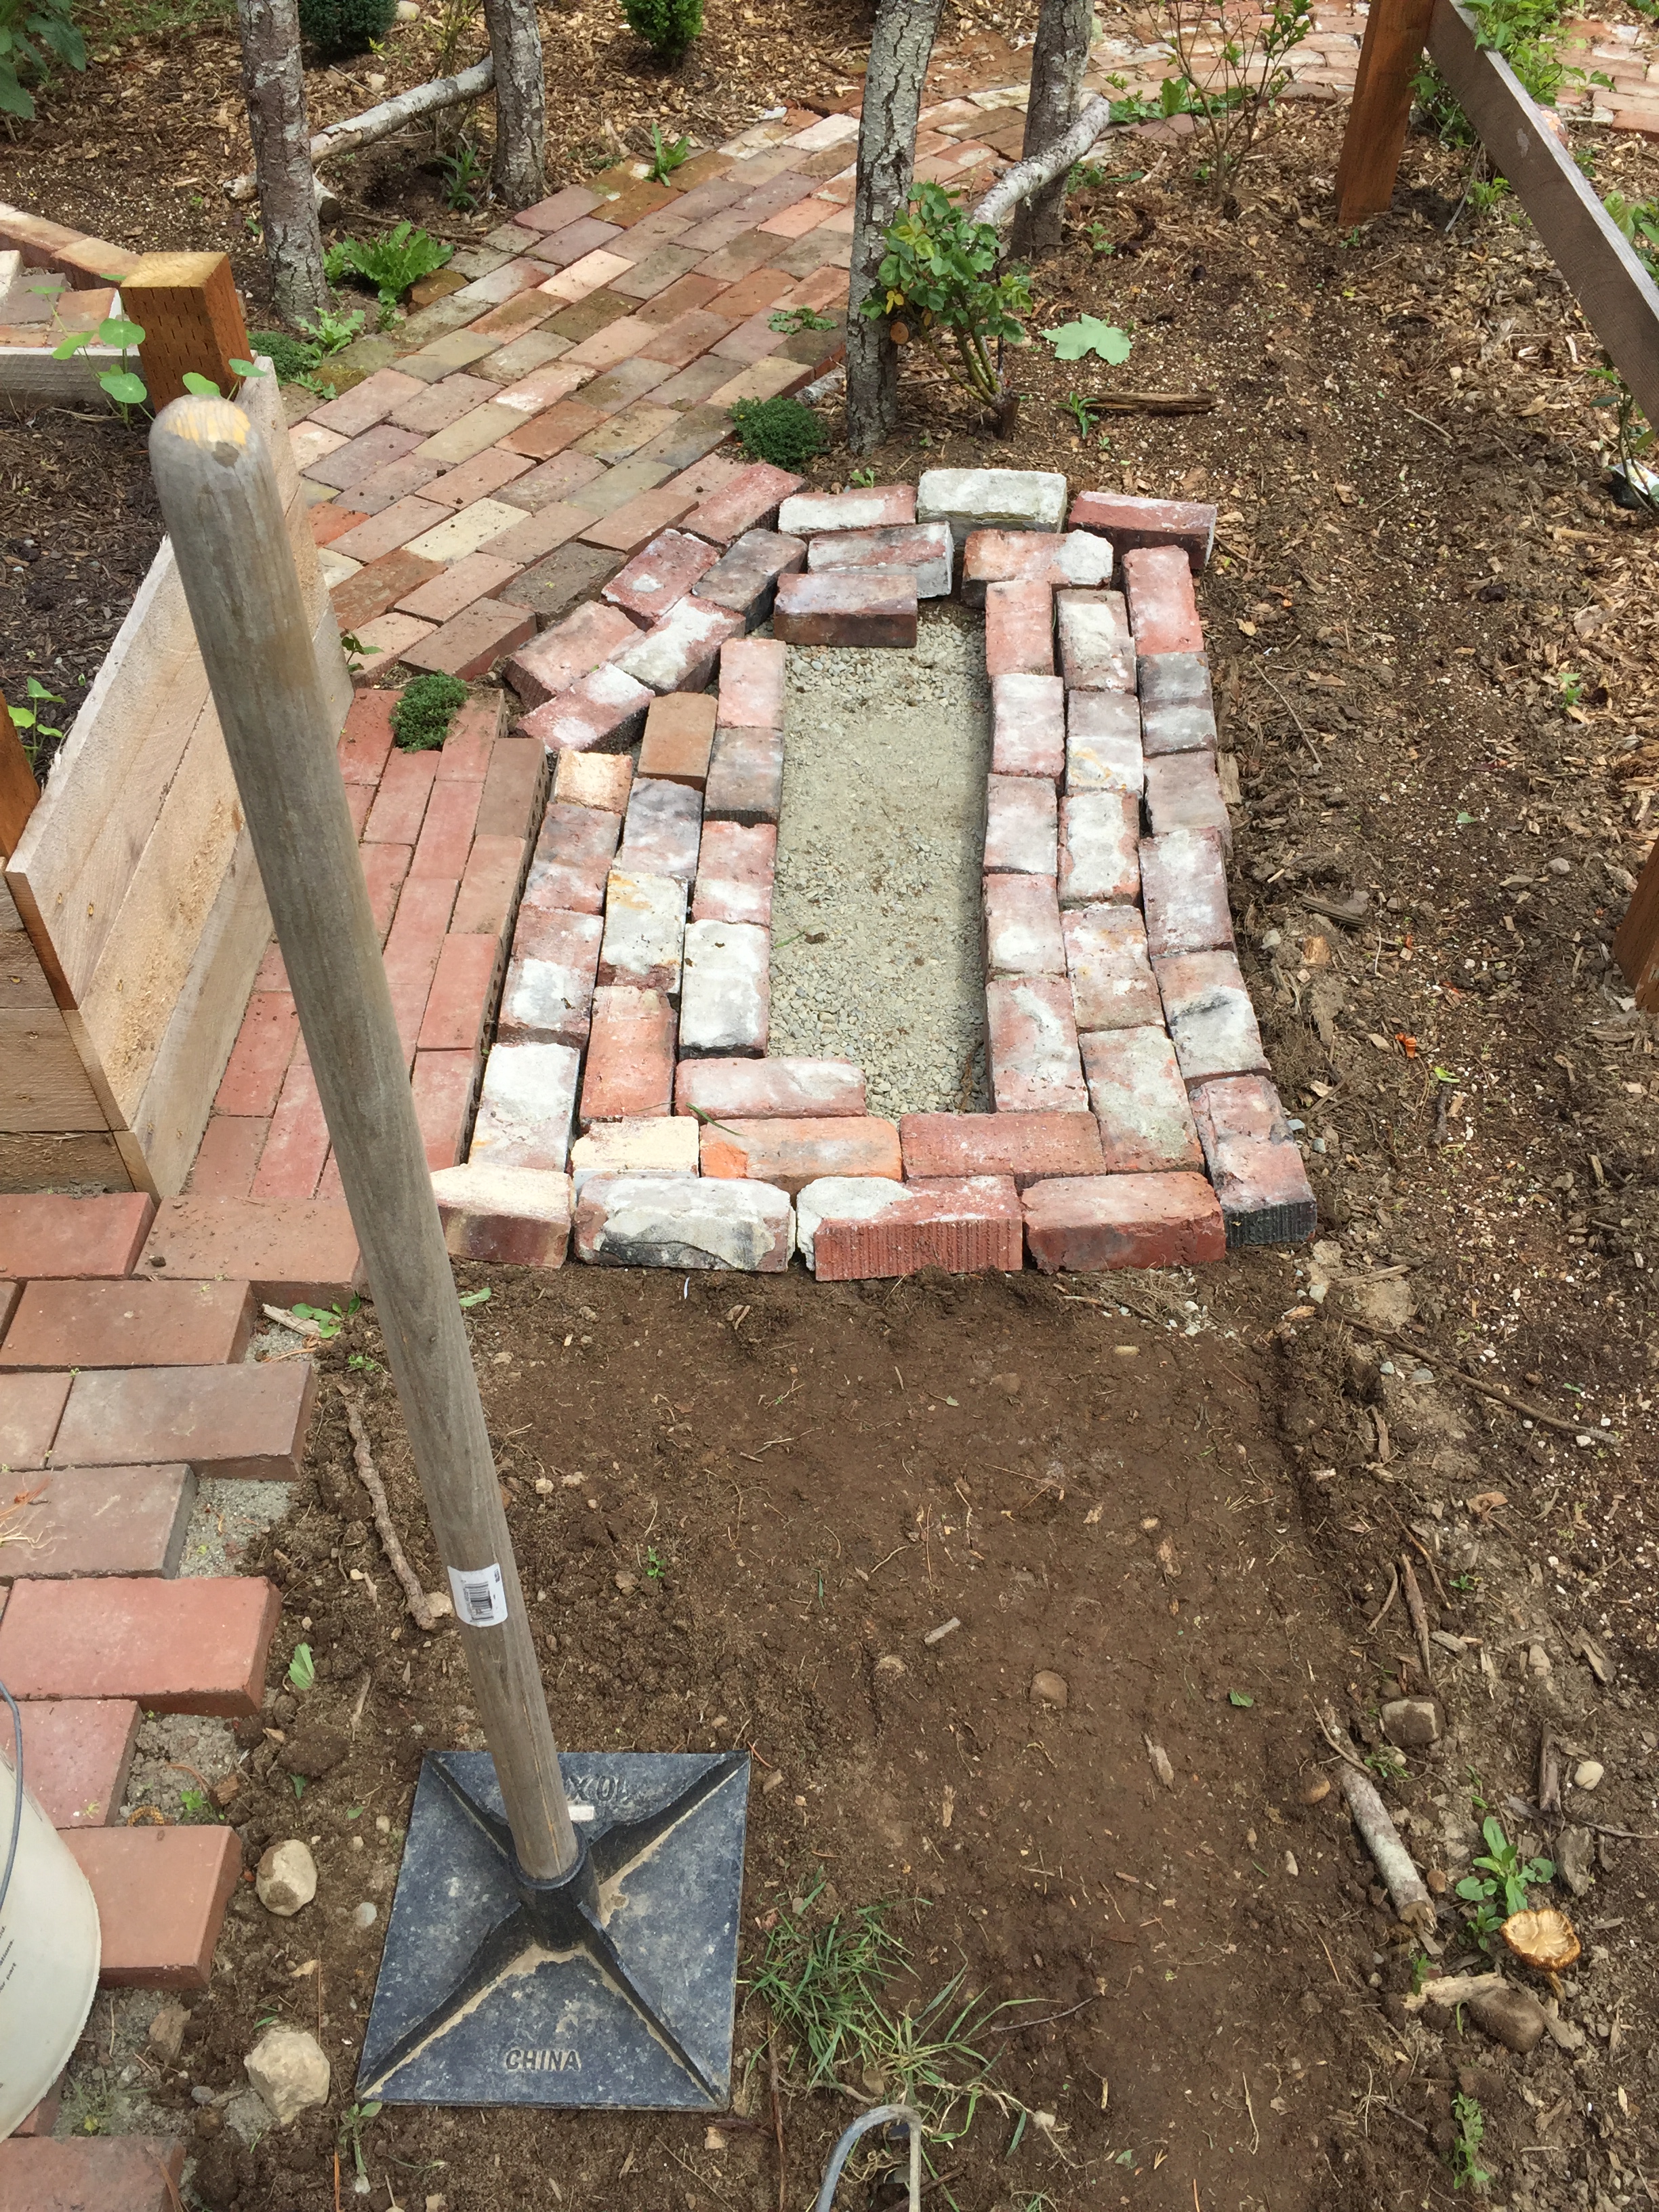
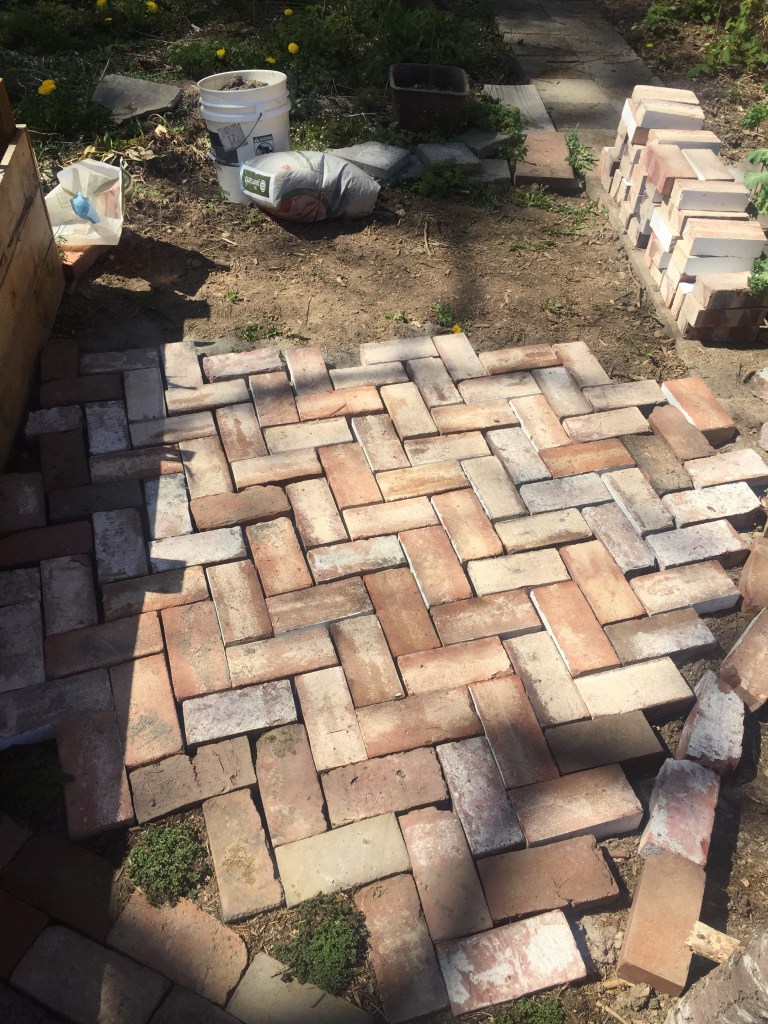
In April, 2020 I had even more bricks stockpiled and was ready to build a mini-patio in the veggie garden zone. Since this was going to be a larger space being covered I decided to get fancy and try a different pattern.
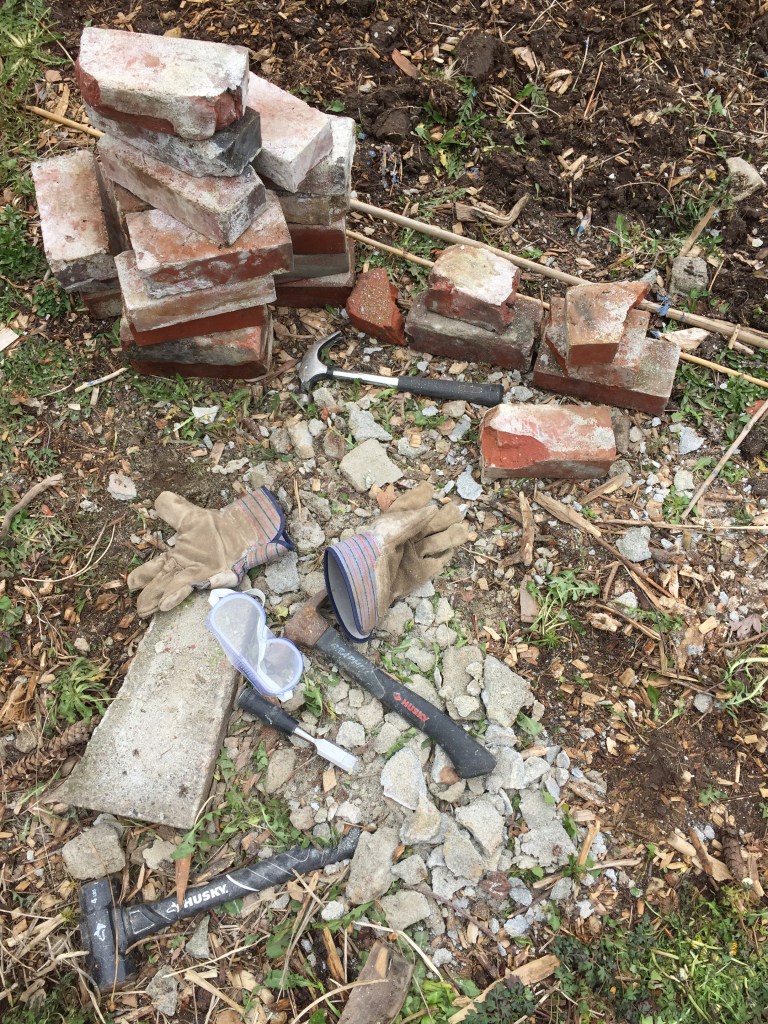
I will say, one thing to note about getting free bricks is that they are often imperfect and you will likely have to clean them up yourself, which can take a bit of time. I always make sure to use eye protection and gloves while hammering away at the old mortar because it can really go flying!


As noted earlier, this brickwork was my first time doing any hardscaping. I didn’t care to make it perfect because it was mostly just serving the purpose of keeping down the weeds in an attractive way. This wasn’t going to be a high traffic area for anyone other than myself so perfection was not necessary. It just needed to be ‘good enough.’
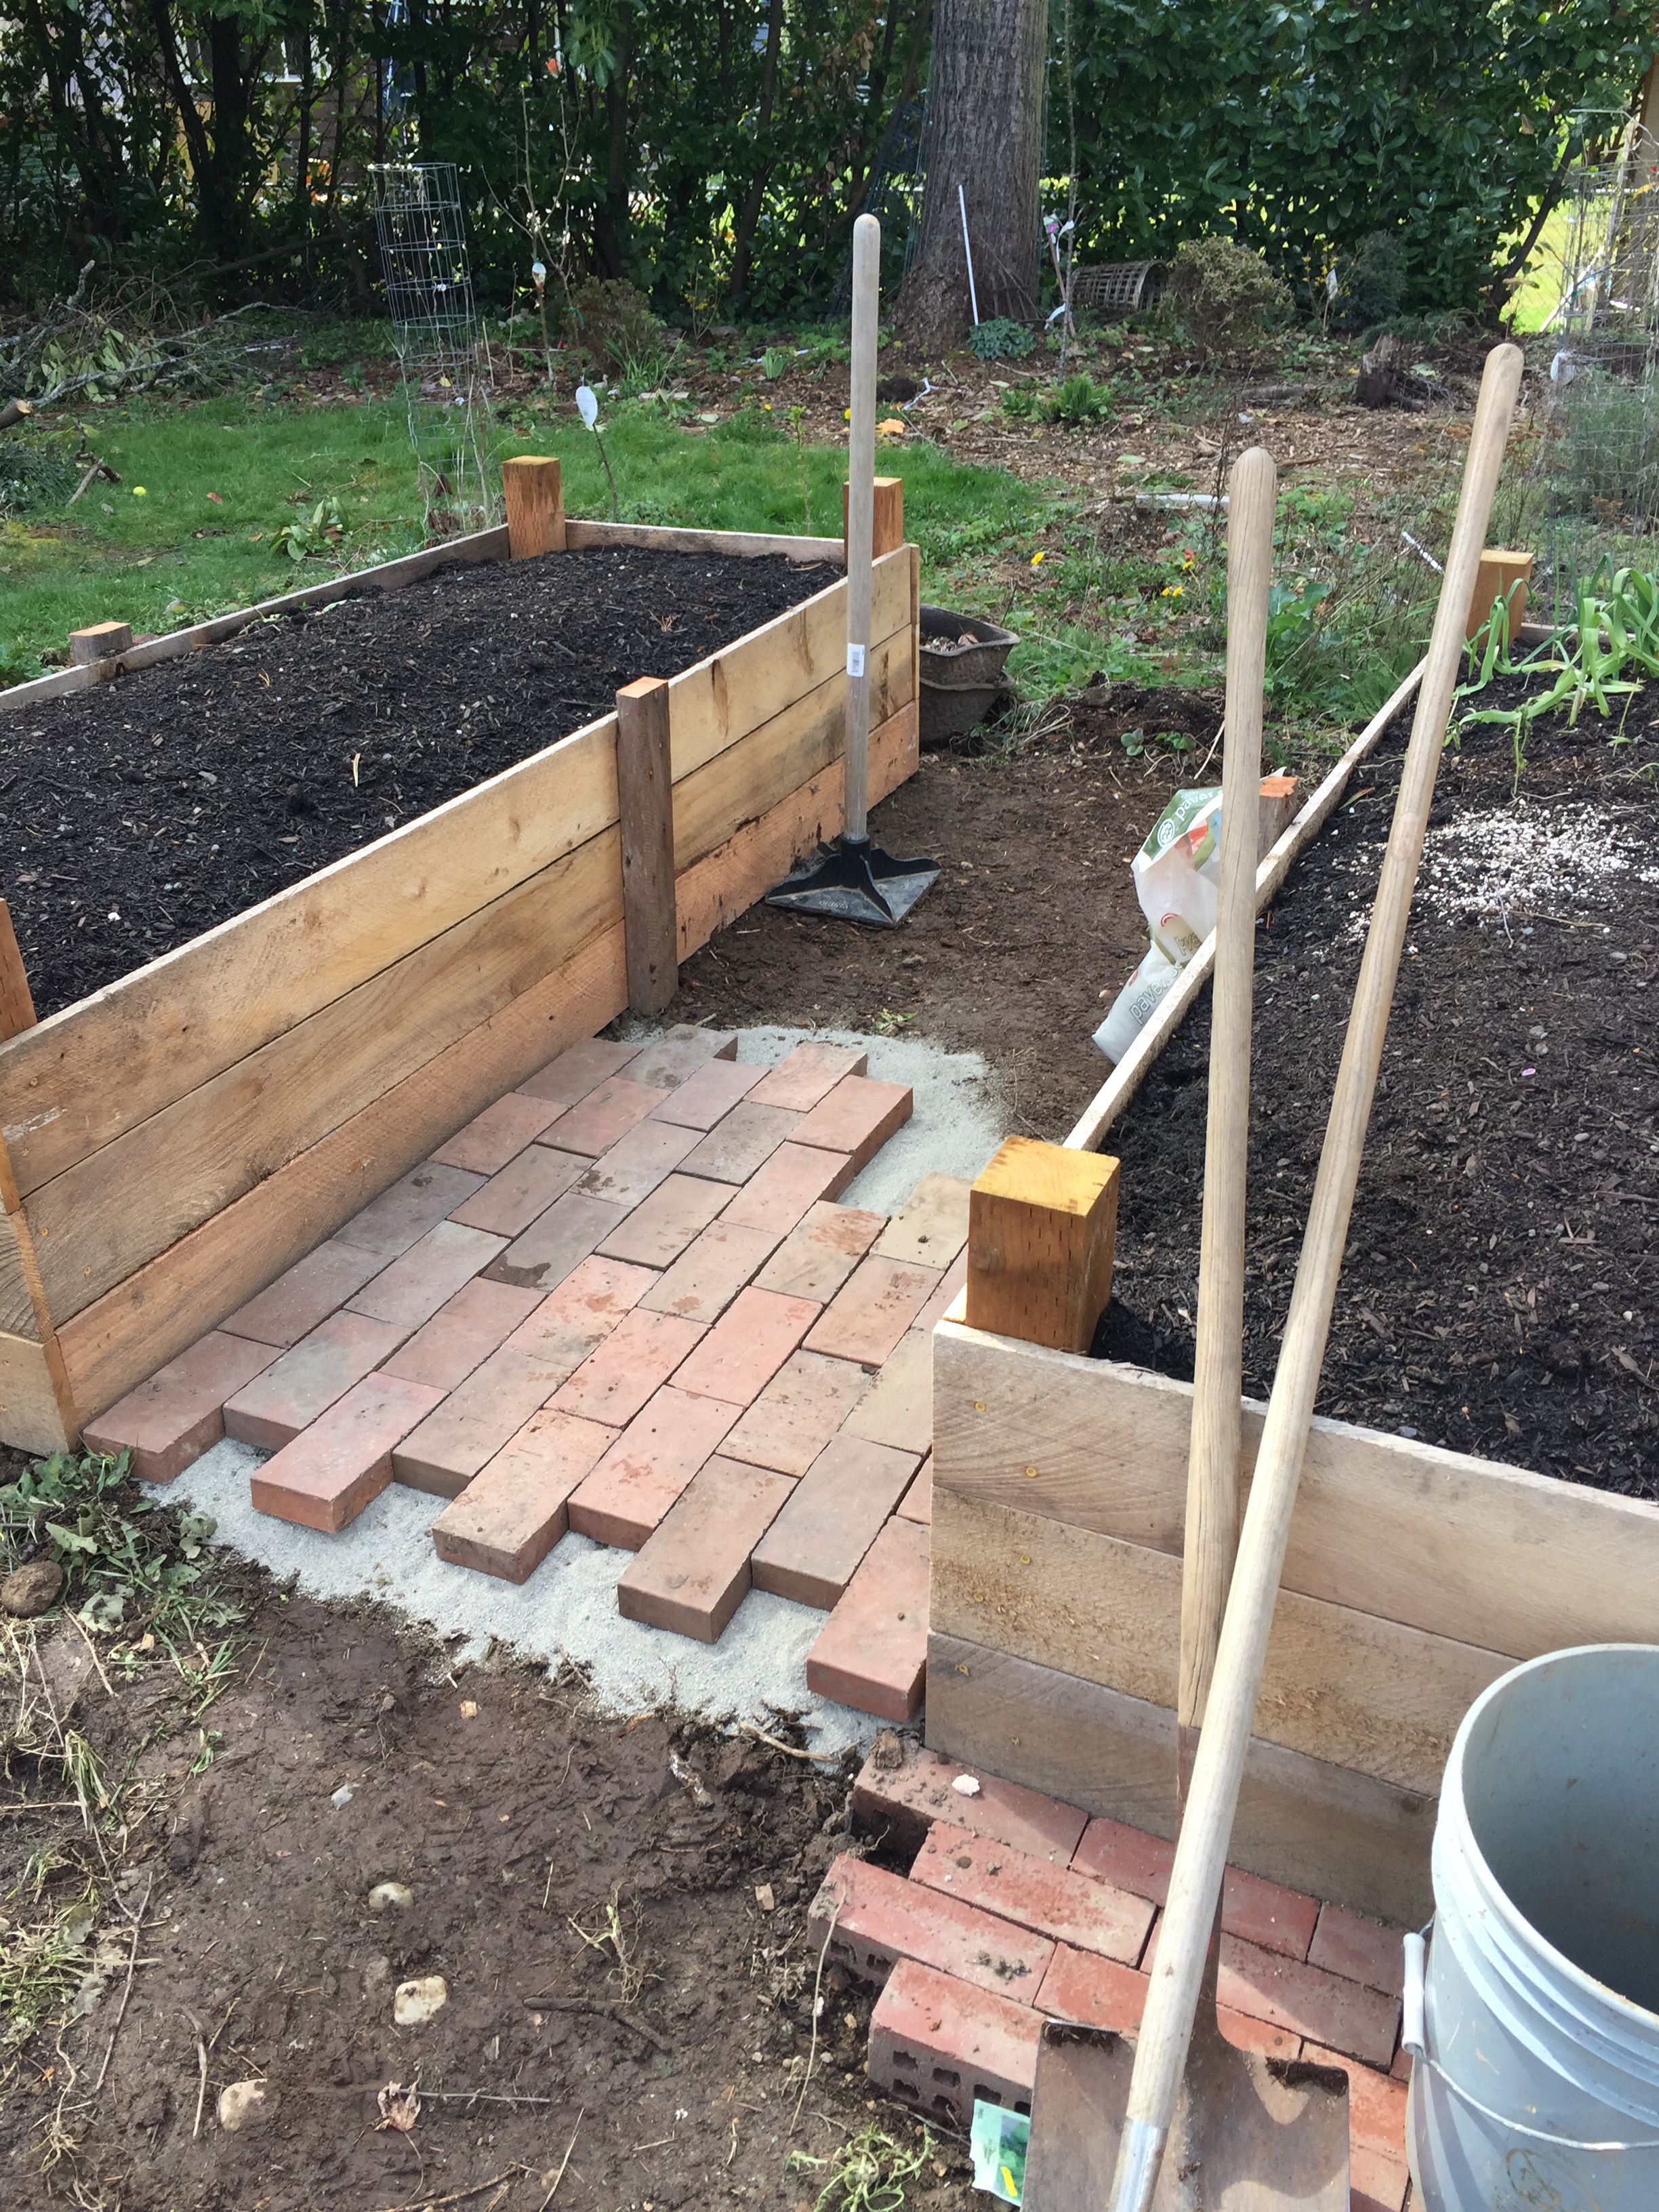
Because of that, I didn’t really do a lot of prep work on the site. I didn’t even use a sub layer of gravel (partly because I didn’t do any research on path building and didn’t know that was part of the process, but also because I didn’t want to spend any money ; ) I raked the area out and flattened it with a soil compactor, and then used sand when laying the bricks to try and keep them as level as possible.


Once I was finished laying the bricks, I dumped a bag of Quick Crete (fast drying concrete) over the whole thing and swept it between all the cracks. I then watered it down with a hose and let it set. I had to come back a few times and scrub the bricks with a wire brush to make sure you could still see the red coloring on some of the bricks, but other than that it was a fairly simple process and has been VERY effective at keeping the weeds away.
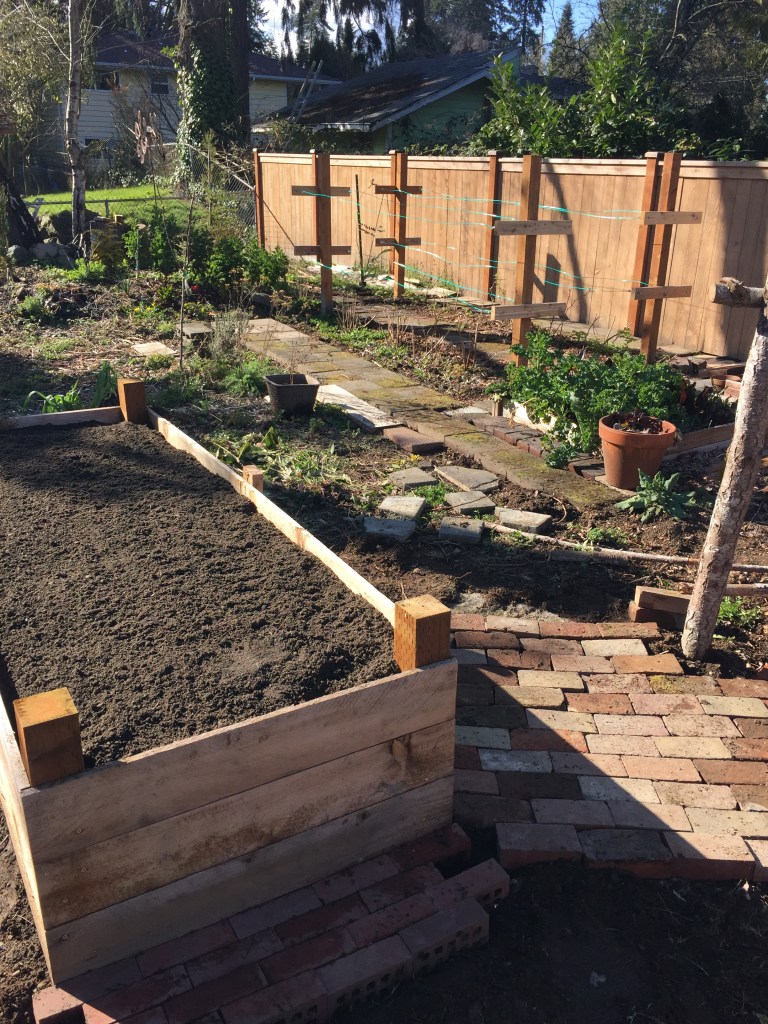
This little patio makes me really happy. It’s so cute and so quaint, and it cost about $5 to make. It makes the space feel complete and it was such a fun learning experience for me. I will likely be adding a layer of gravel to any future patios of similar size just to make sure it’s done right, but otherwise I wouldn’t change a thing. I’ve still got a lot more brick work planned for the raised bed area, so will be updating this post as I go along!
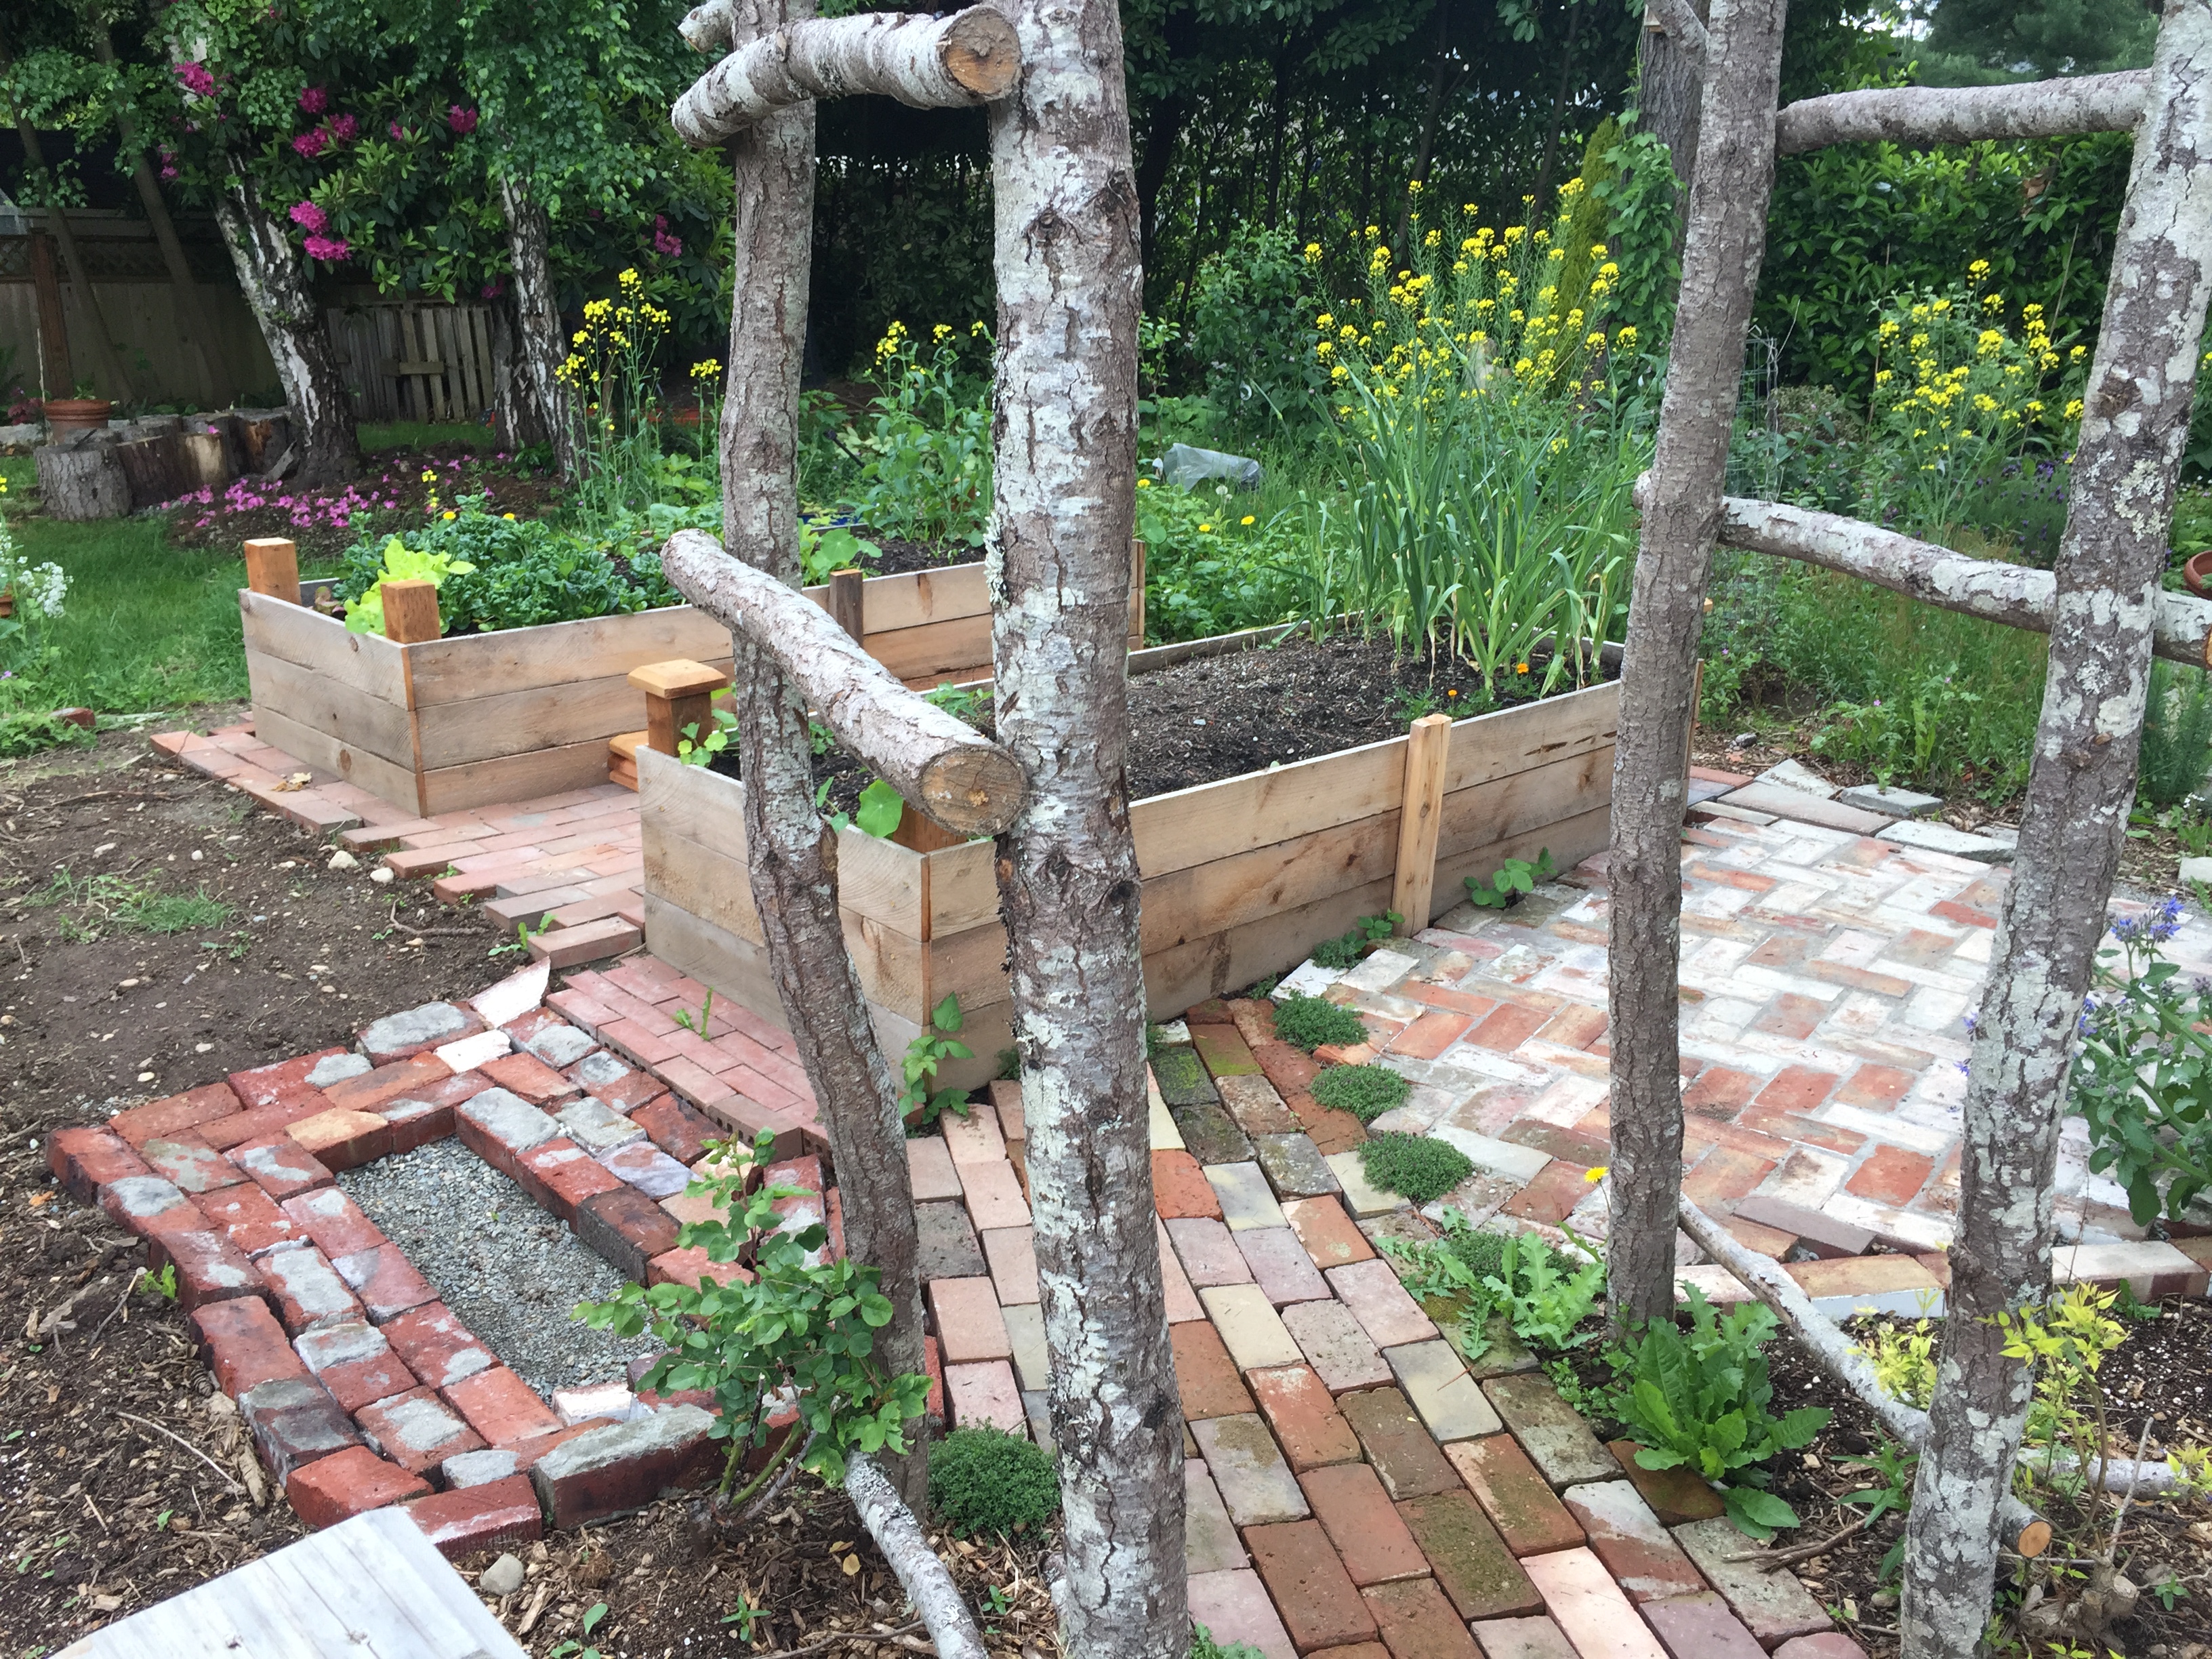
When I posted a picture of this patio on Instagram, my friend reached out and said she had some old bricks that I was welcome to take off her hands if I wanted them. Of course I jumped in my trusty minivan and went over and picked them up right away, haha! (Thanks Char!!!) These bricks were a little different than the others I had used so far. They were thinner and had more of a ceramic, terra cotta feel to them. I figured they would be perfect for using between the two raised beds we had just built!


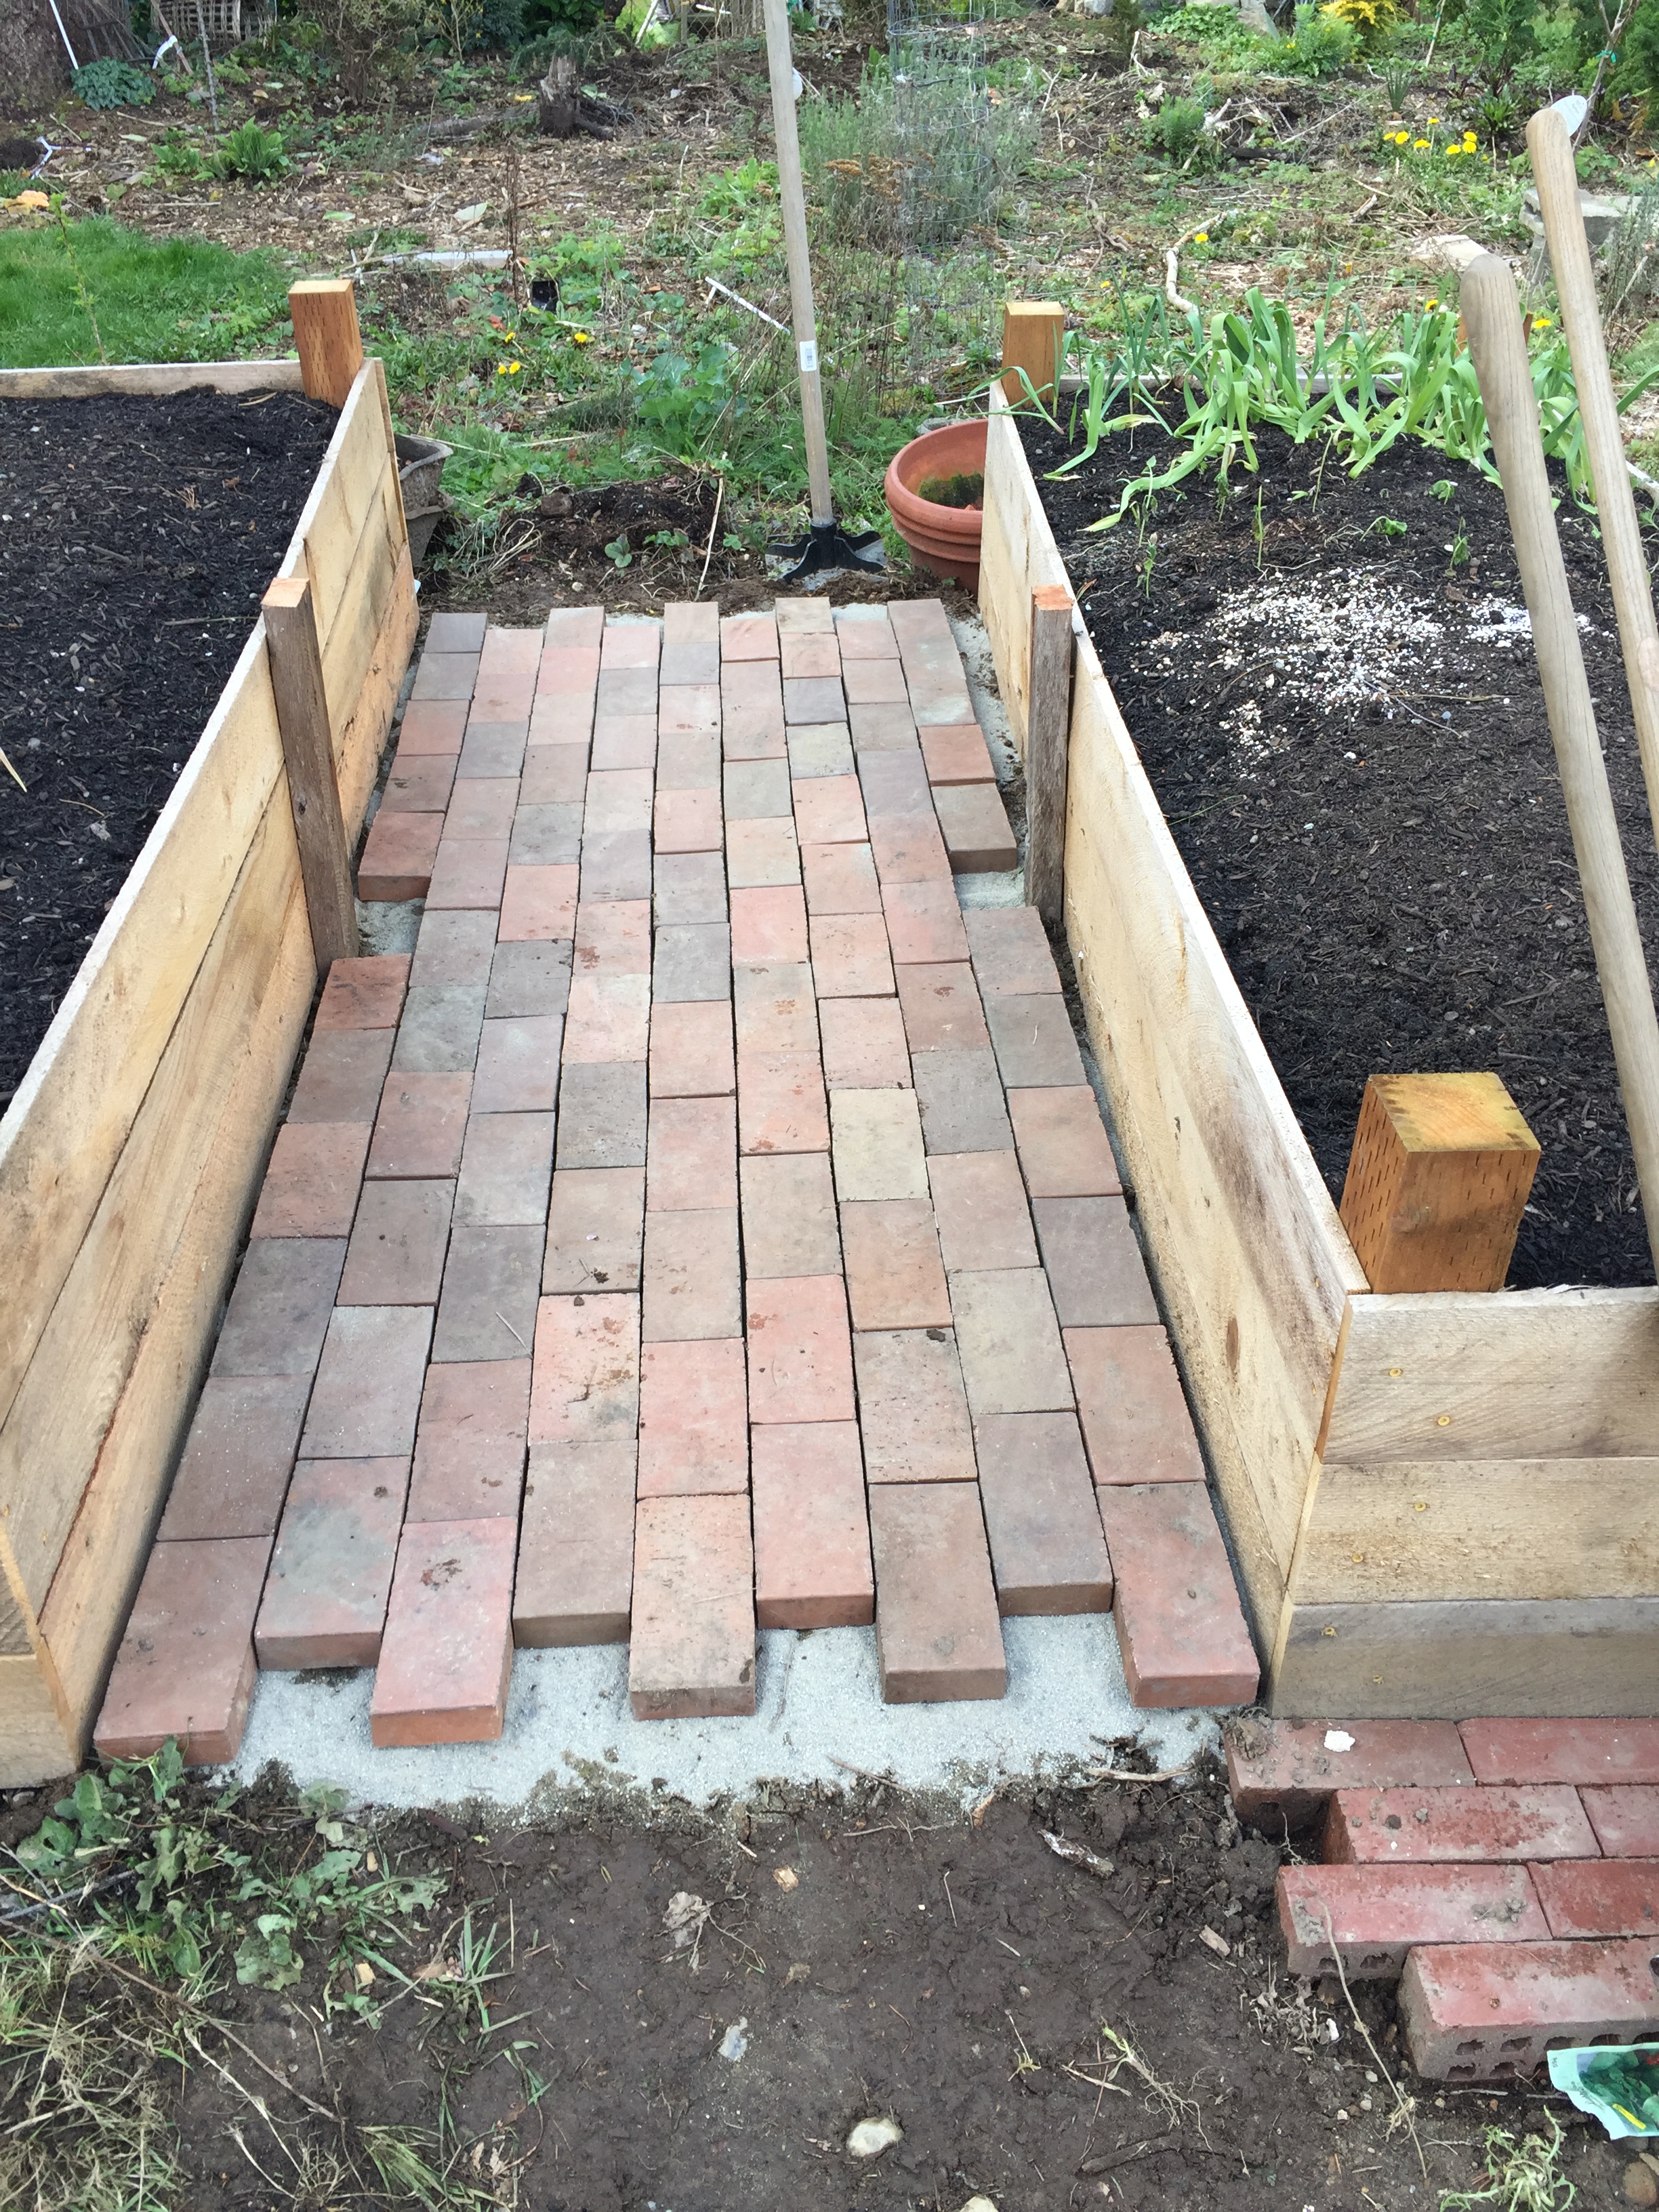

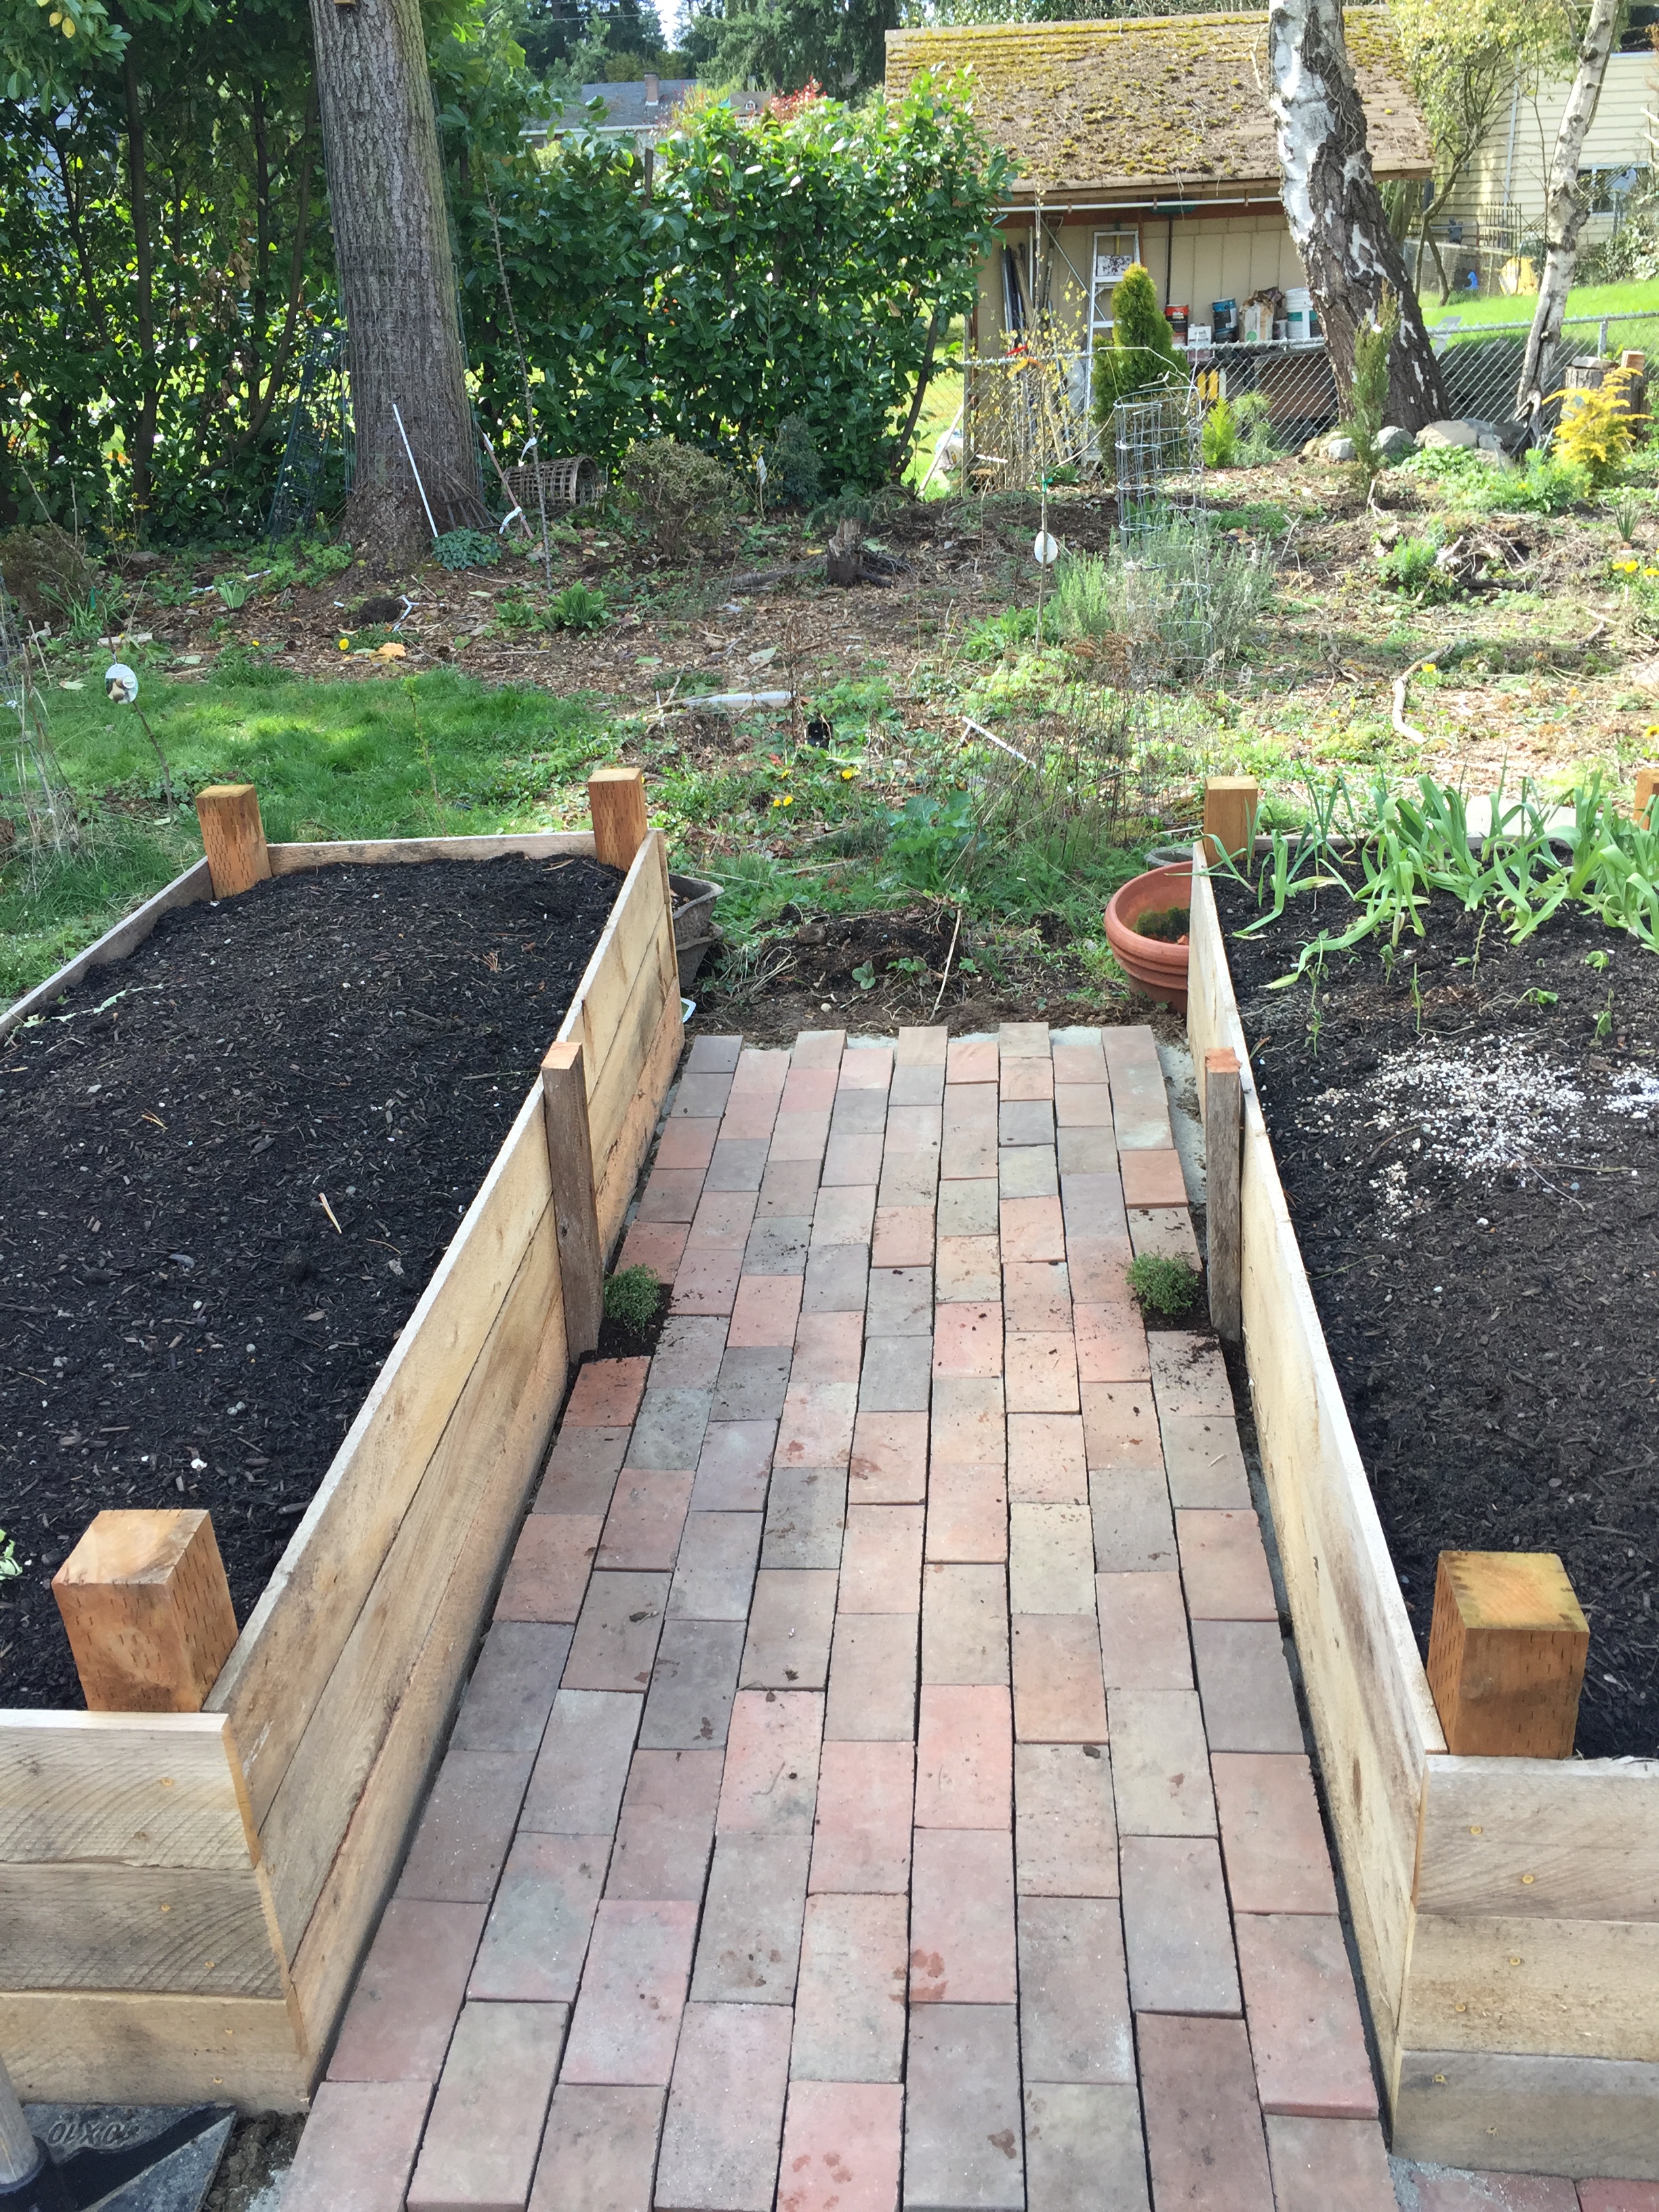
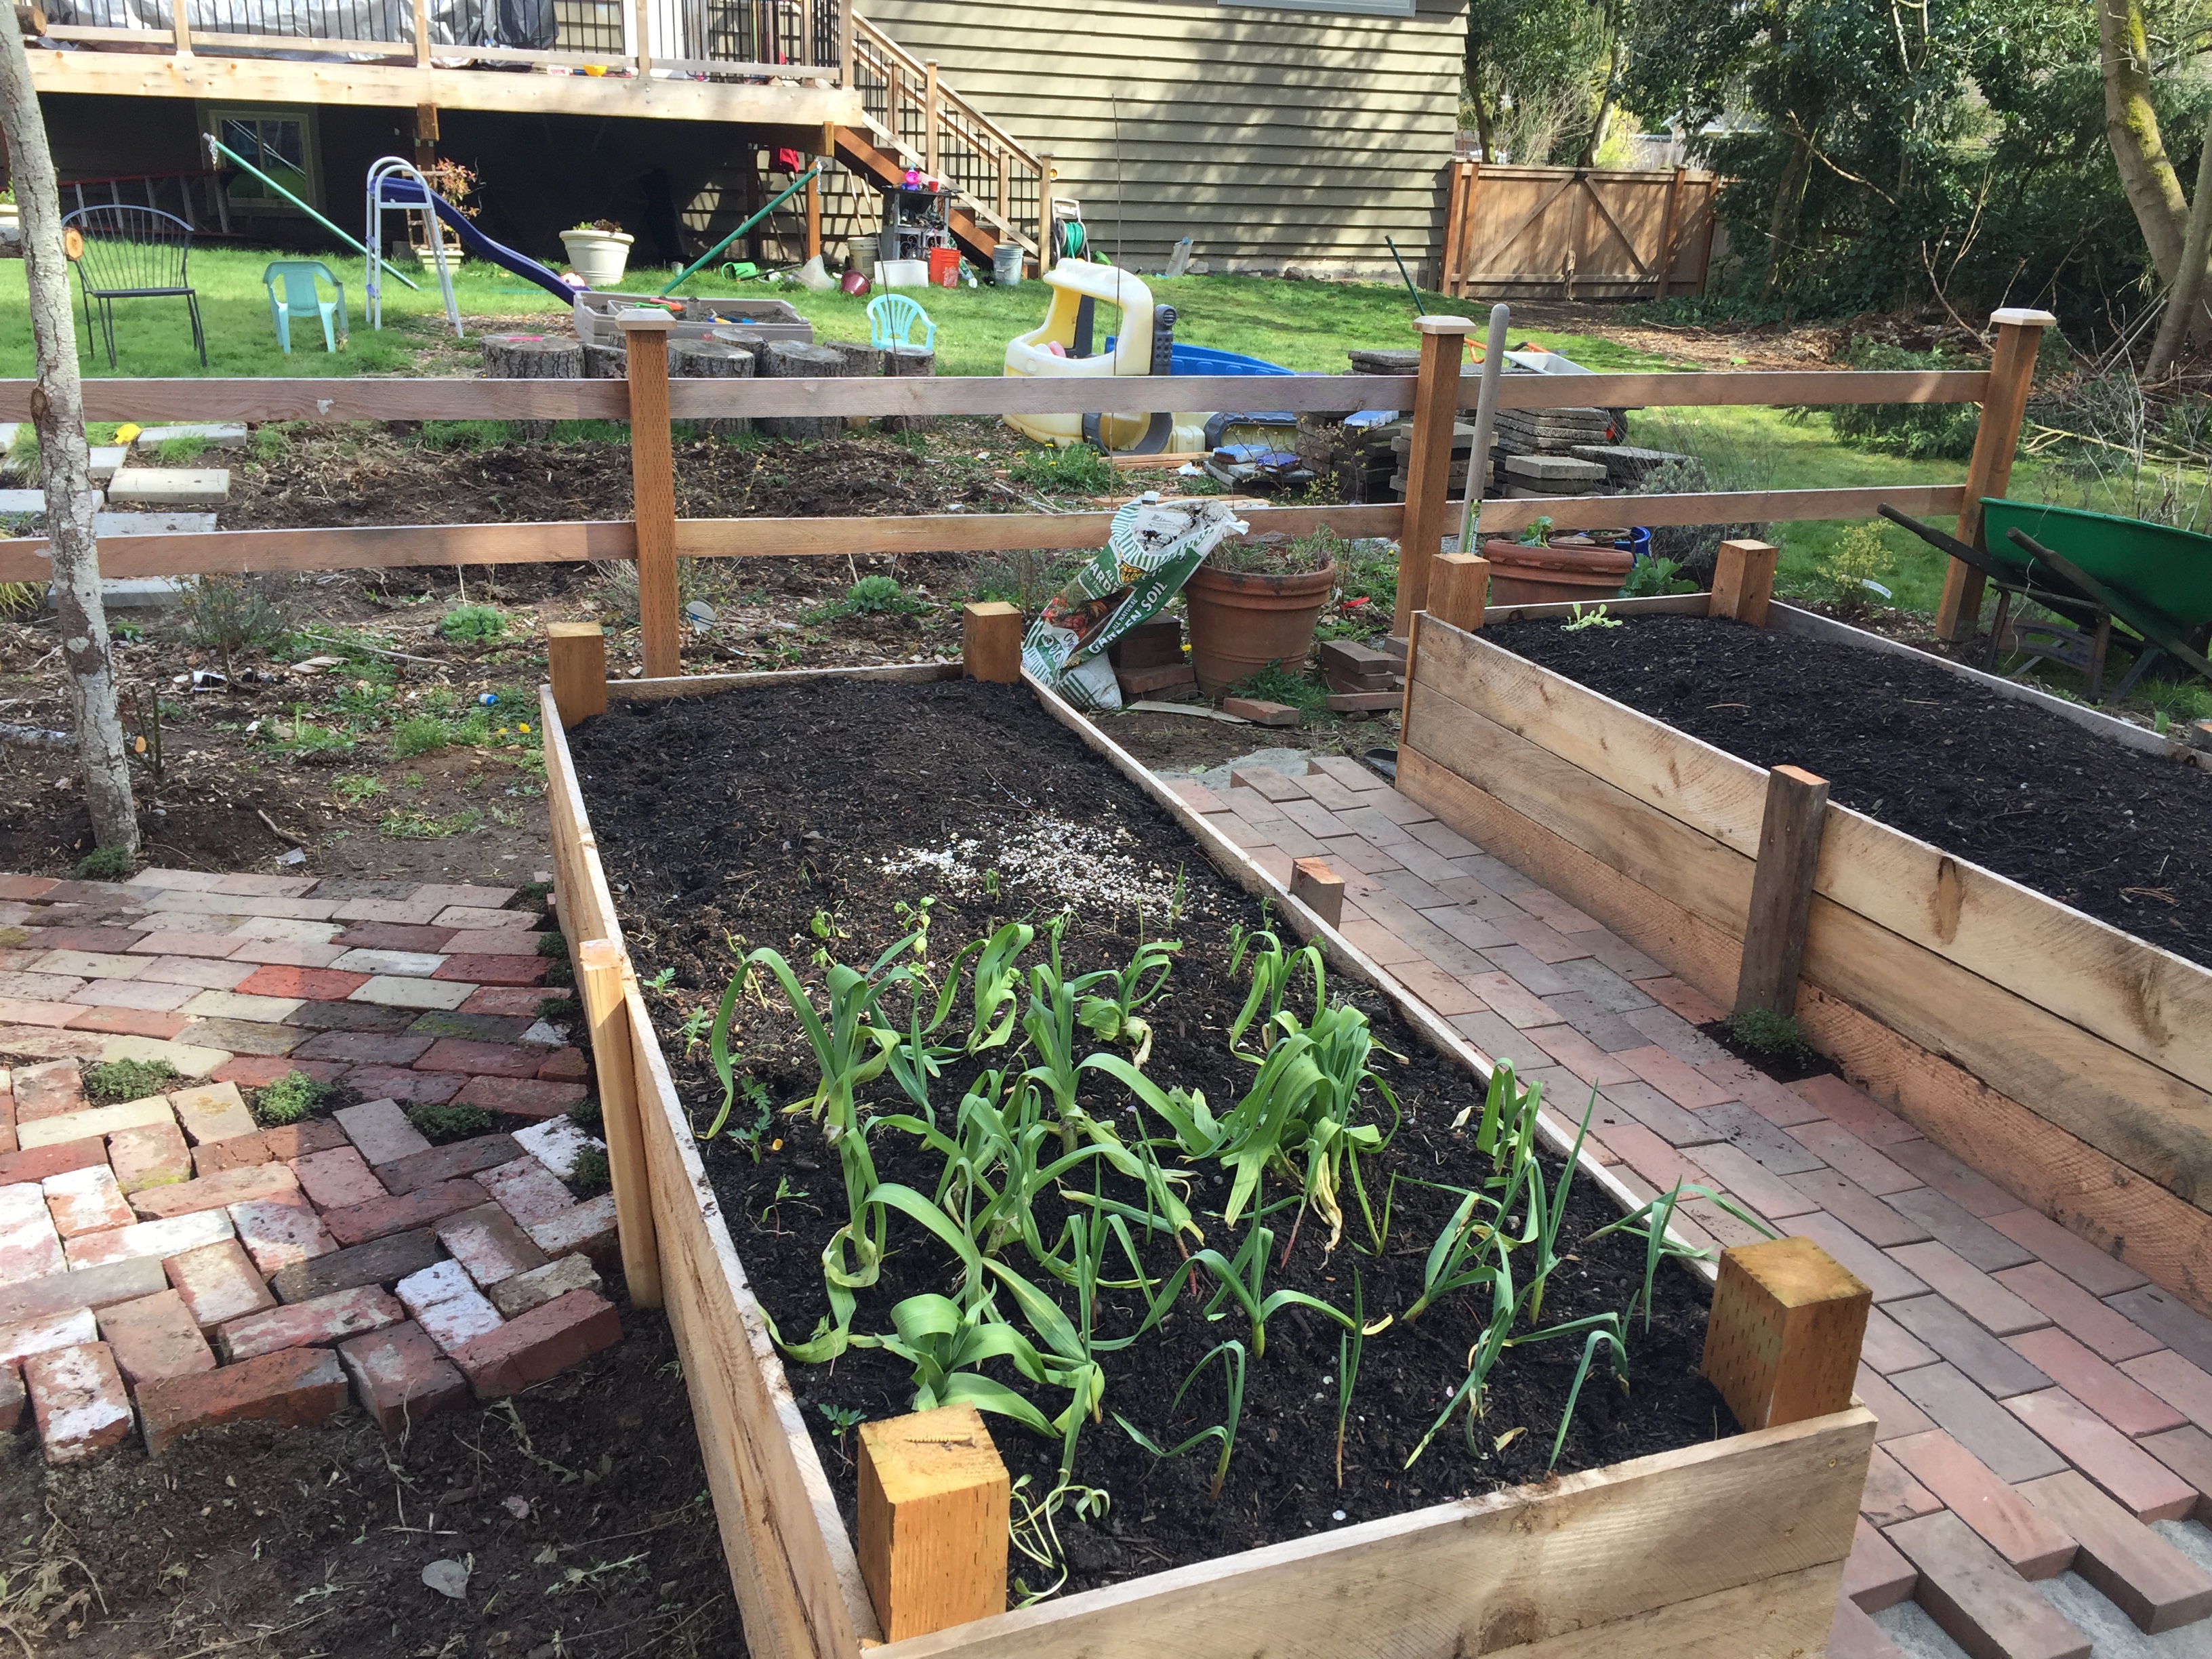

I got lucky and these bricks happened to fit perfectly between the beds.
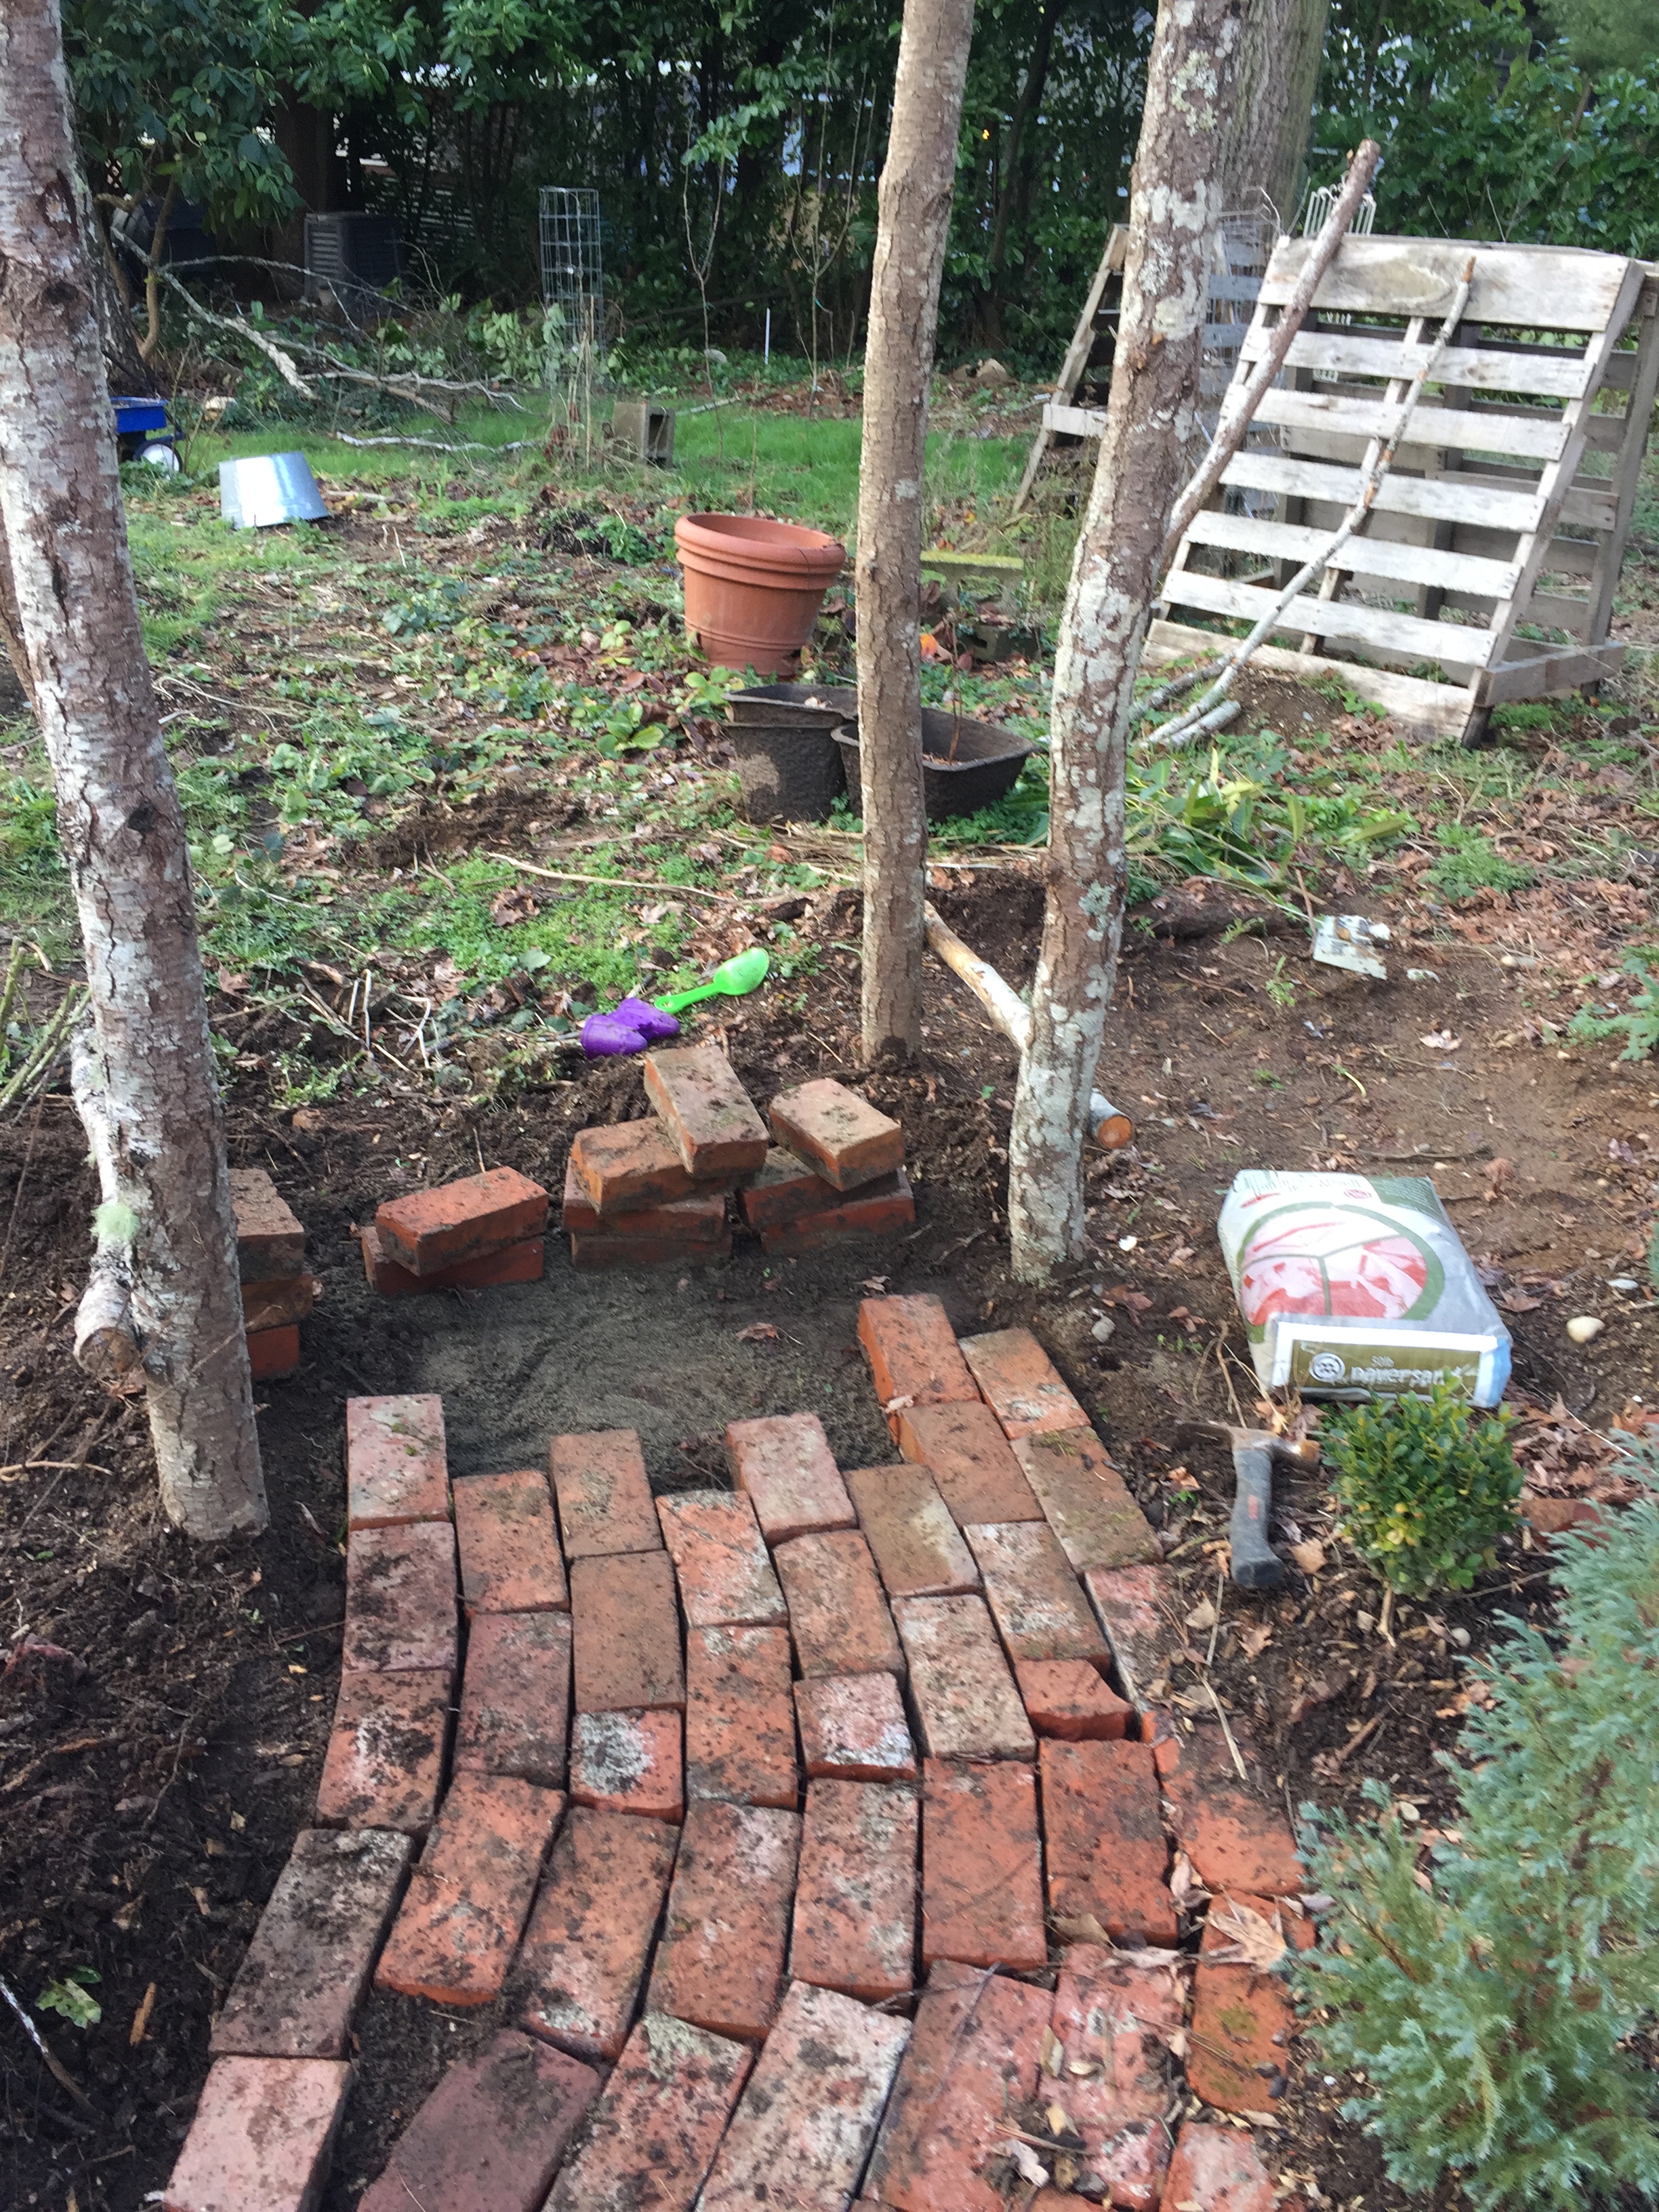
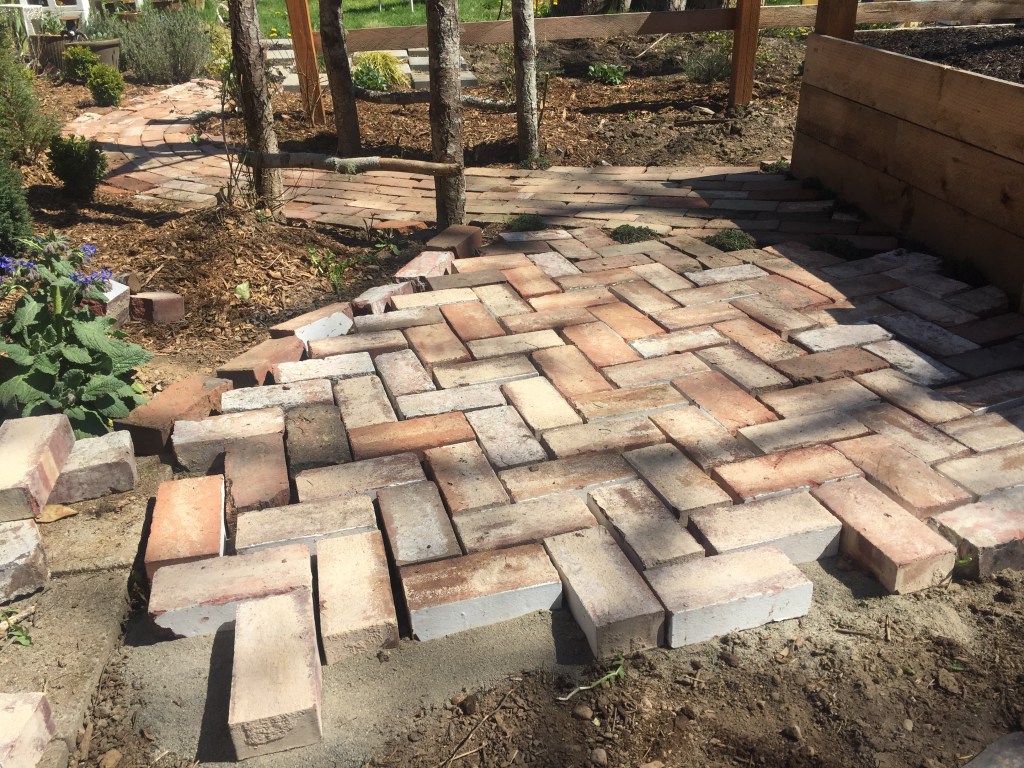
I’ve still got some more raised beds to build and will need to add more pathways between all of them, but next up I plan on trying to do a little patio/walkway that incorporates bricks and some pebbles. Hopefully I will have an update on that soon! Here’s a look at the incomplete brickwork projects as of summer 2020.