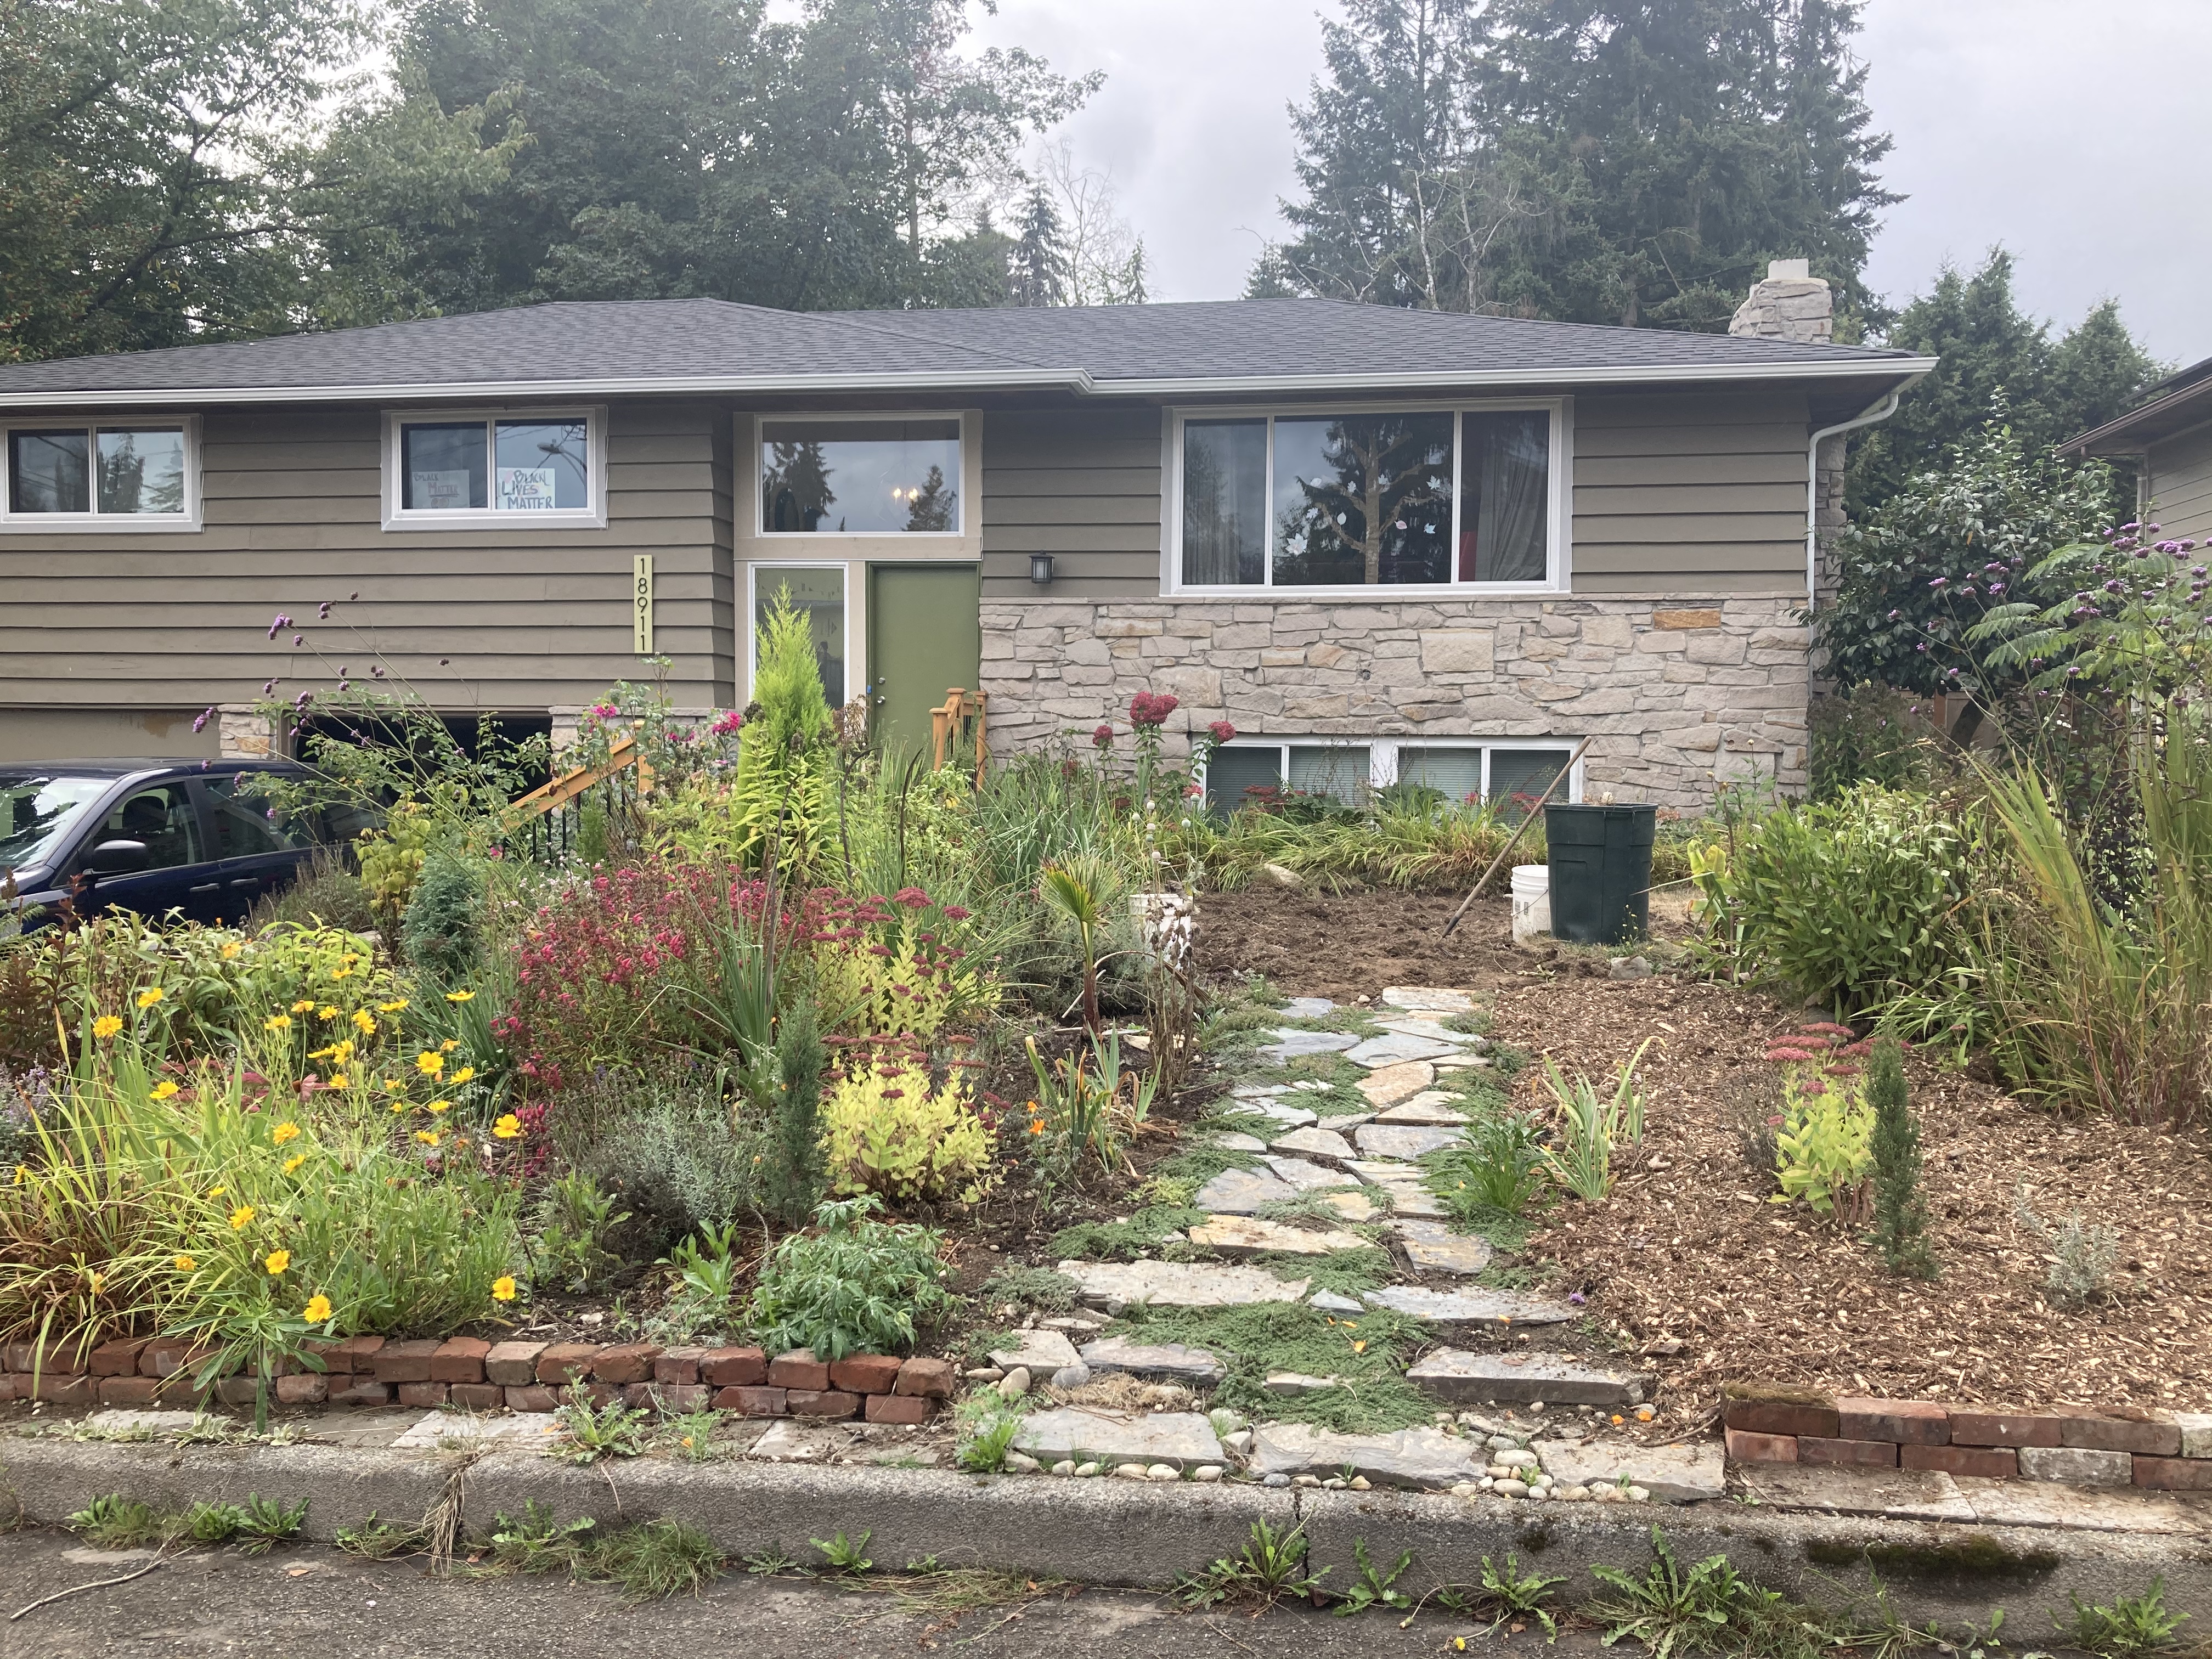
Ever since purchasing our house in 2017 I knew I wanted to get rid of the grass in the front yard and create a pollinator garden with a stone patio. It took three years, but with a lot of work, creativity and patience I was finally able to make it happen! Here is a look at my journey taking our front yard from sad and boring, and turning it into a plant, pollinator and personal sanctuary.
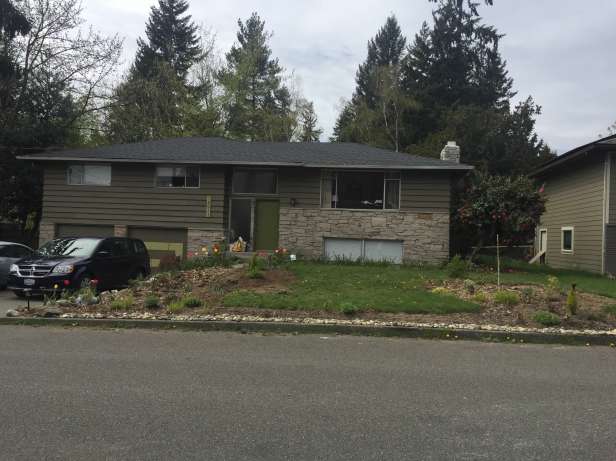
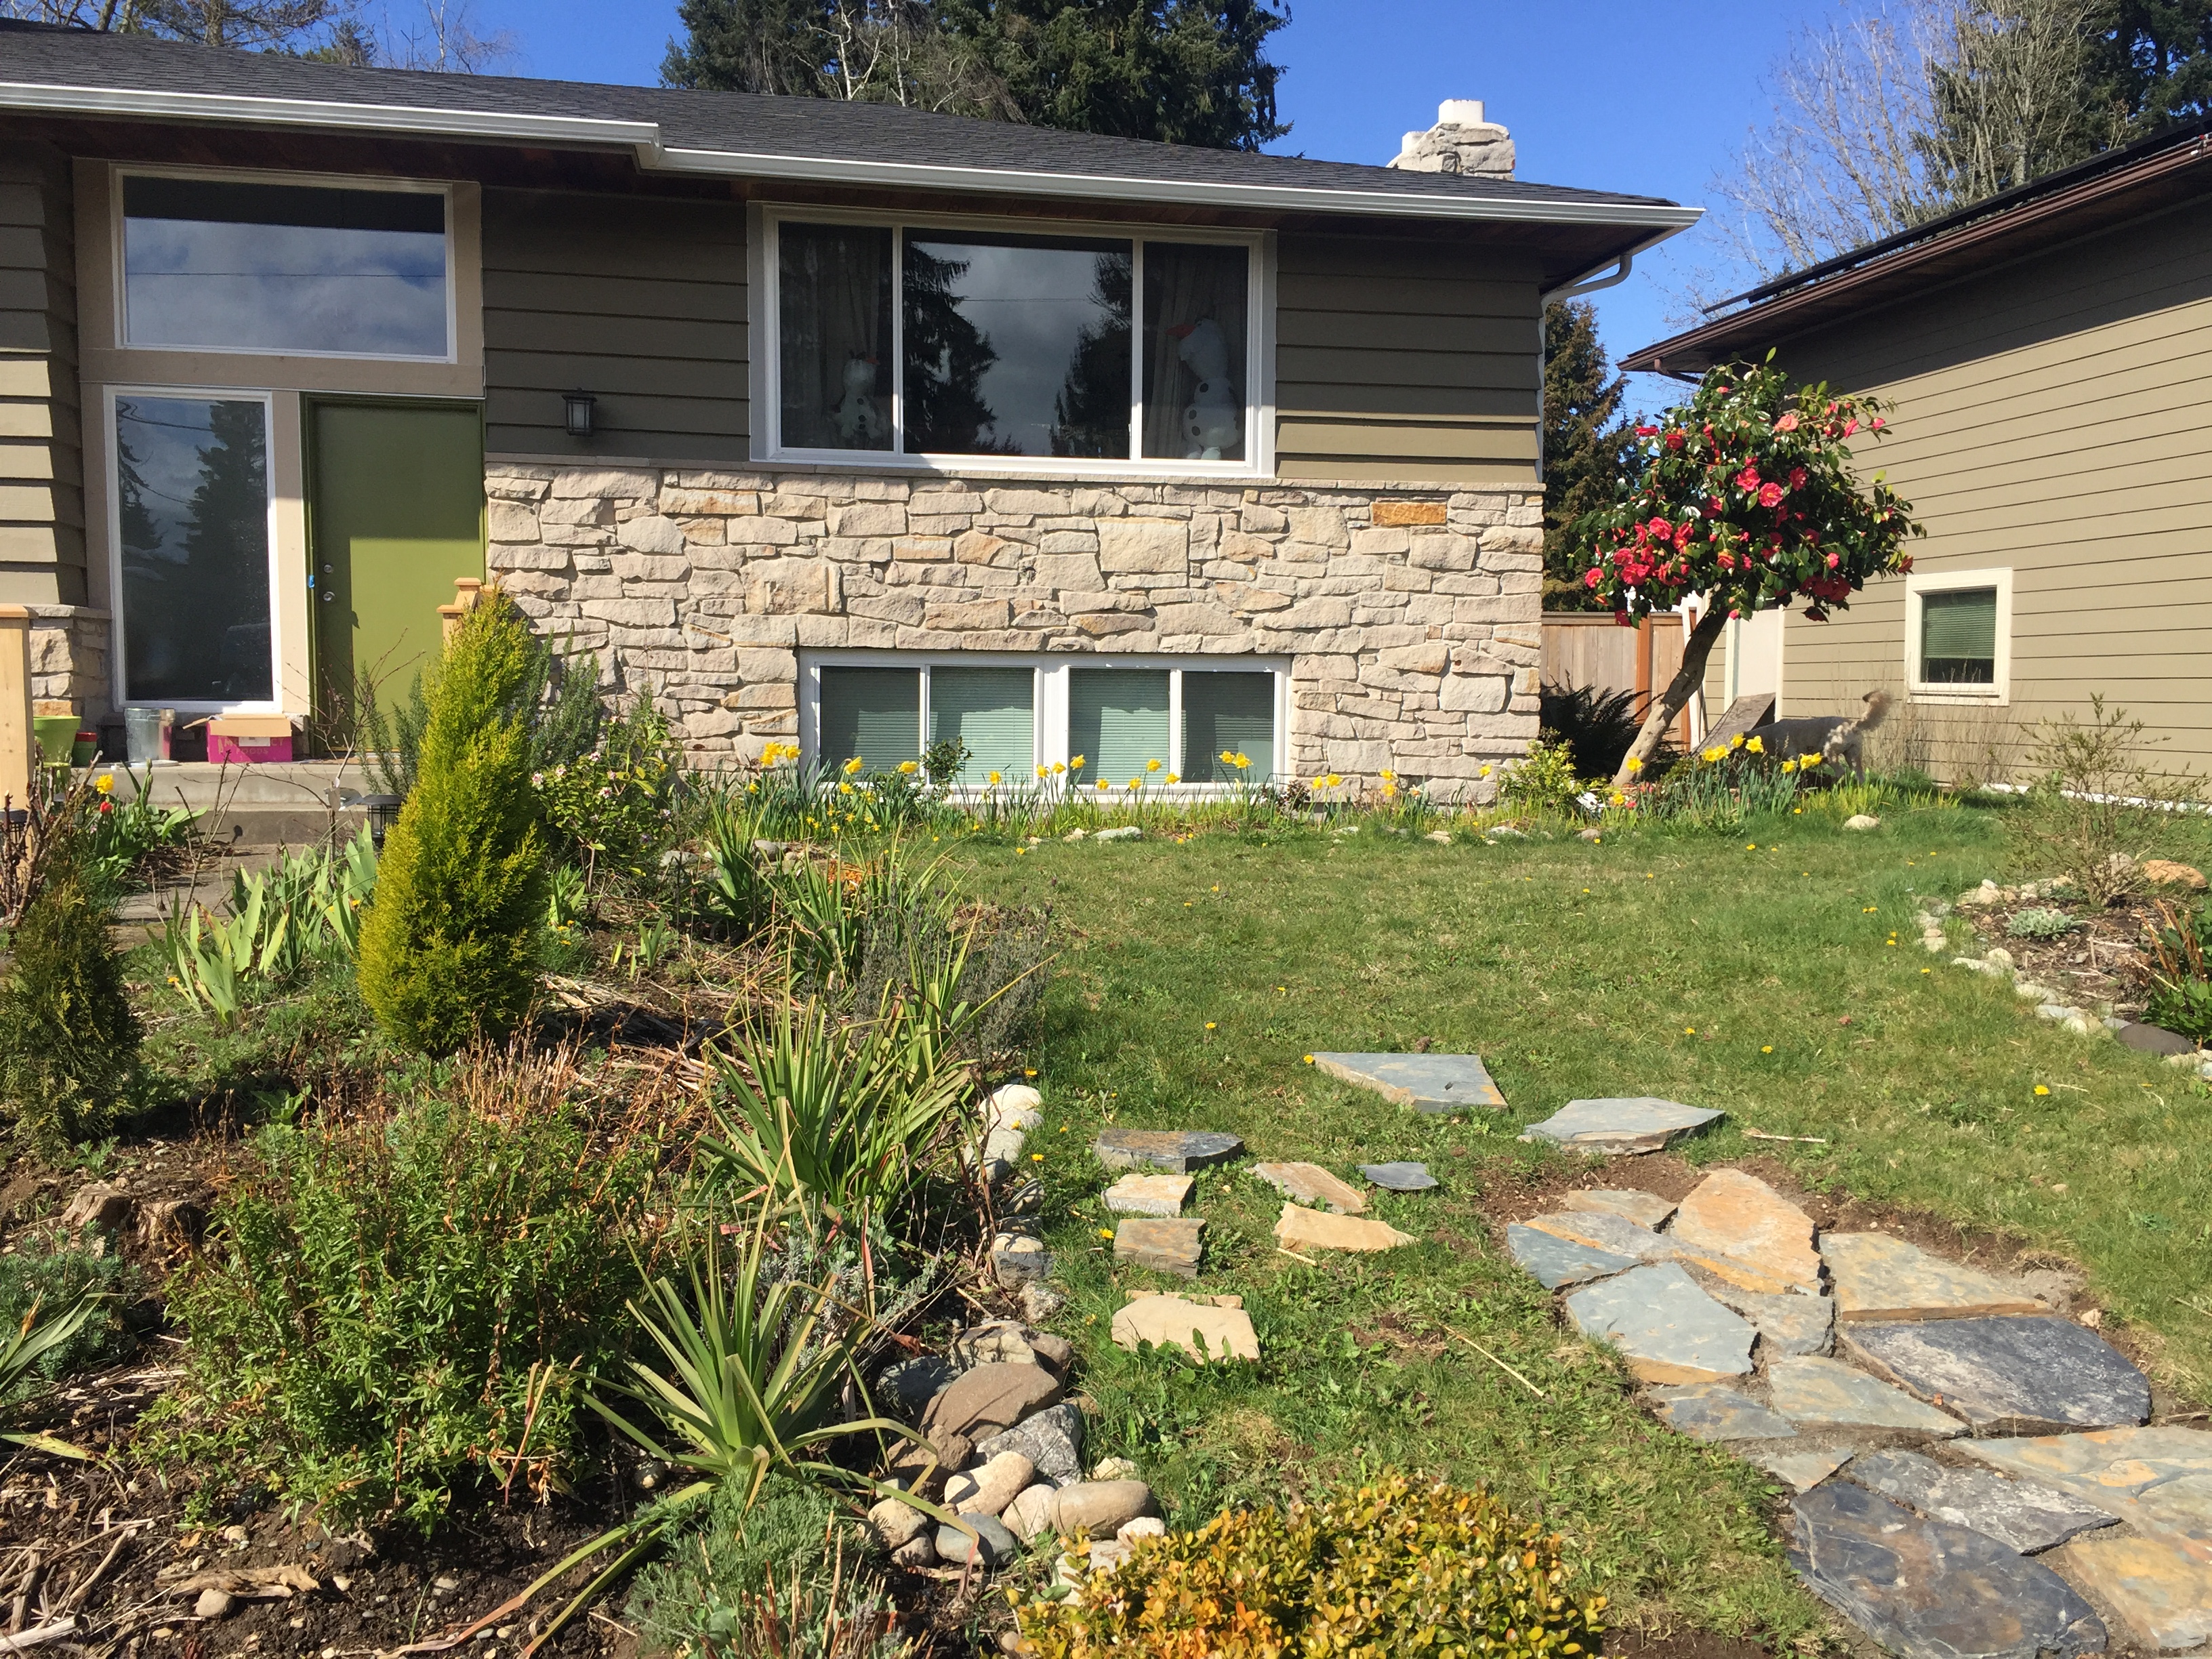
Below is a look at our front yard in July of 2017, right after we closed on buying it.
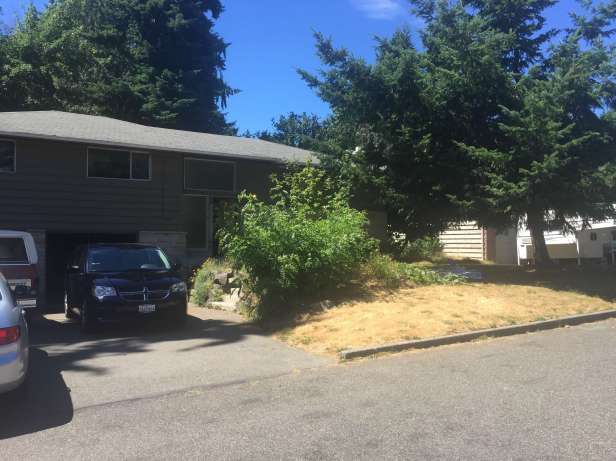
Though it was an eyesore when we got it, I was determined to make changes as quickly as I could without breaking the bank. We had just spent all our money on buying the house, after all.
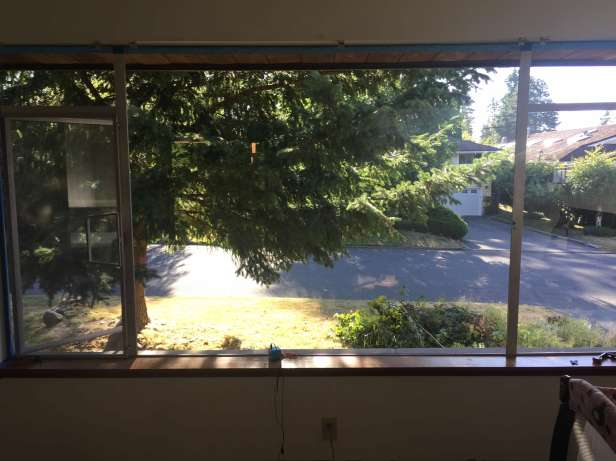
The pollinator garden was going to be relatively easy for me to install. First, we took out a tree and then I was able to dig out portions of the grass immediately upon purchase. I got a lot of flowering plants and shrubs for free (YAY!) from a local Facebook group called Share Plants Shoreline. I also bought a bunch of seeds and a few other flowers and shrubs that would bring butterflies and bees into our space. Add in a little bit of labor and a lot of watering and I was well on my way to transform the yard into a pollinator paradise in just one year.
But the patio . . . that was not going to be so simple. DIY or not, a patio was going to be expensive. Thus, I was going to have to be patient.


June 2018 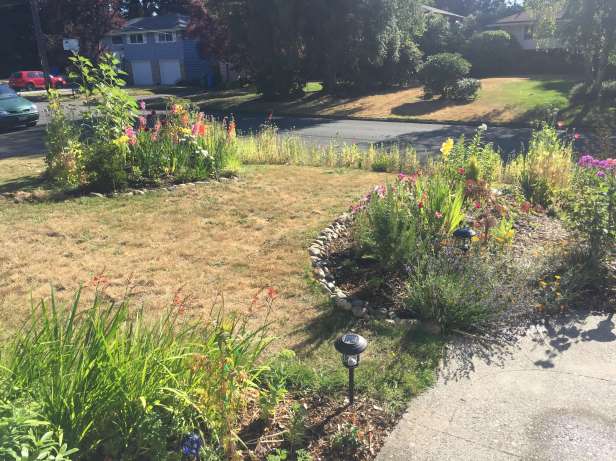


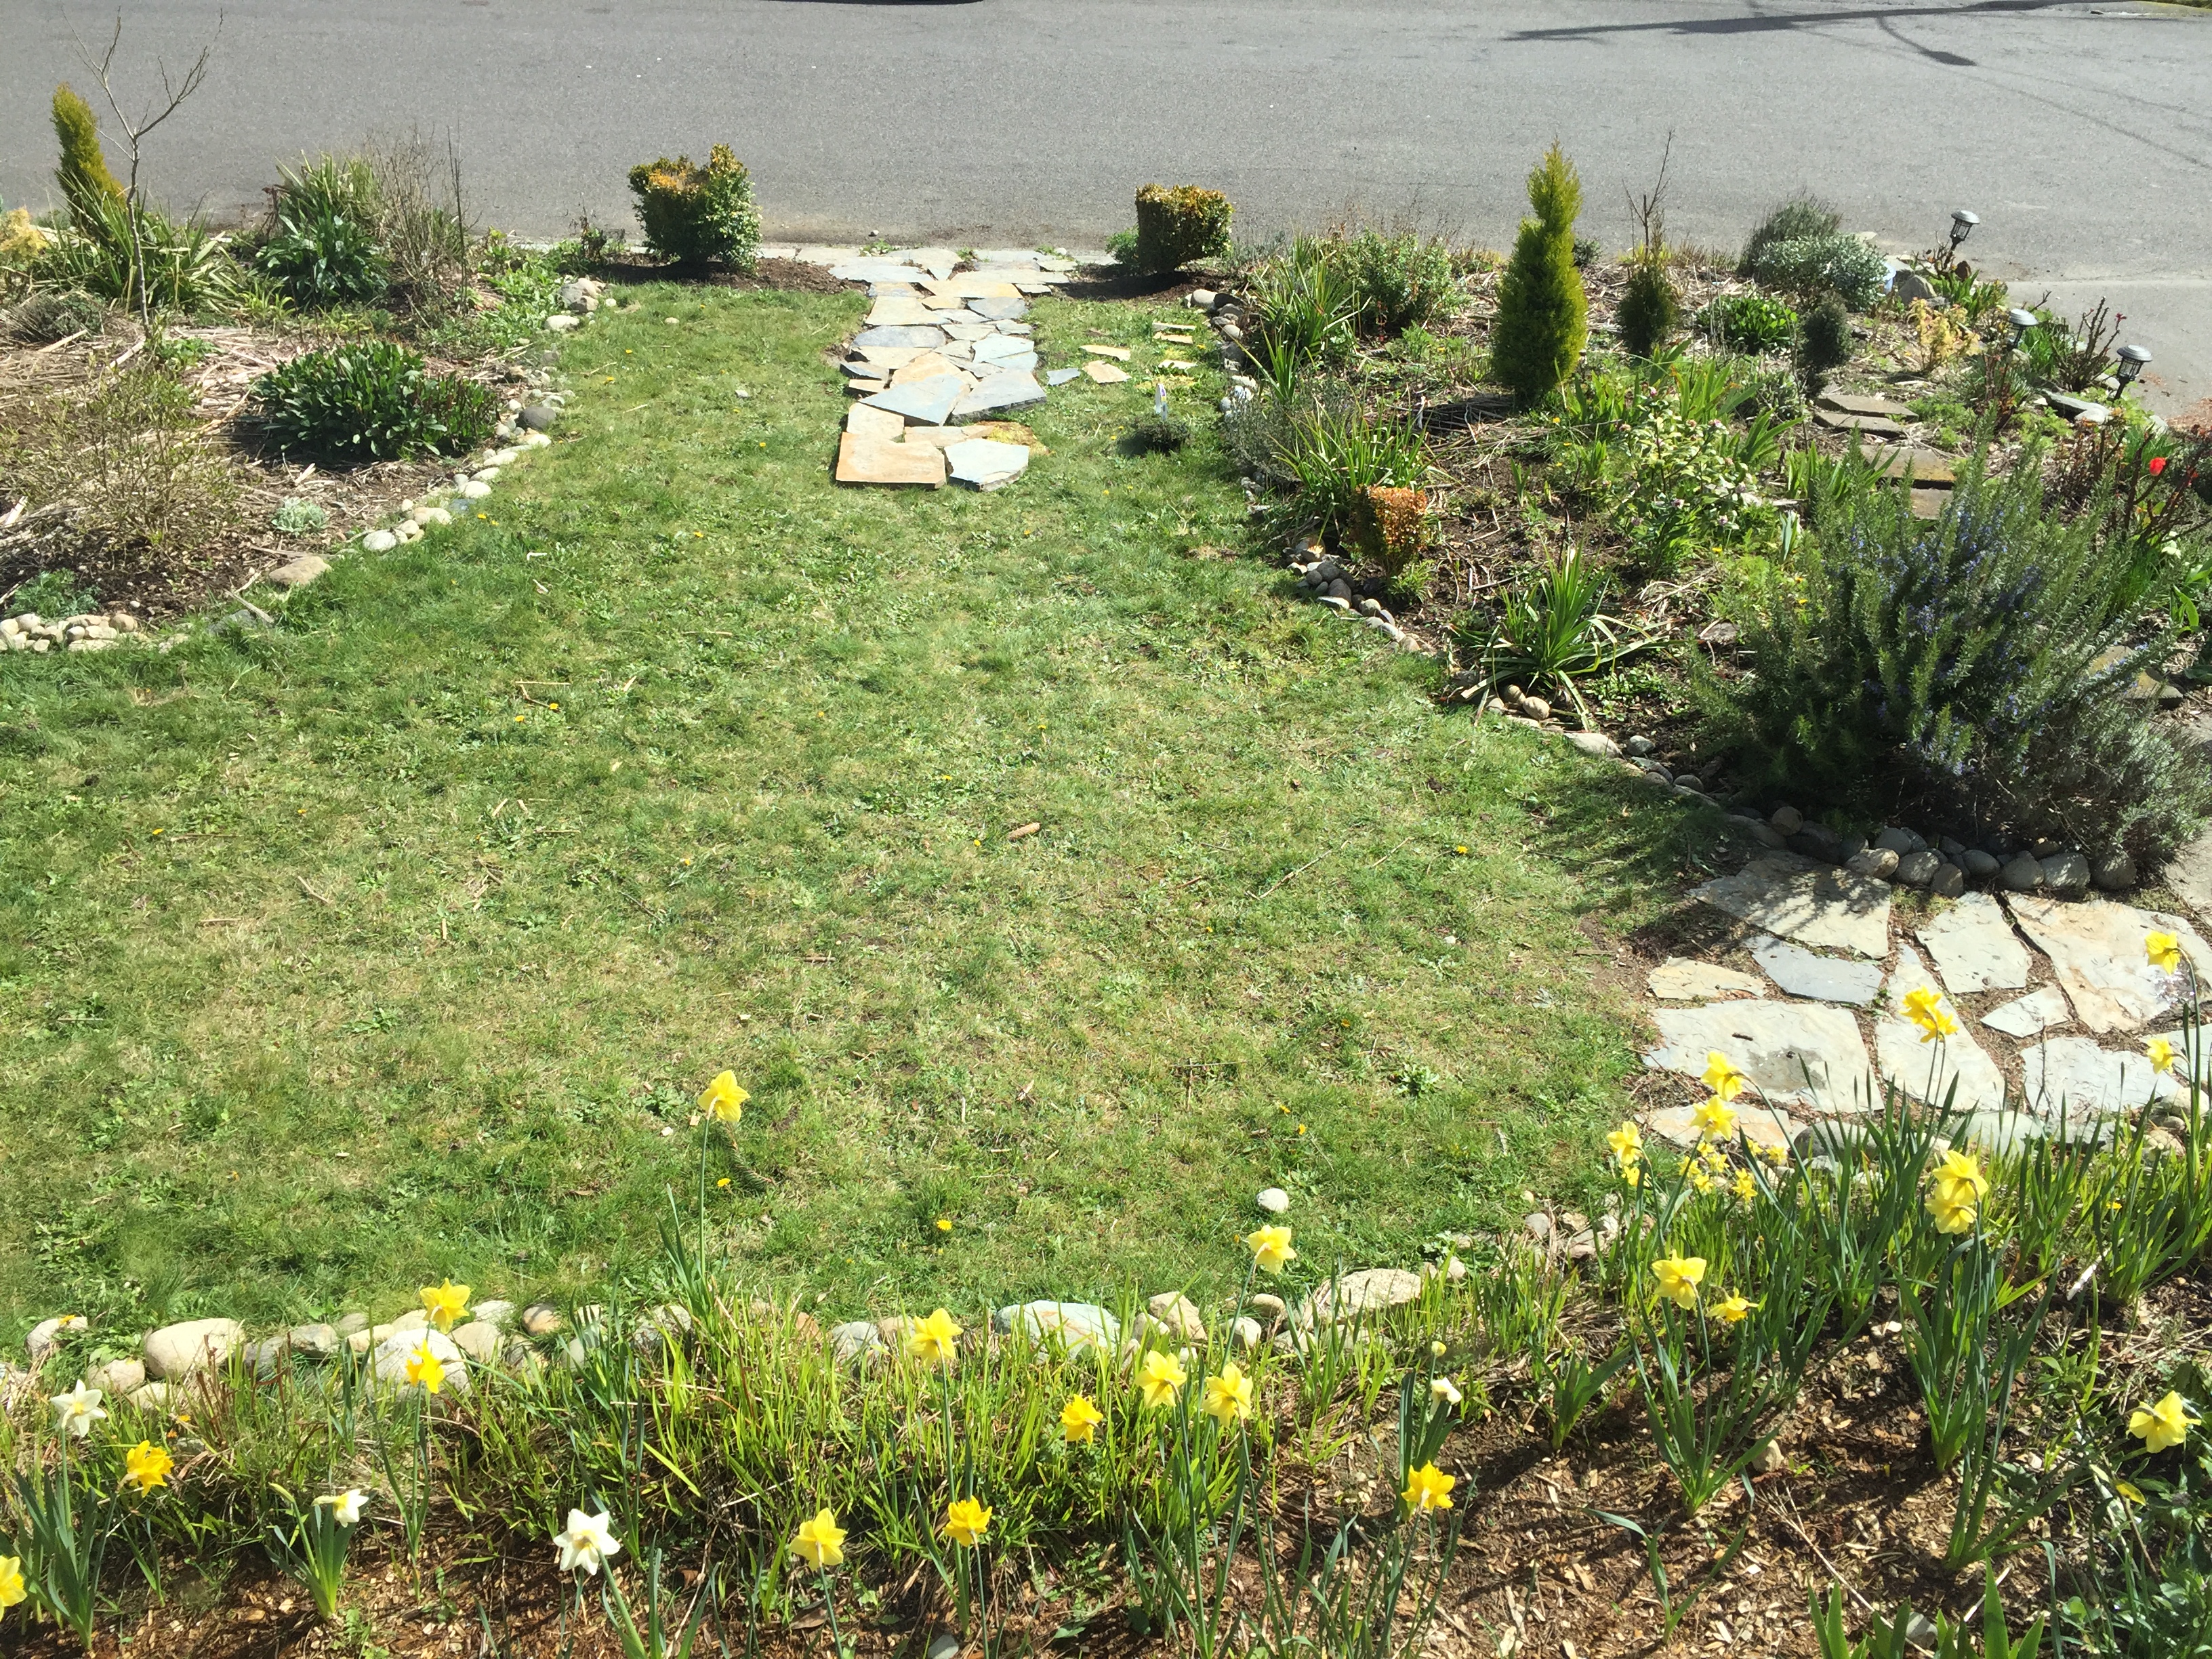
One year later – July 2018 
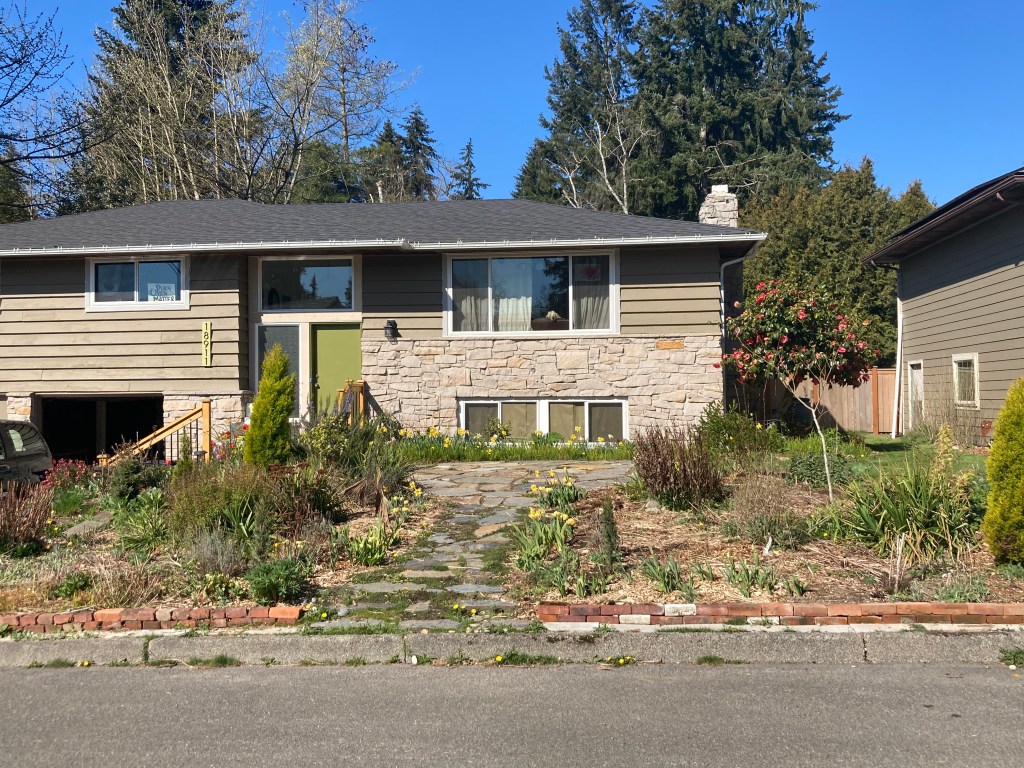
April 2019 
April 2019 
April 2019 
April 2019 
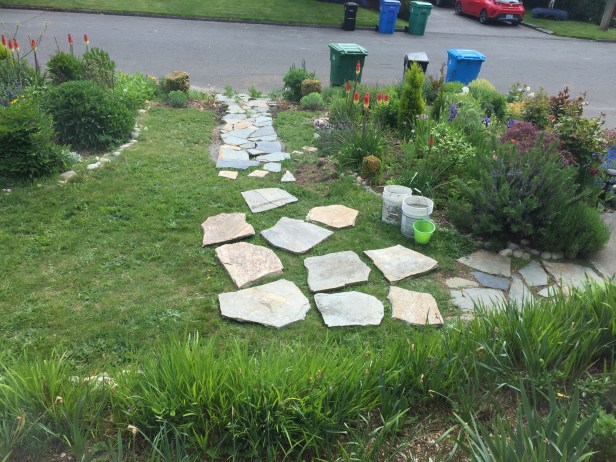
June 2019 
July 2019 
July 2019 – two years after we bought our house
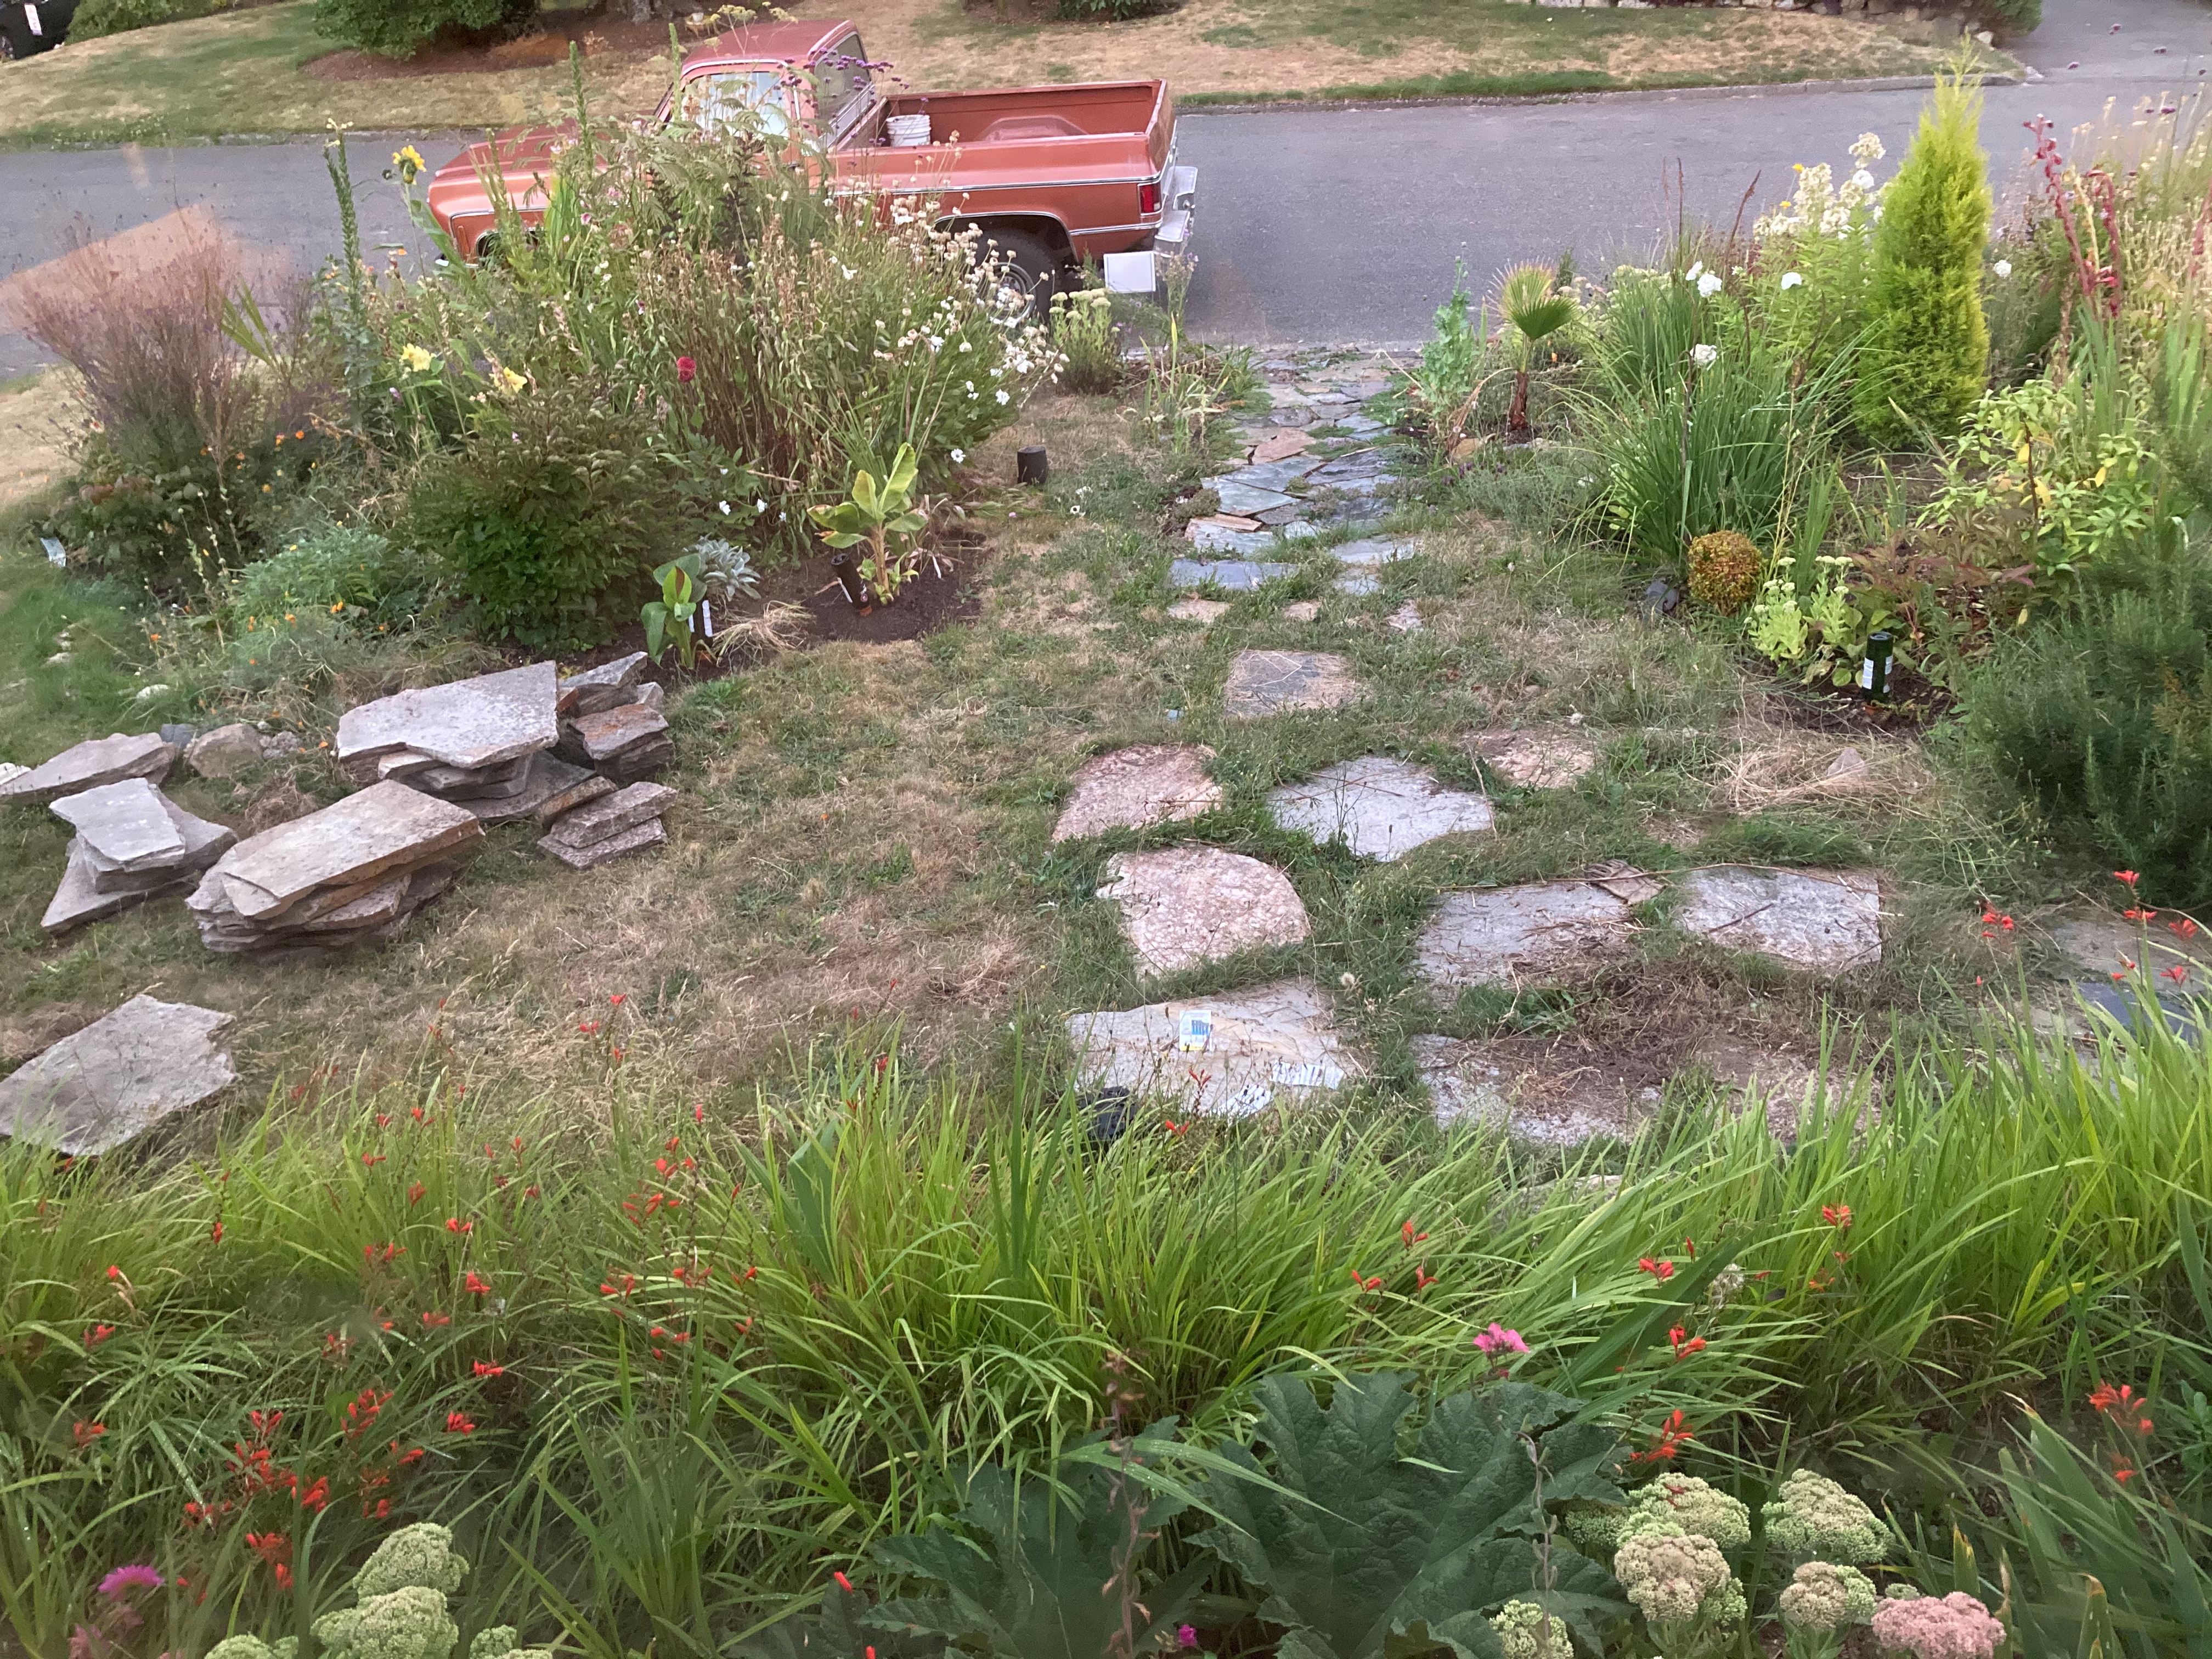
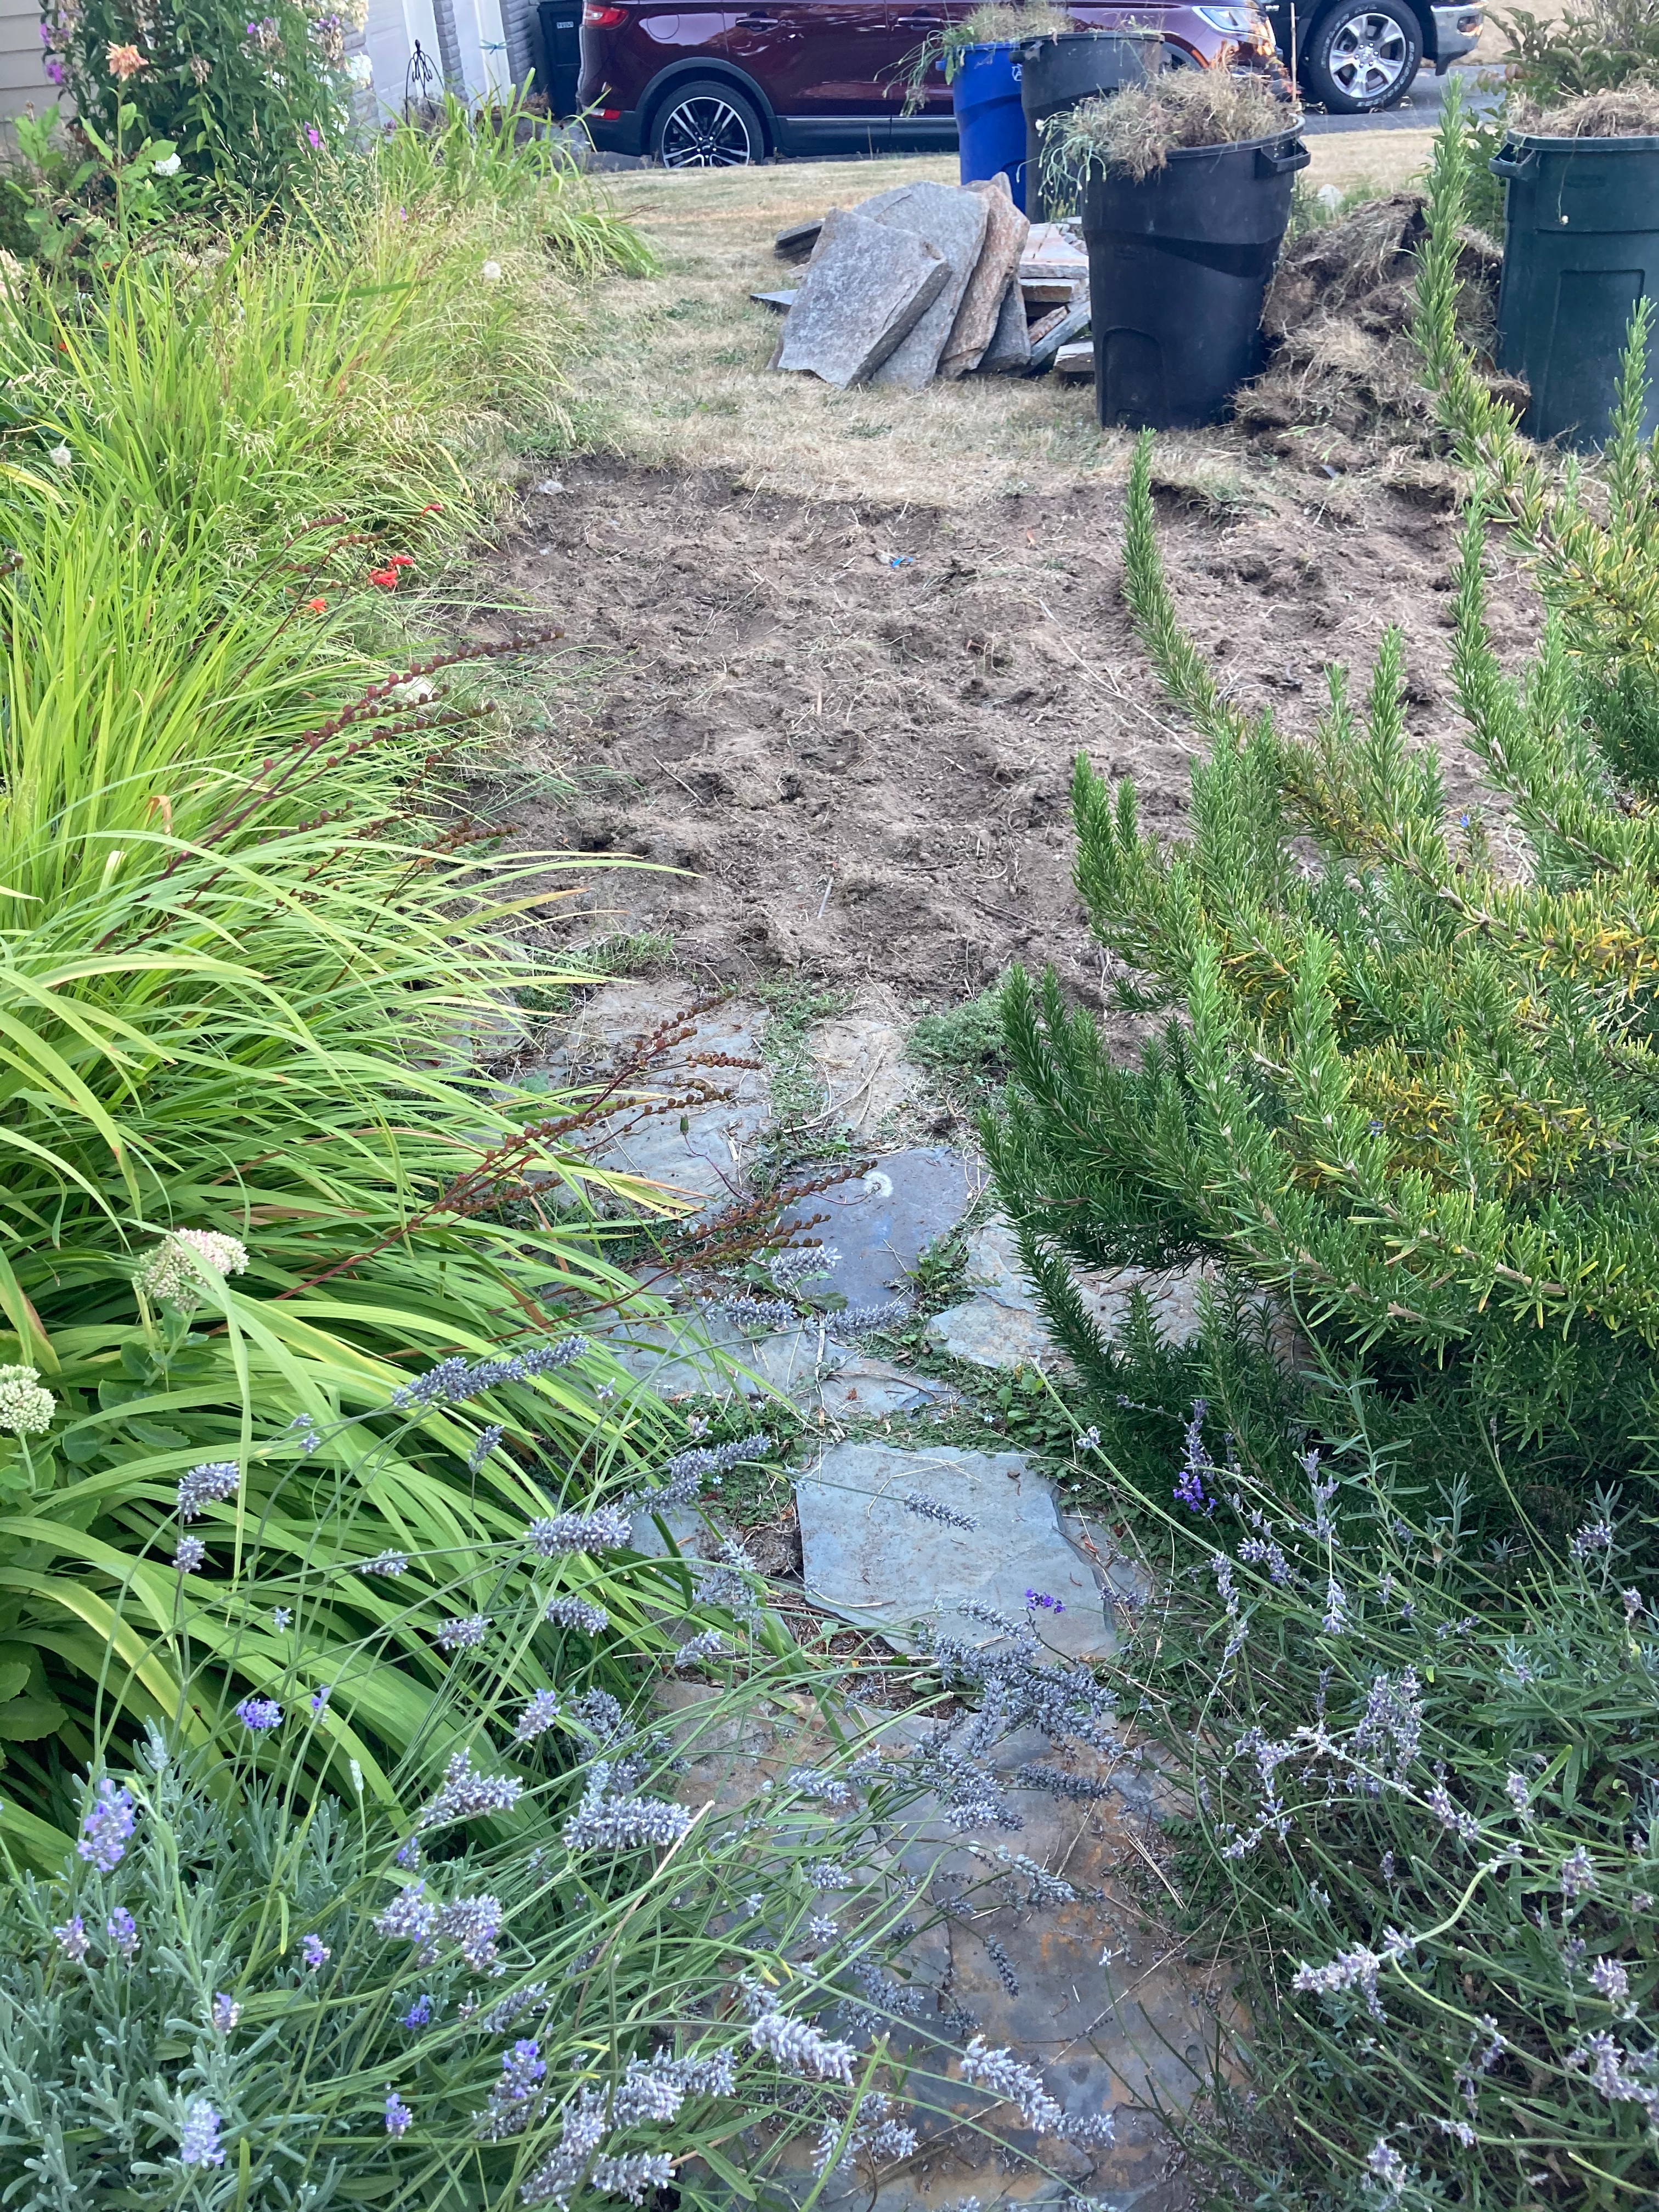
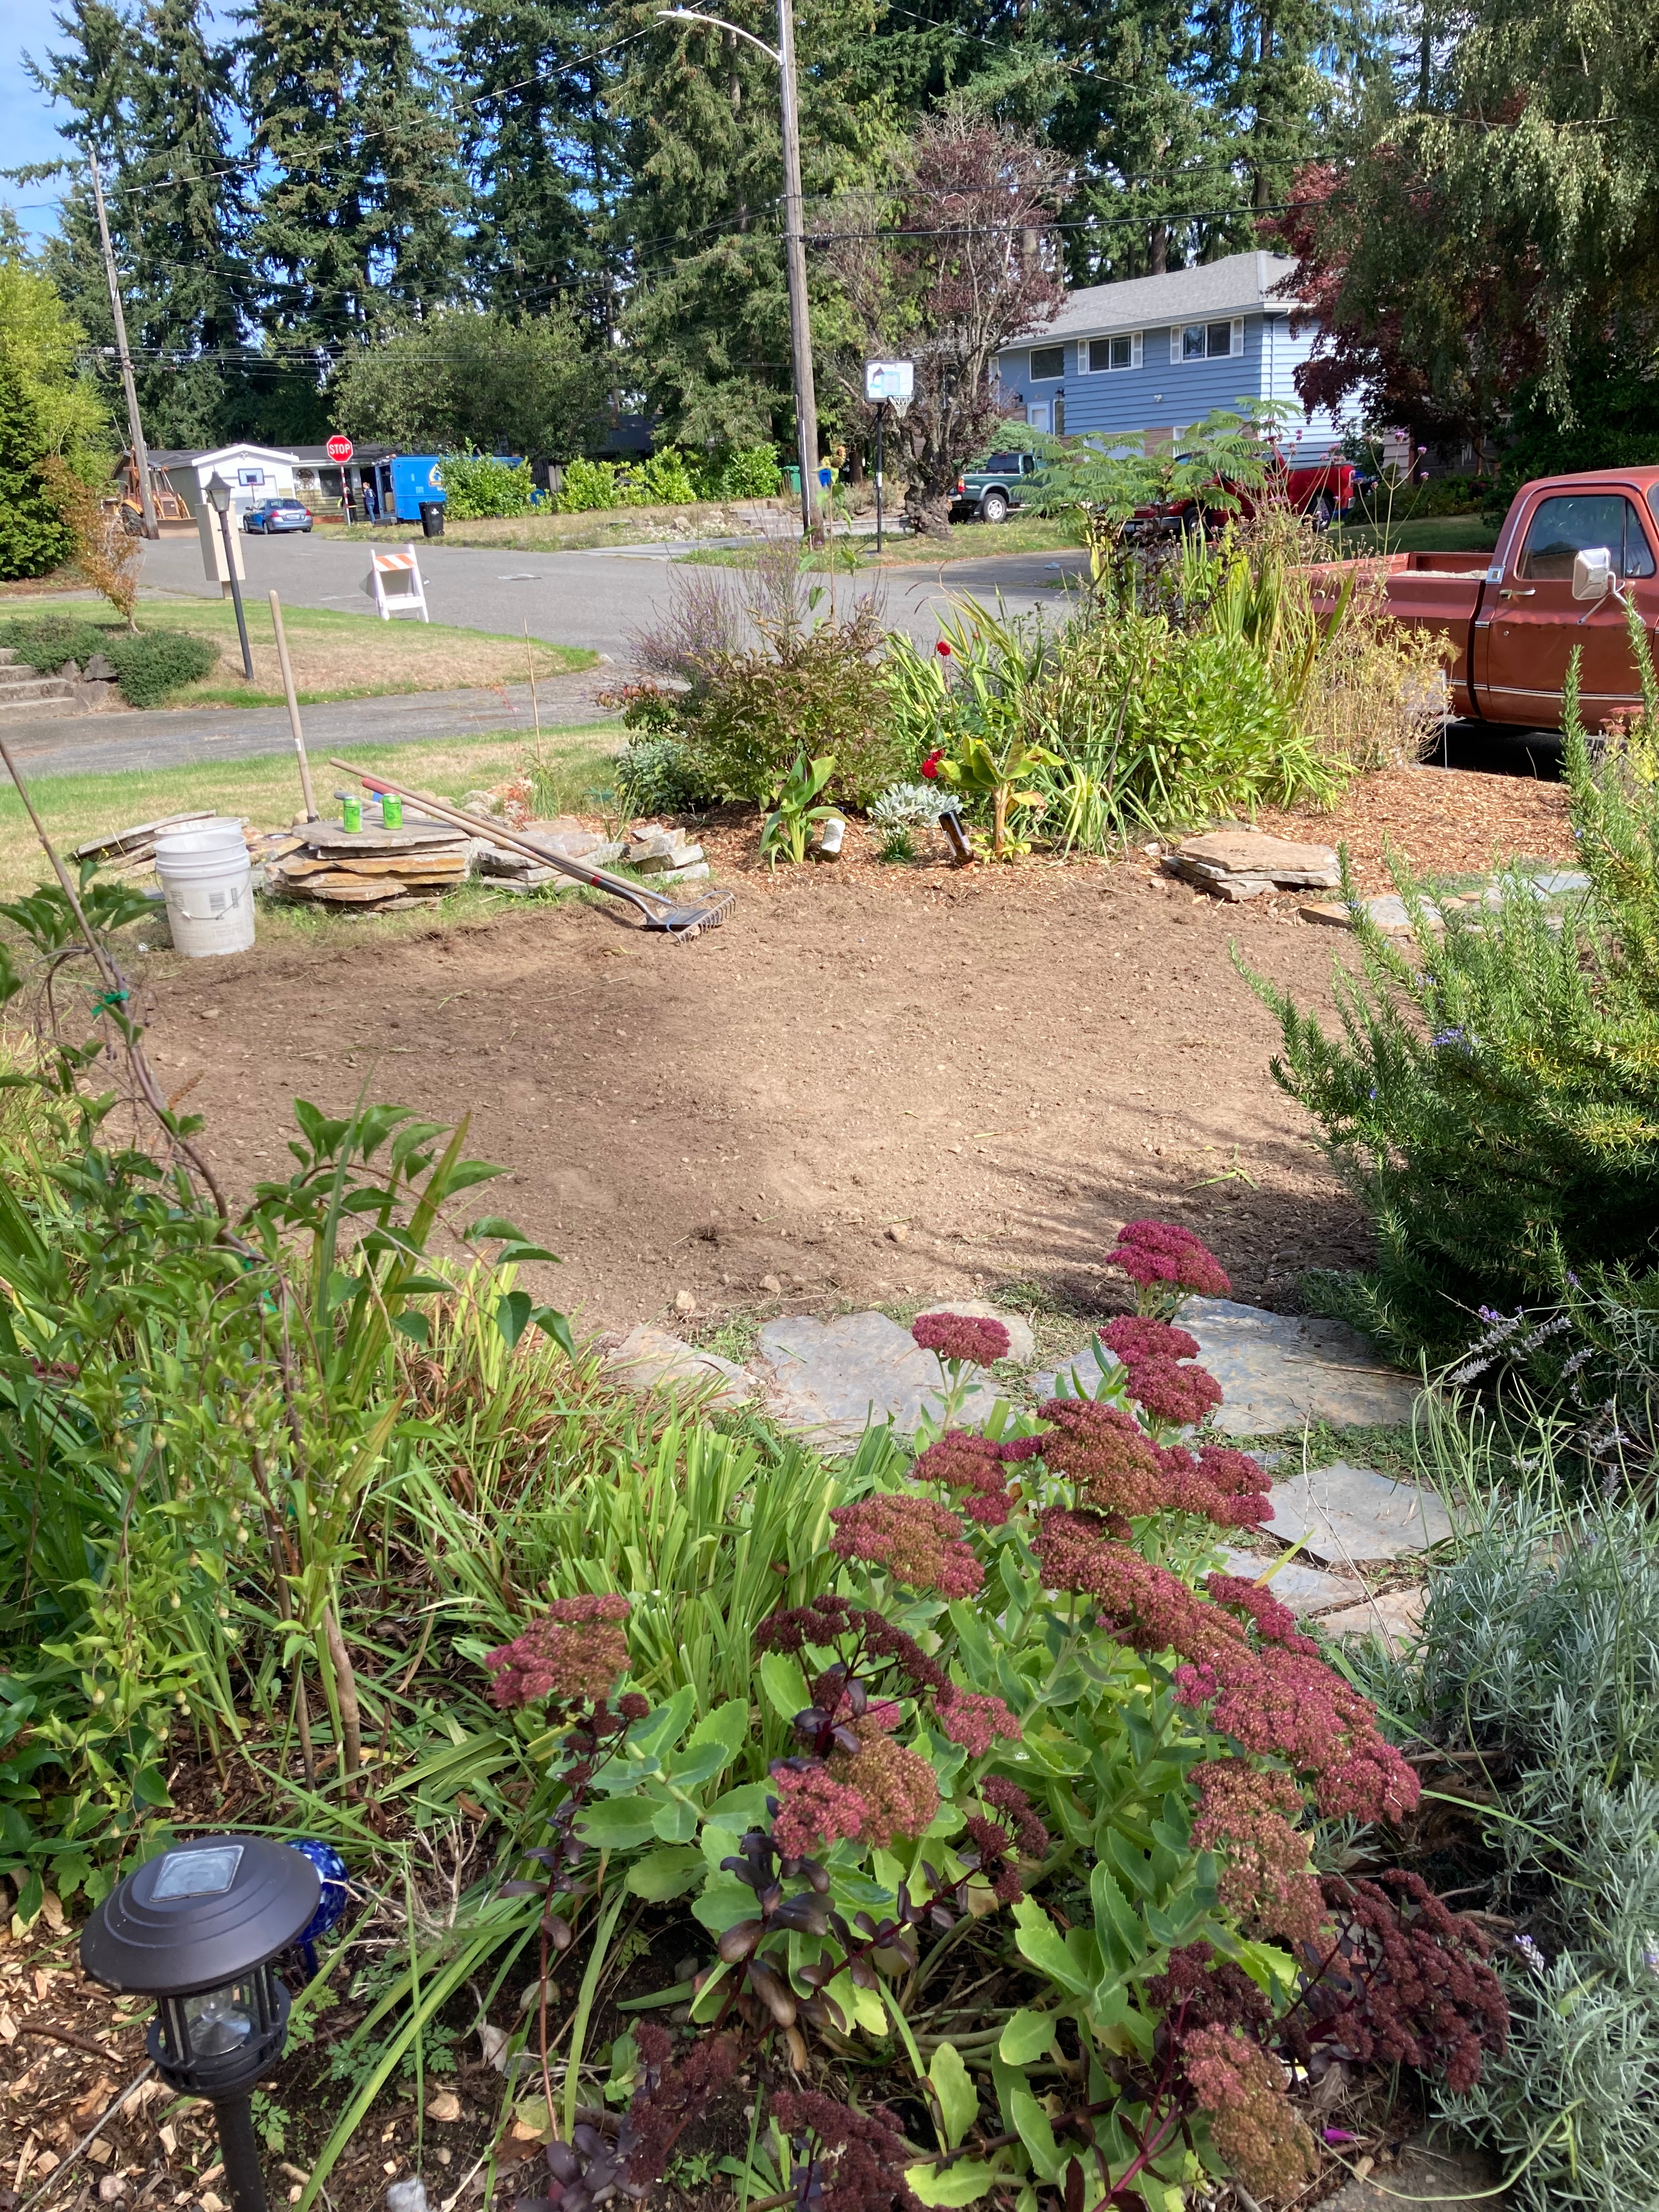
By September of 2019 I was finally ready to start chipping away on the path sections of the future patio.


To do the paths, I started buying a few flagstones at Home Depot whenever they had any of the big ones there. I figured if I at least got started, I would have a constant, and slowly expanding reminder that one day there was going to be a glorious patio.
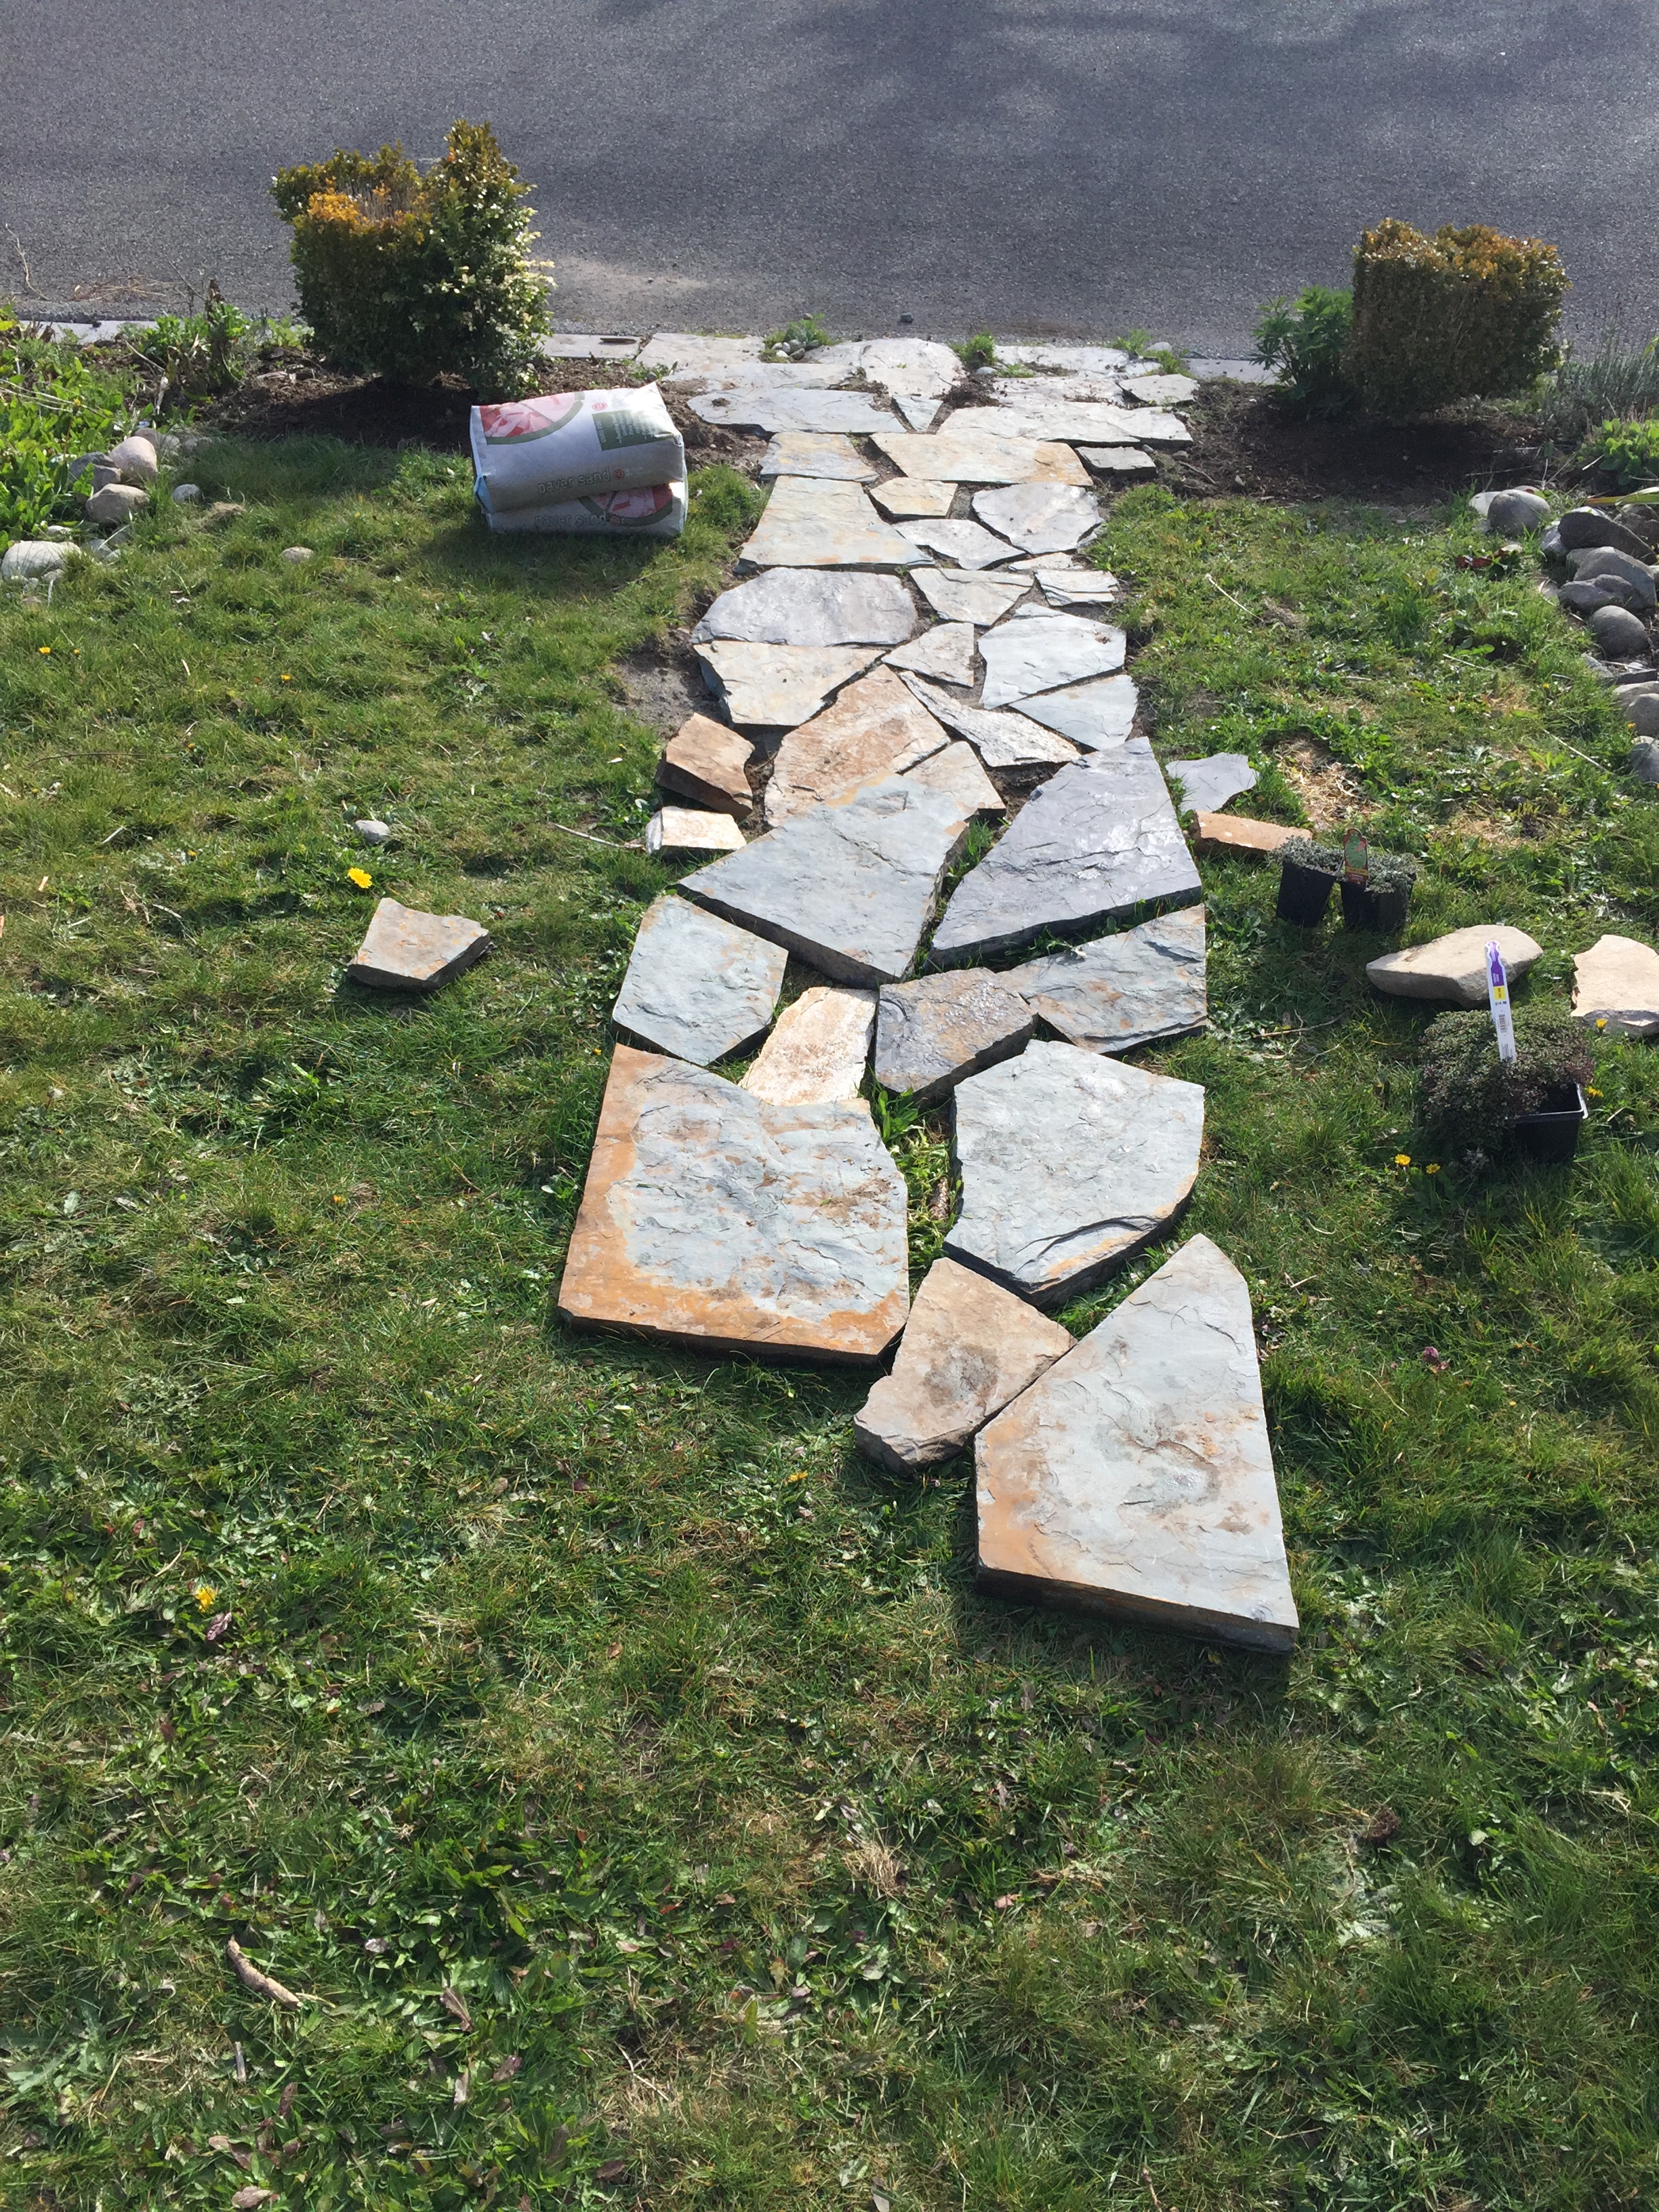
By April 2020, I had started making real progress on the paths.


Once the smaller pathways were mostly complete I was ready to buy some of the bigger stones for the bulk section of the patio. I measured the space and it came out to roughly 176 sq. ft. I checked with a few different stone yards and here is one of the responses I got regarding cost: “The variegated blue is $525/ton and the true blue is $925/ton. You would need approximately 2 tons to cover the 176 sq. ft. There is also a Spar Peak which is slate sourced from Montana and that has a blue/green hue to it and that is $560/ton.”
Ouch. I wasn’t ready to spend over $1k for just the stones of my patio, so I started looking for stones on Craigslist and Facebook Marketplace.
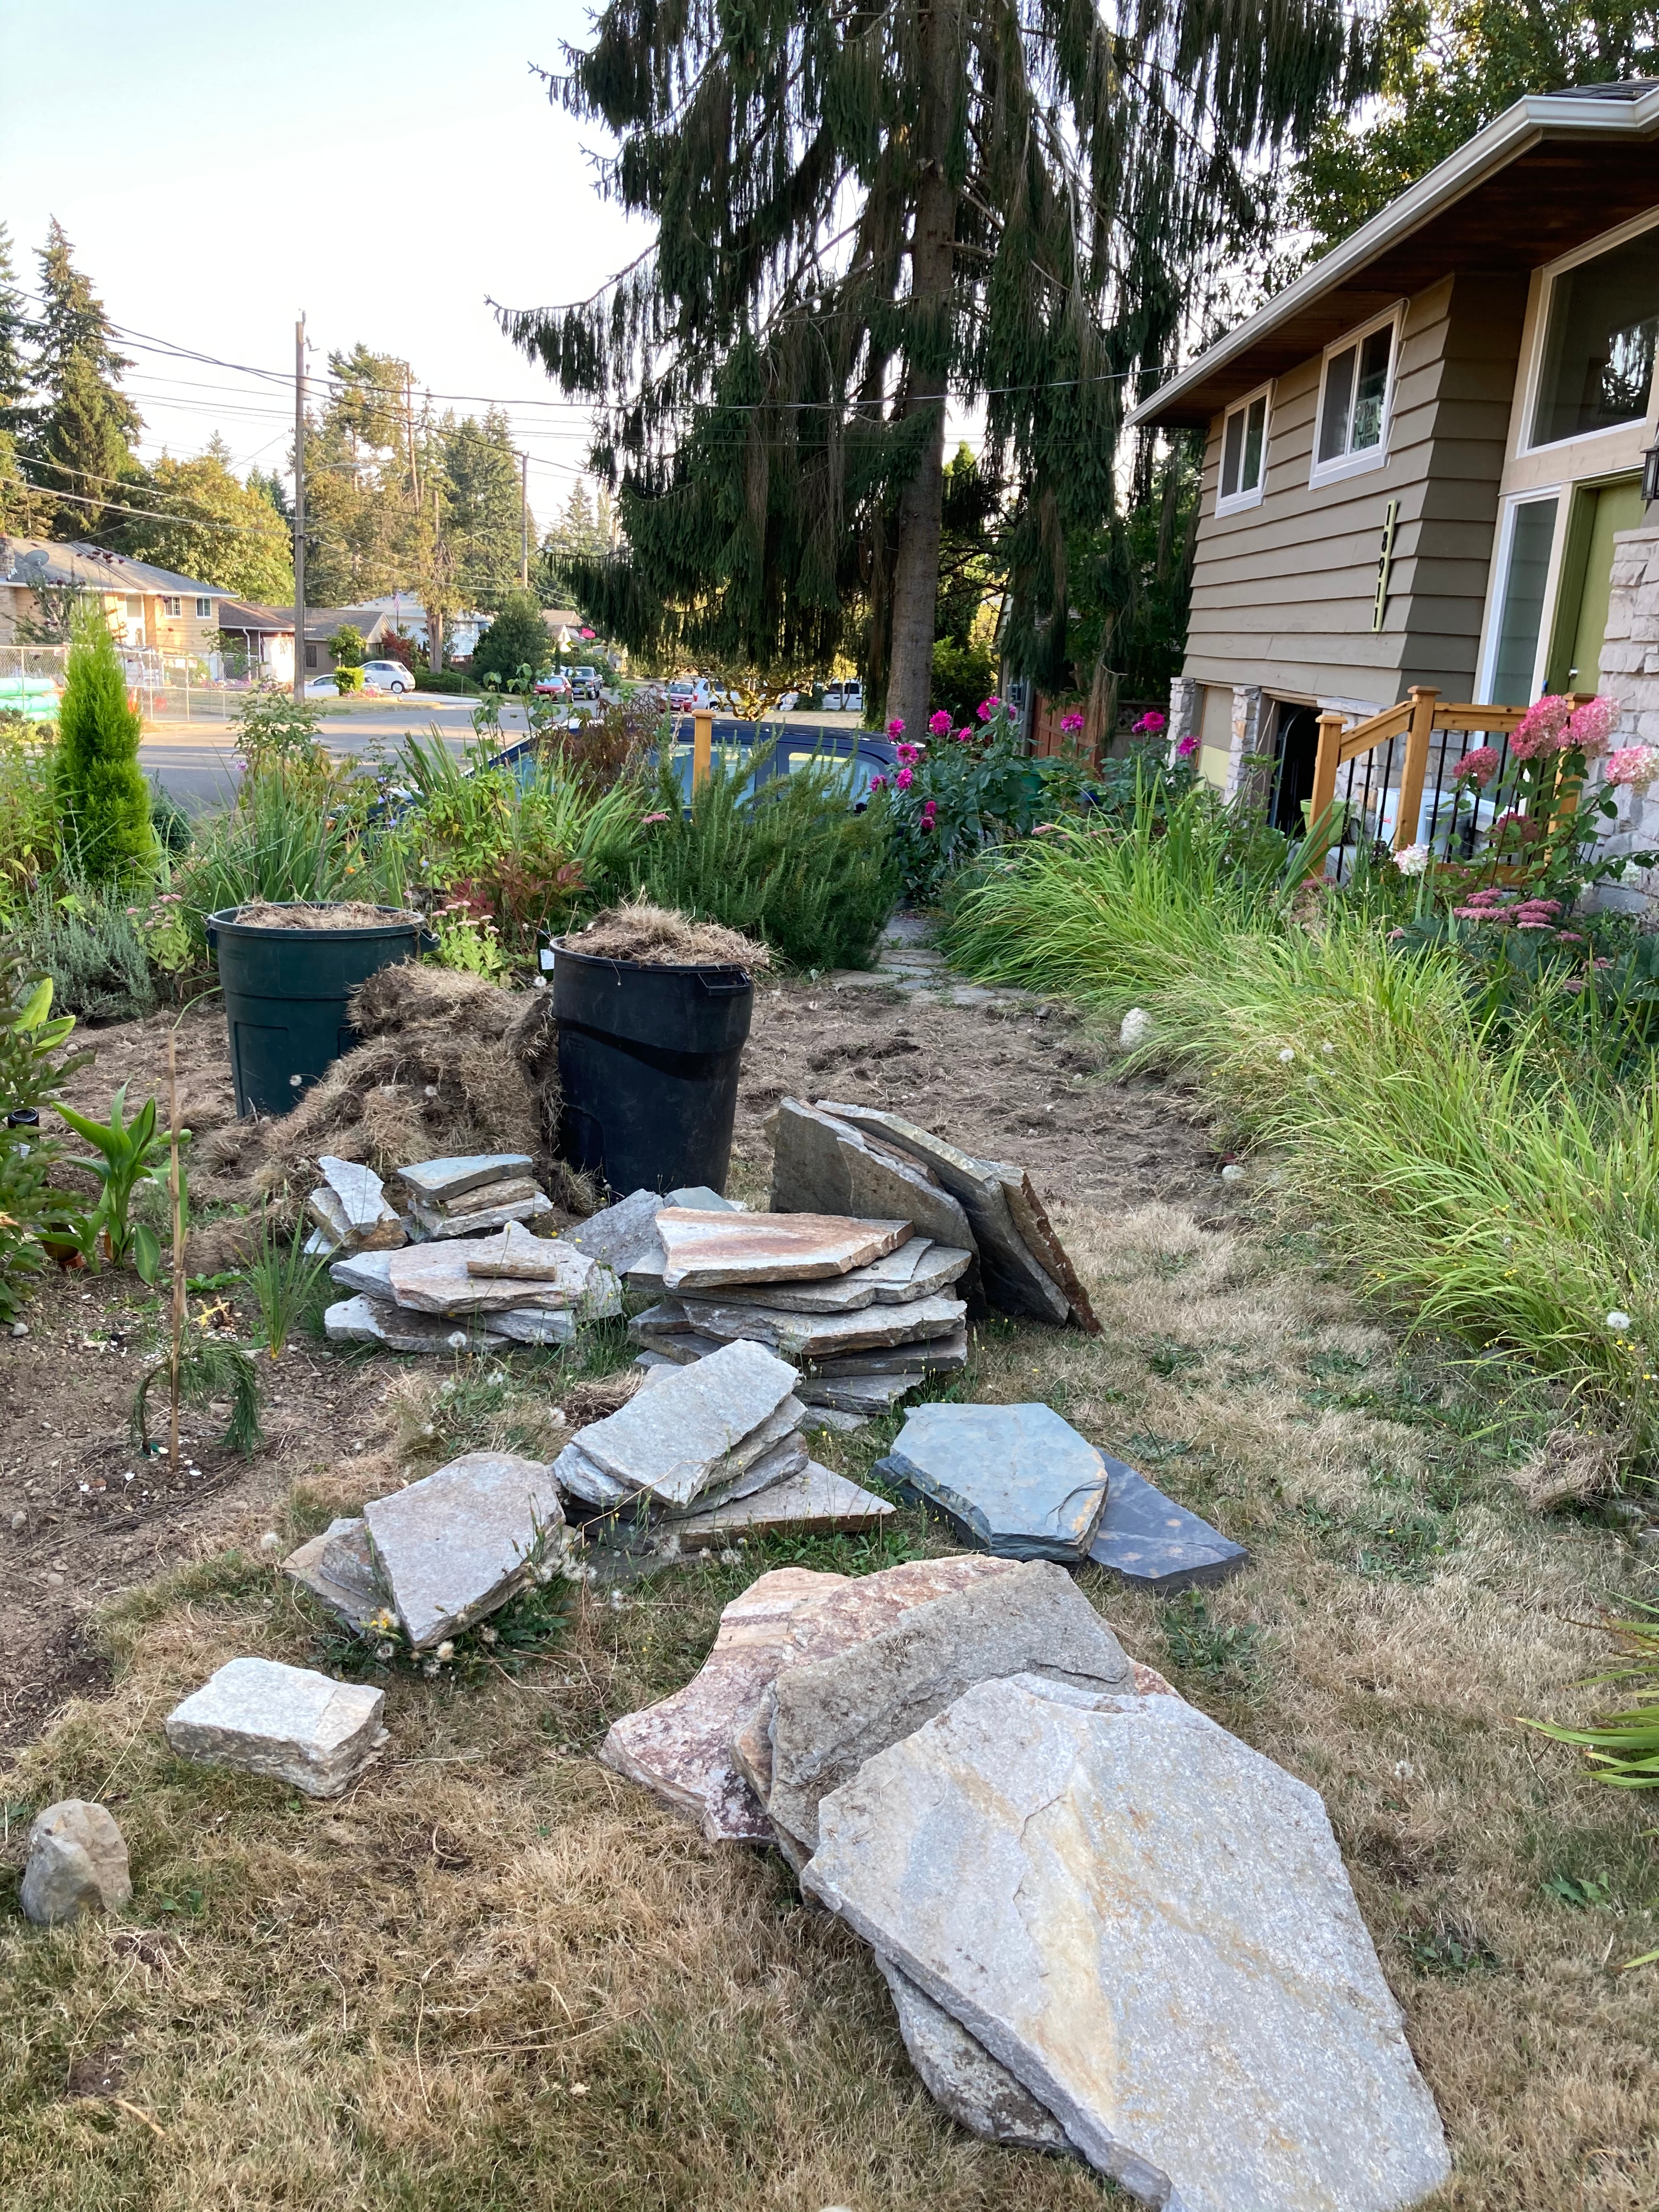
In May I found my first batch of of 12 large stones for $250 on Facebook Marketplace. These were about 1.5-2 ft wide whereas the Home Depot stones I used in the paths were more like 1-1.5 ft diameter. The price seemed a little high, but the stones I was getting from Home Depot were $10 for a large stone, and these were about $20 per stone, so it was roughly on par with pricing. I was fine with the price, but a little bummed that I didn’t get a screaming deal.
The stones from Craigslist were Quartzite and had a bronze, silvery shiny tone to them. Most of the stones in my paths thus far had been the Blue Flagstone, but I had acquired some small pieces of Quartzite for free along the way and had added that to the paths too, so I was actually looking forward to having a combination of both Quartzite and Blue Flagstone for the larger patio area as well.


As you can see in the pictures above, the 12 stones weren’t going to get me very far (two cracked, so you only see 10 large stones in the pictures), so I had to keep trying to find some used stones or opt to purchase a pallet. I waited a few months, and thankfully my patience paid off. In August, 2020 I got super lucky and someone sold me an entire patio’s worth of Quartzite stones for just $300. She said she realized she underpriced it when she had over 50 replies in a few hours, and lots of them from landscapers offering to pay $400-500. I offered to pay her more once she told me that, but she said she was happy to keep the price as is. The pandemic had been raging for a few months now, and she liked the idea of helping make someone’s life a little easier and happier by giving a good deal on the stones. We were all struggling, and this was her way of paying it forward. I don’t think she will ever know just how elated I was at being the recipient of her kindness.

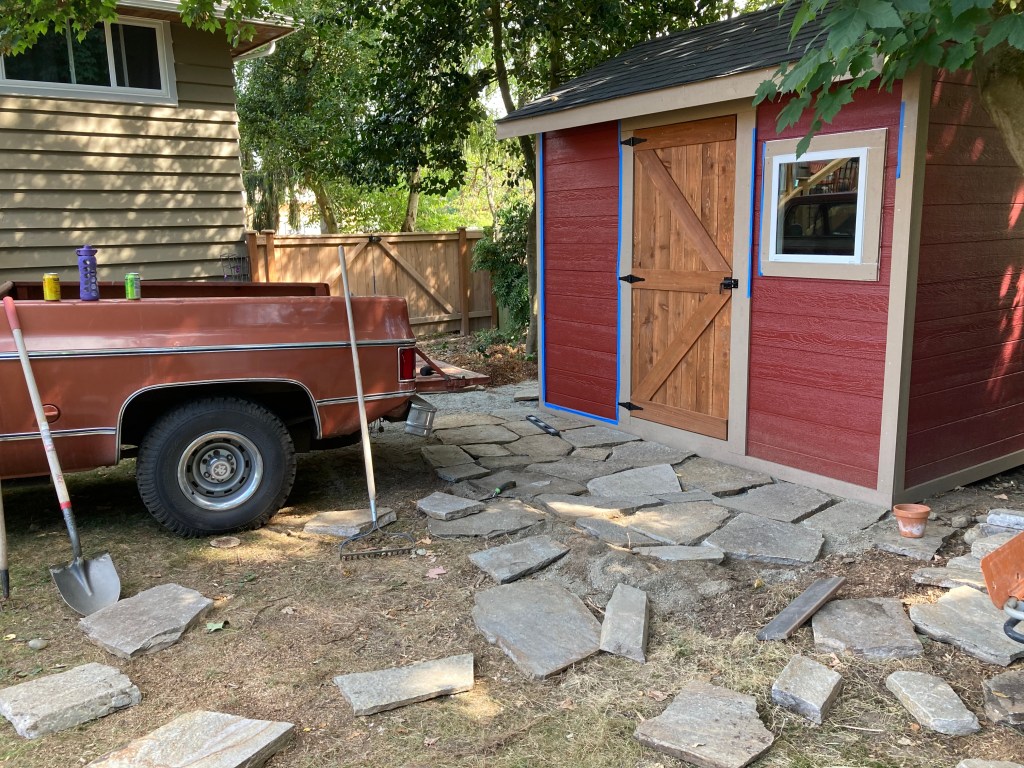
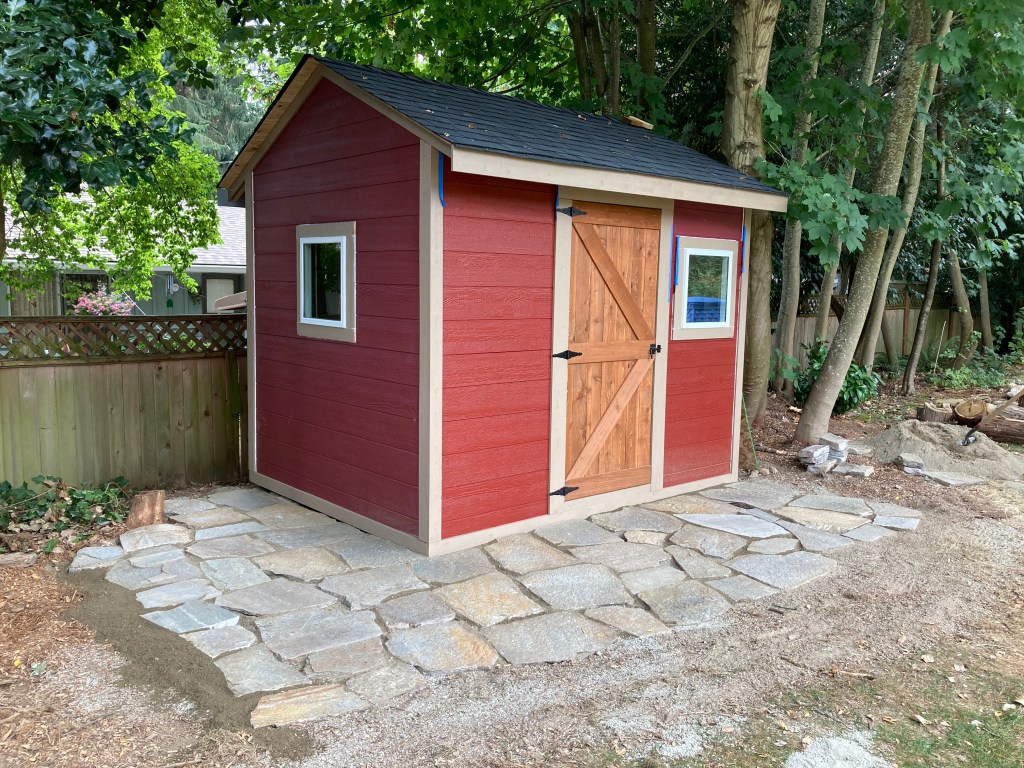
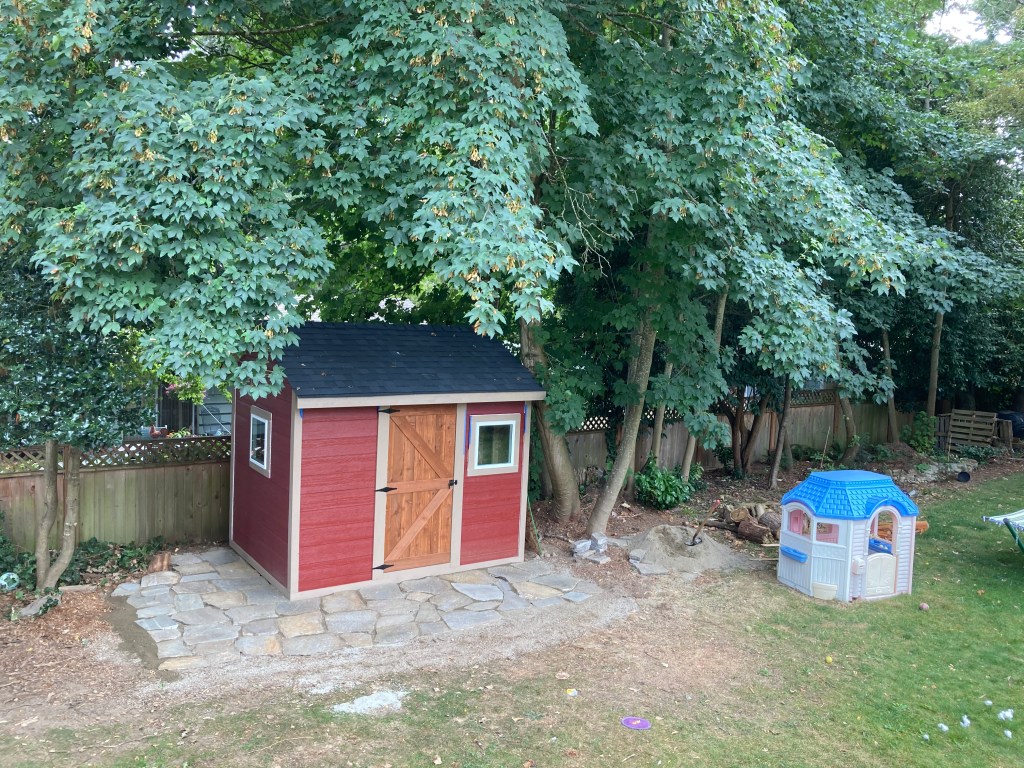
She actually gave me so much stone that I was able to make a bonus little patio apron around the brand new shed my husband had just built!


Since the stones she sold from her old patio were all Quartzite, I still needed to buy a few of the Blue Flagstones from the stone yard and then I was finally going to be able to build front my patio!
I got my stones from Lakeview Stone and Garden since they had reasonable prices and were just a few miles from our house. I opted to get Spar Peak flagstone since it had the rusty orange veins running through the lovely blue/green stone and complemented the rust tones in the Quartzite well. I got the largest stones I could find and spent about $200 for the last of my patio stones. Let the building begin!


Here are the steps I took to actually construct the patio:
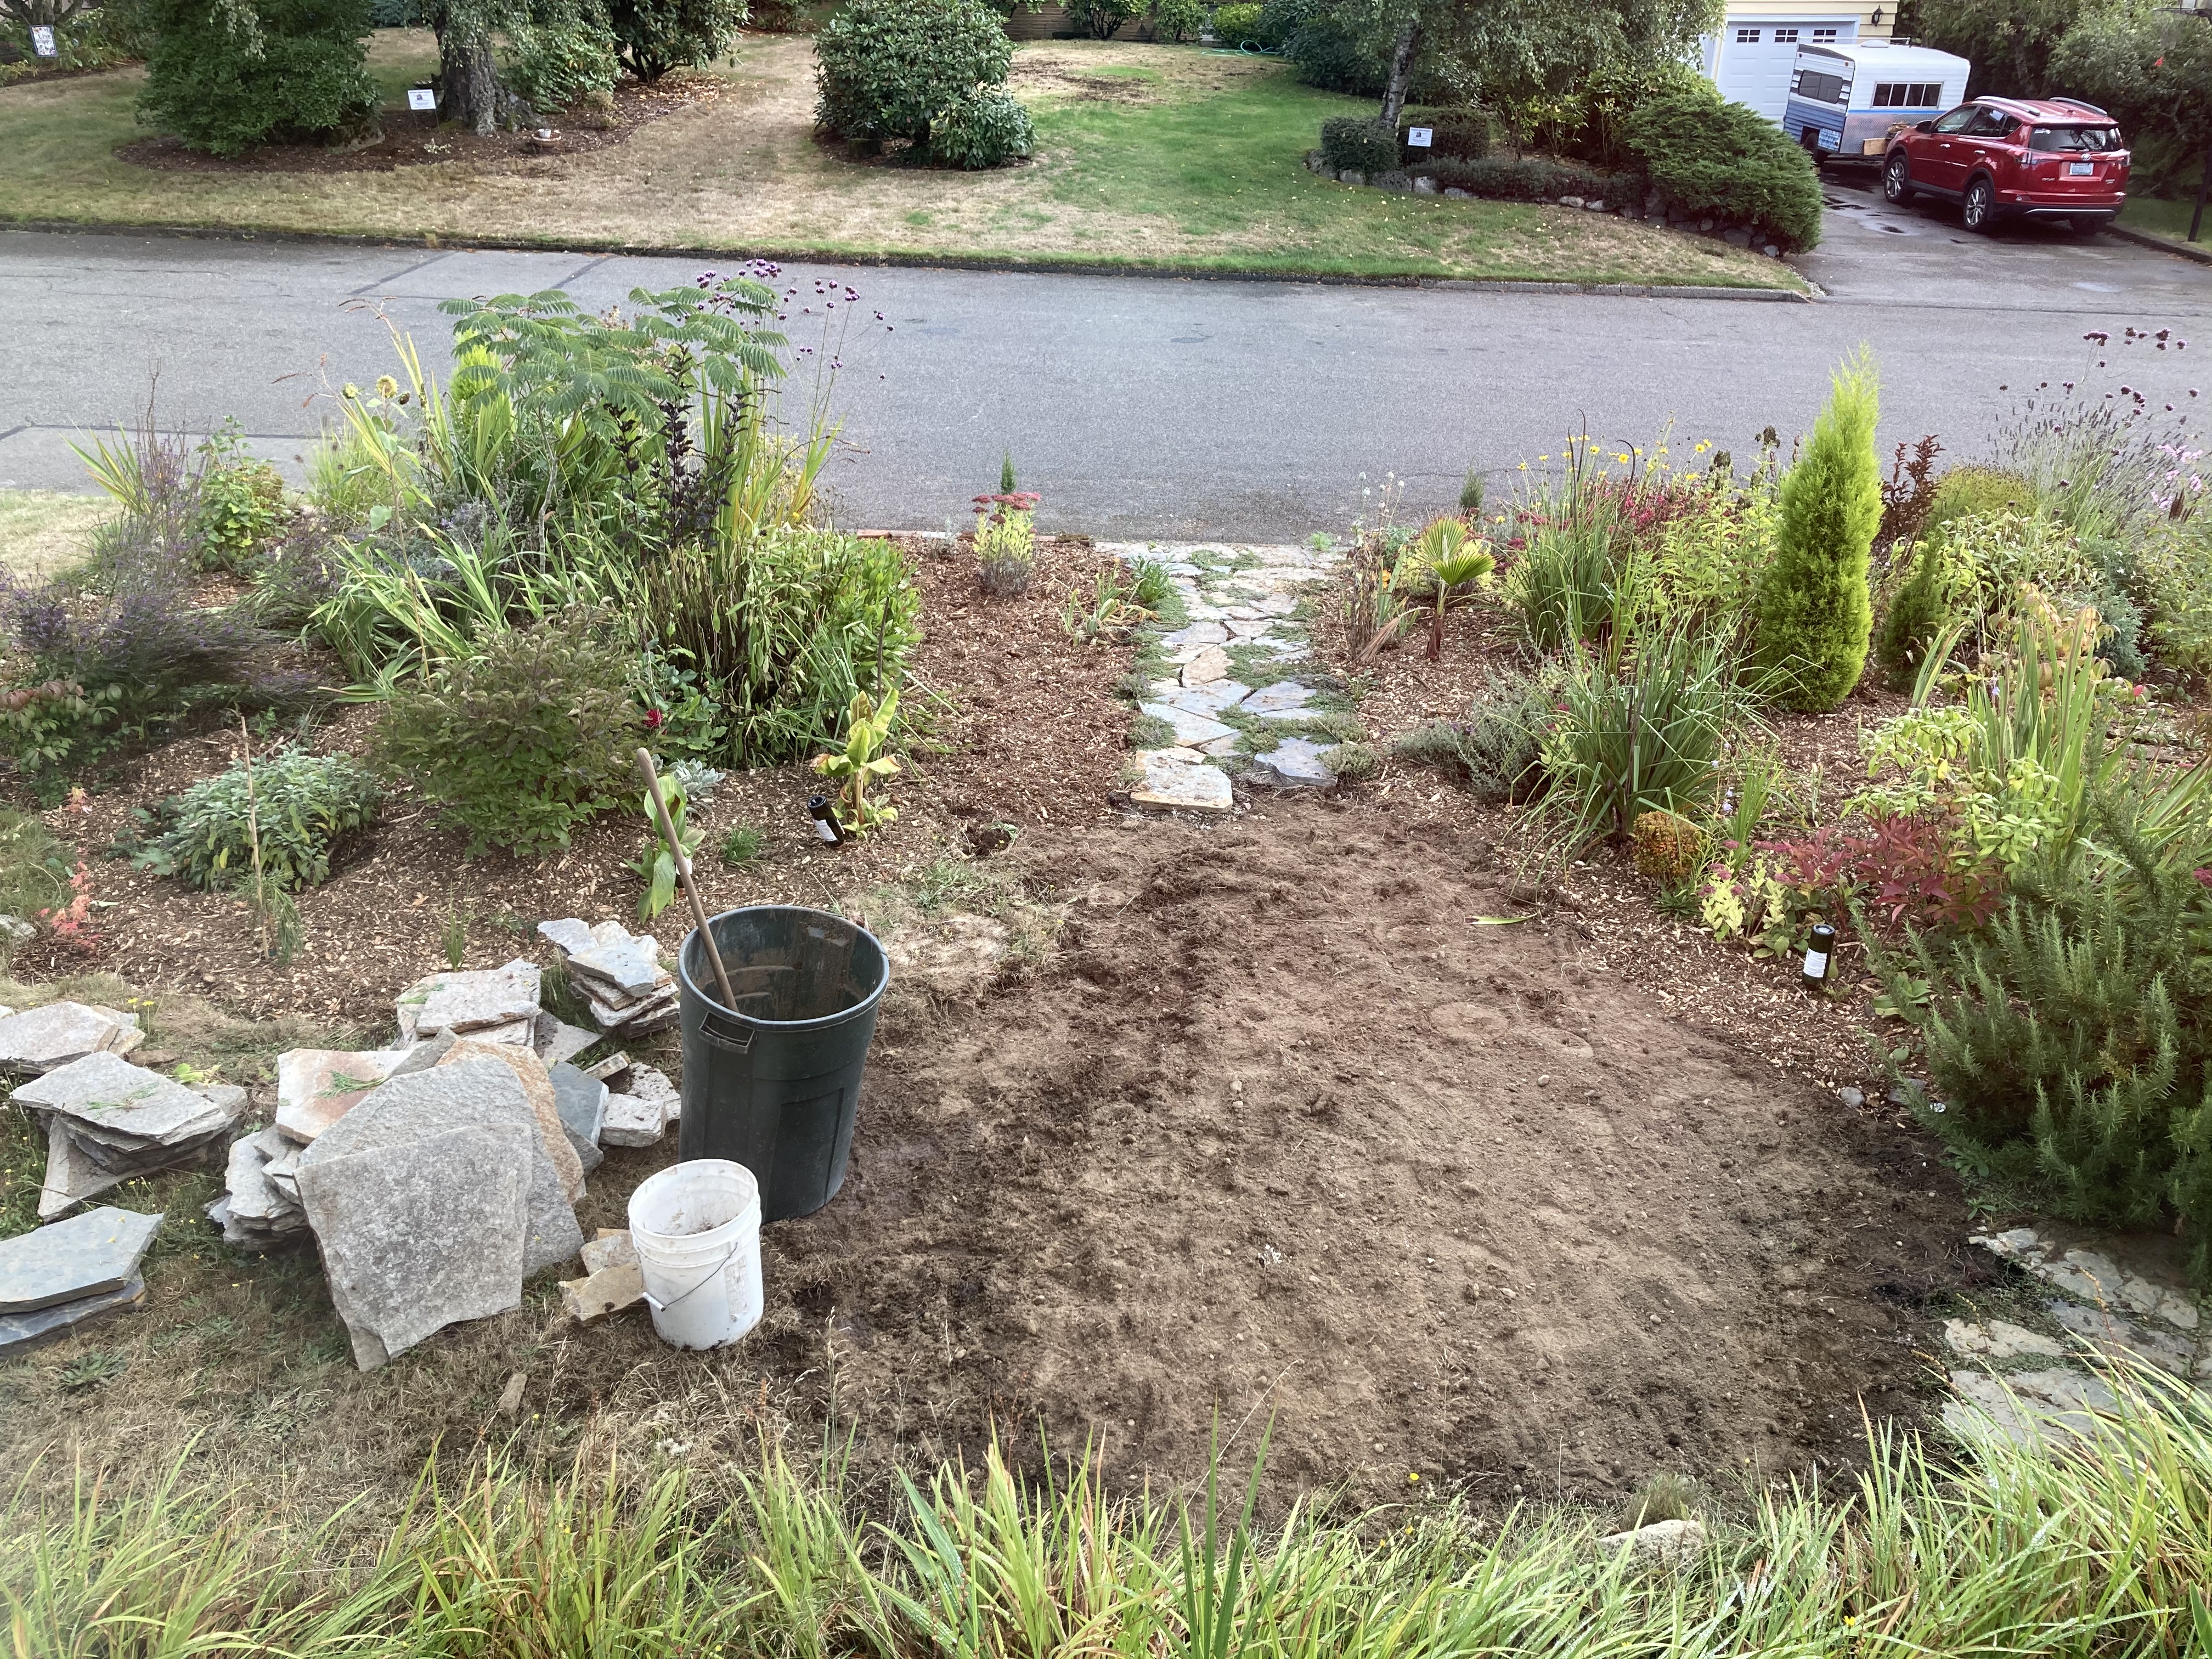
- Dig up all the grass
- Rake and level the dirt. Pound it down with a hand compacter.
- Add a layer of crushed gravel and pound it down with a hand compacter.
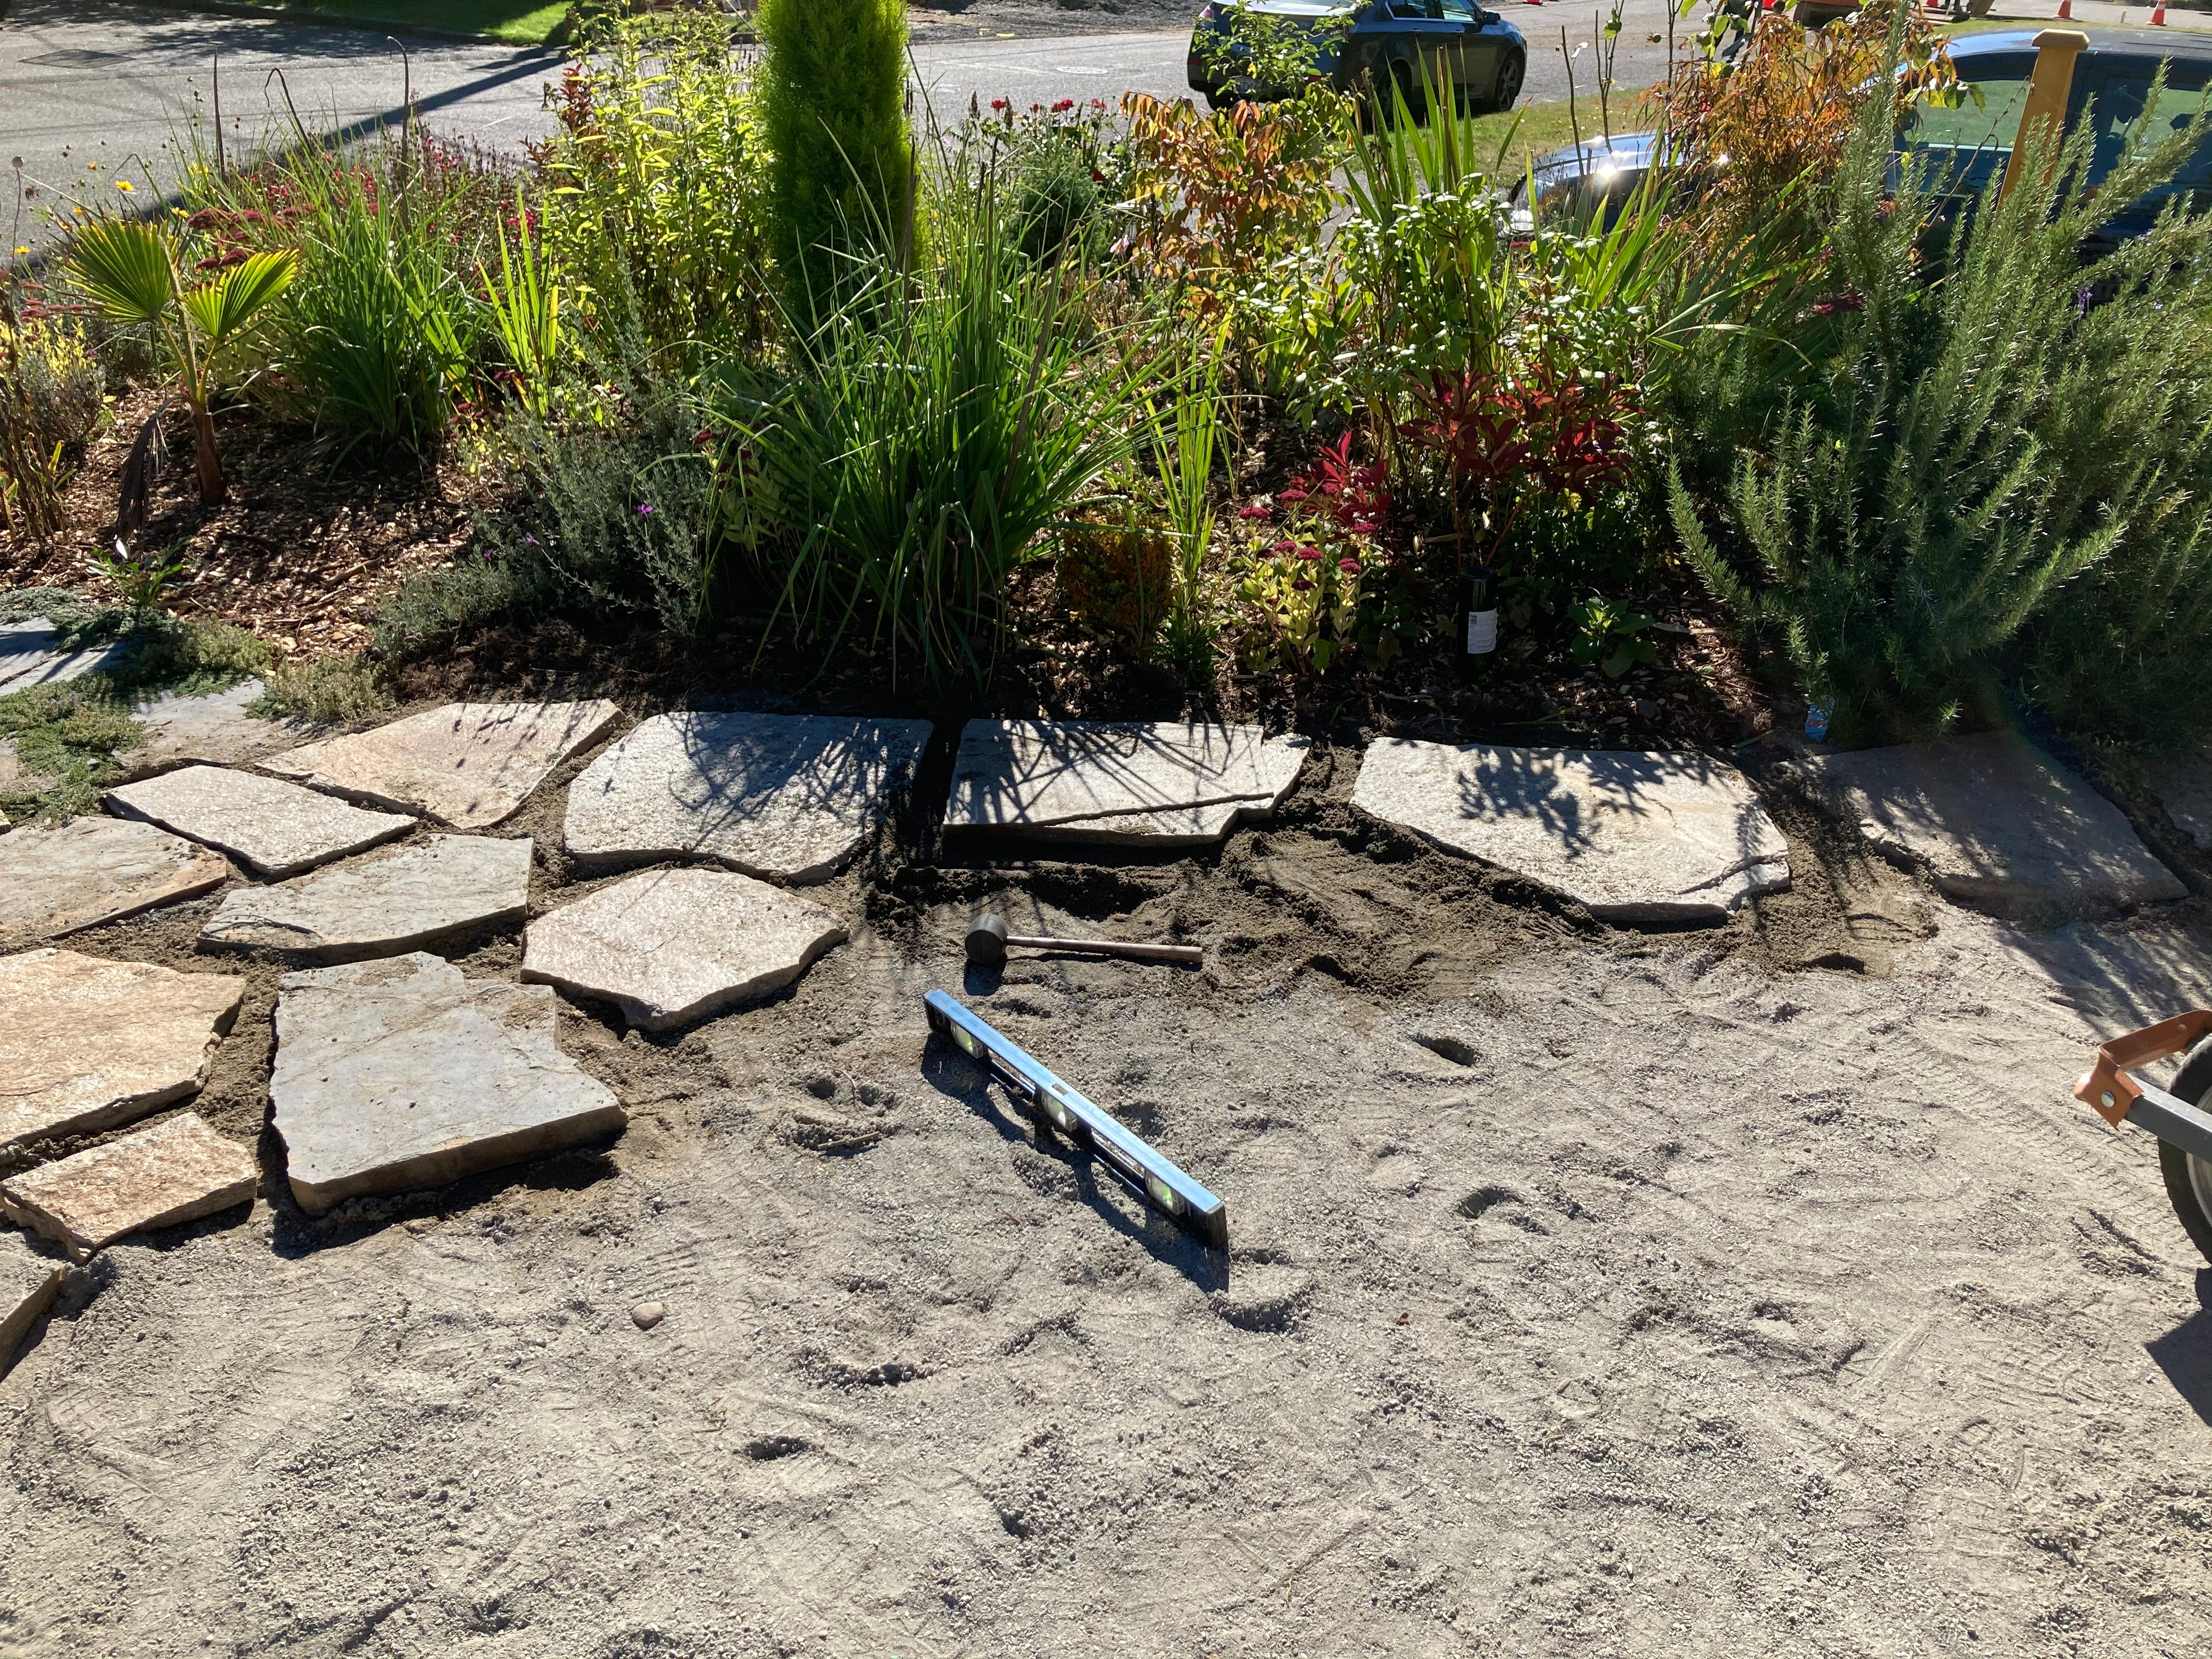
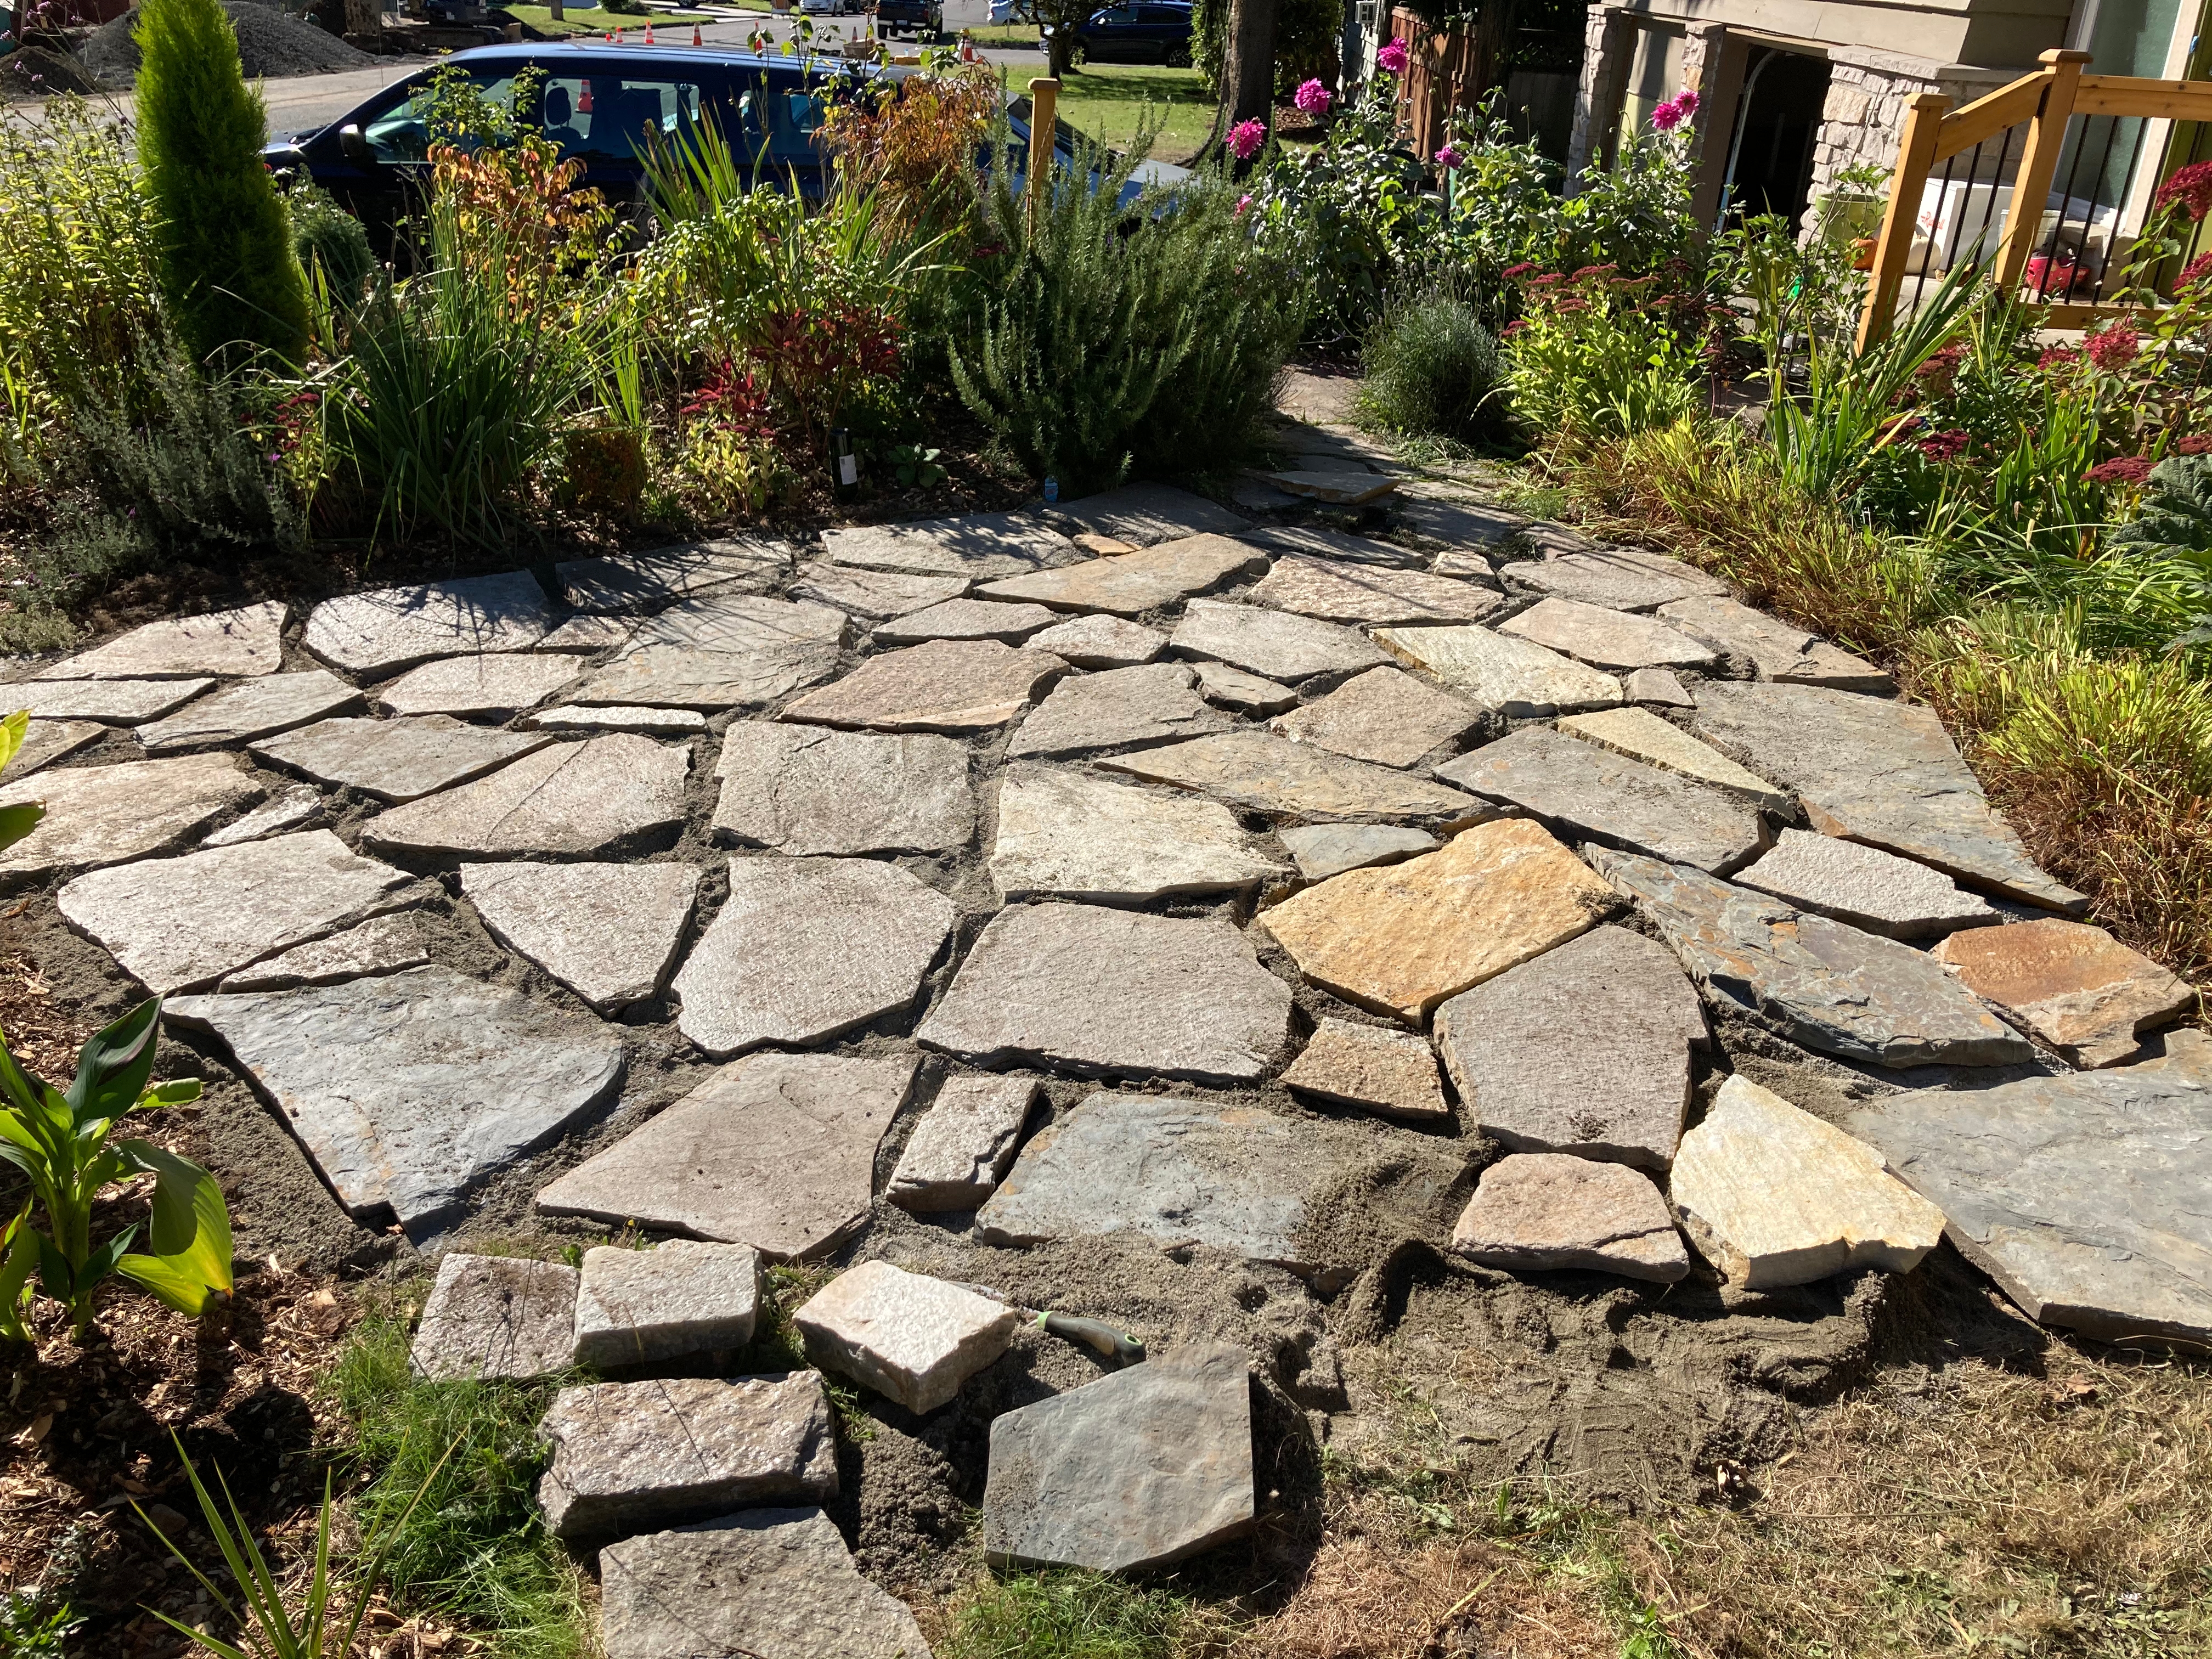
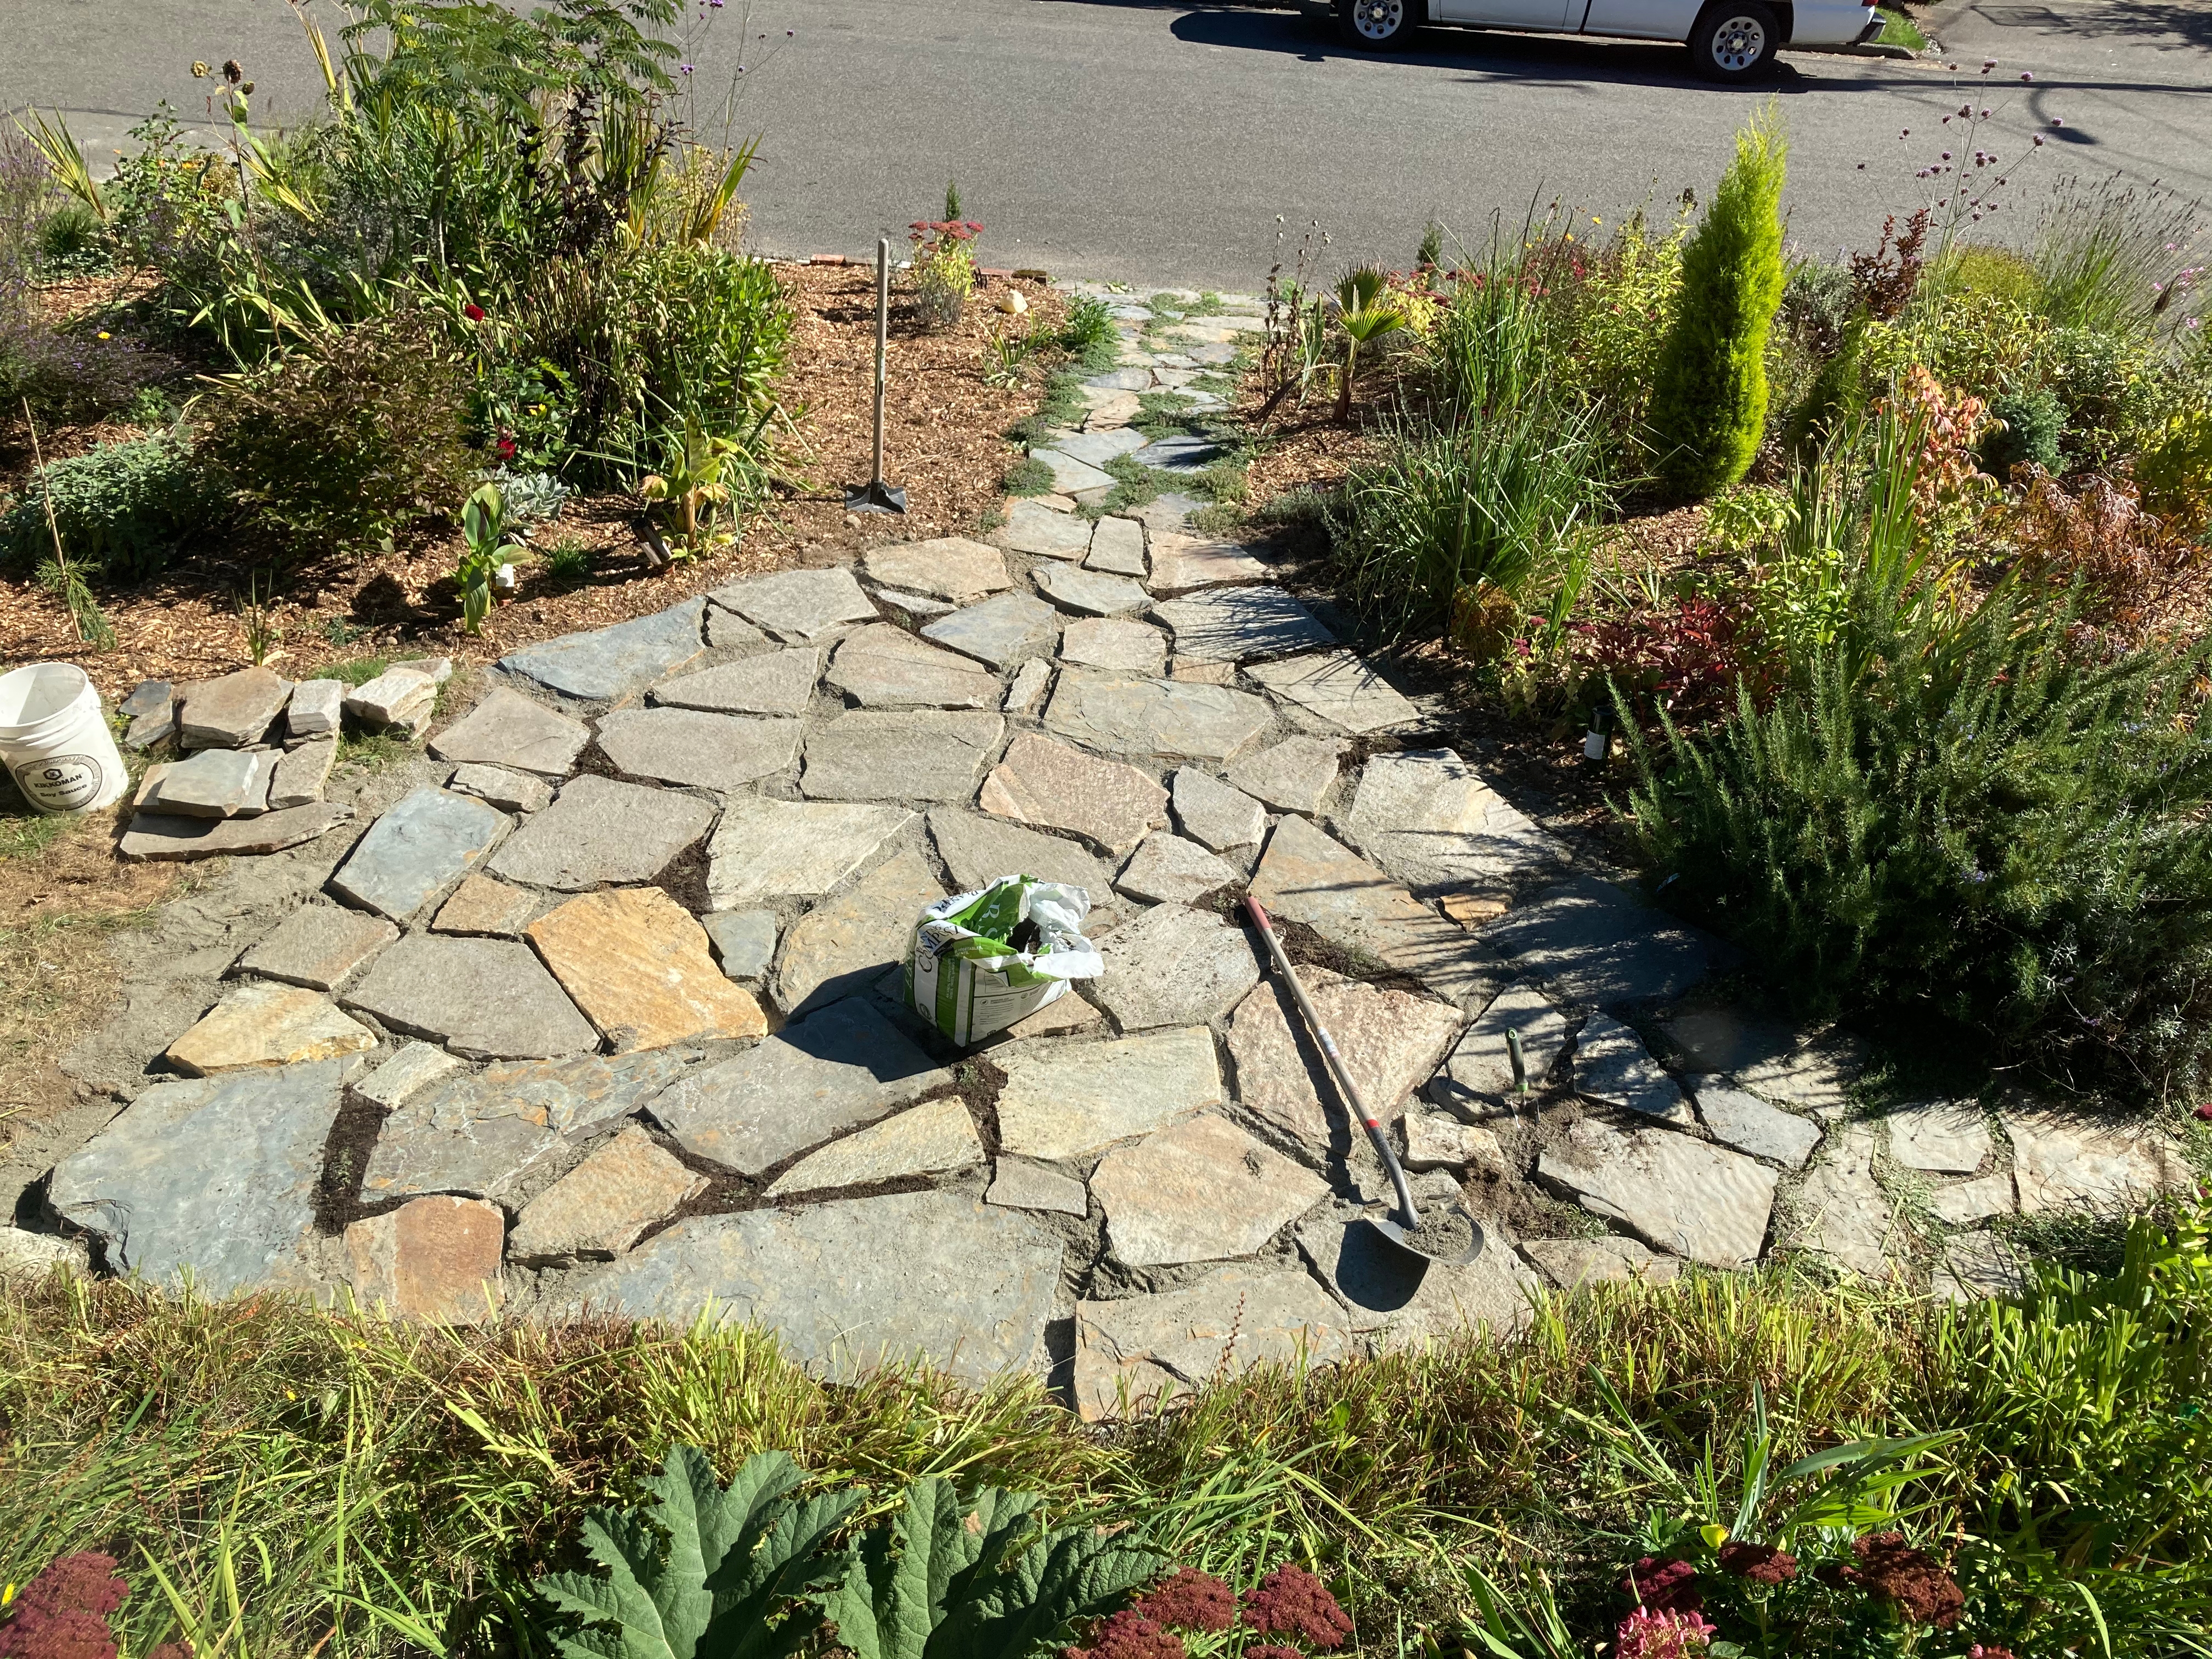
- Add sand, rake it roughly level and start placing the stones. I basically approached this as a puzzle and put ones next to each other that had similar angles and looked pleasing to the eye. I also made sure to vary which type of stone I used so I didn’t have huge patches of Quartzite and other patches of Spar Peak.
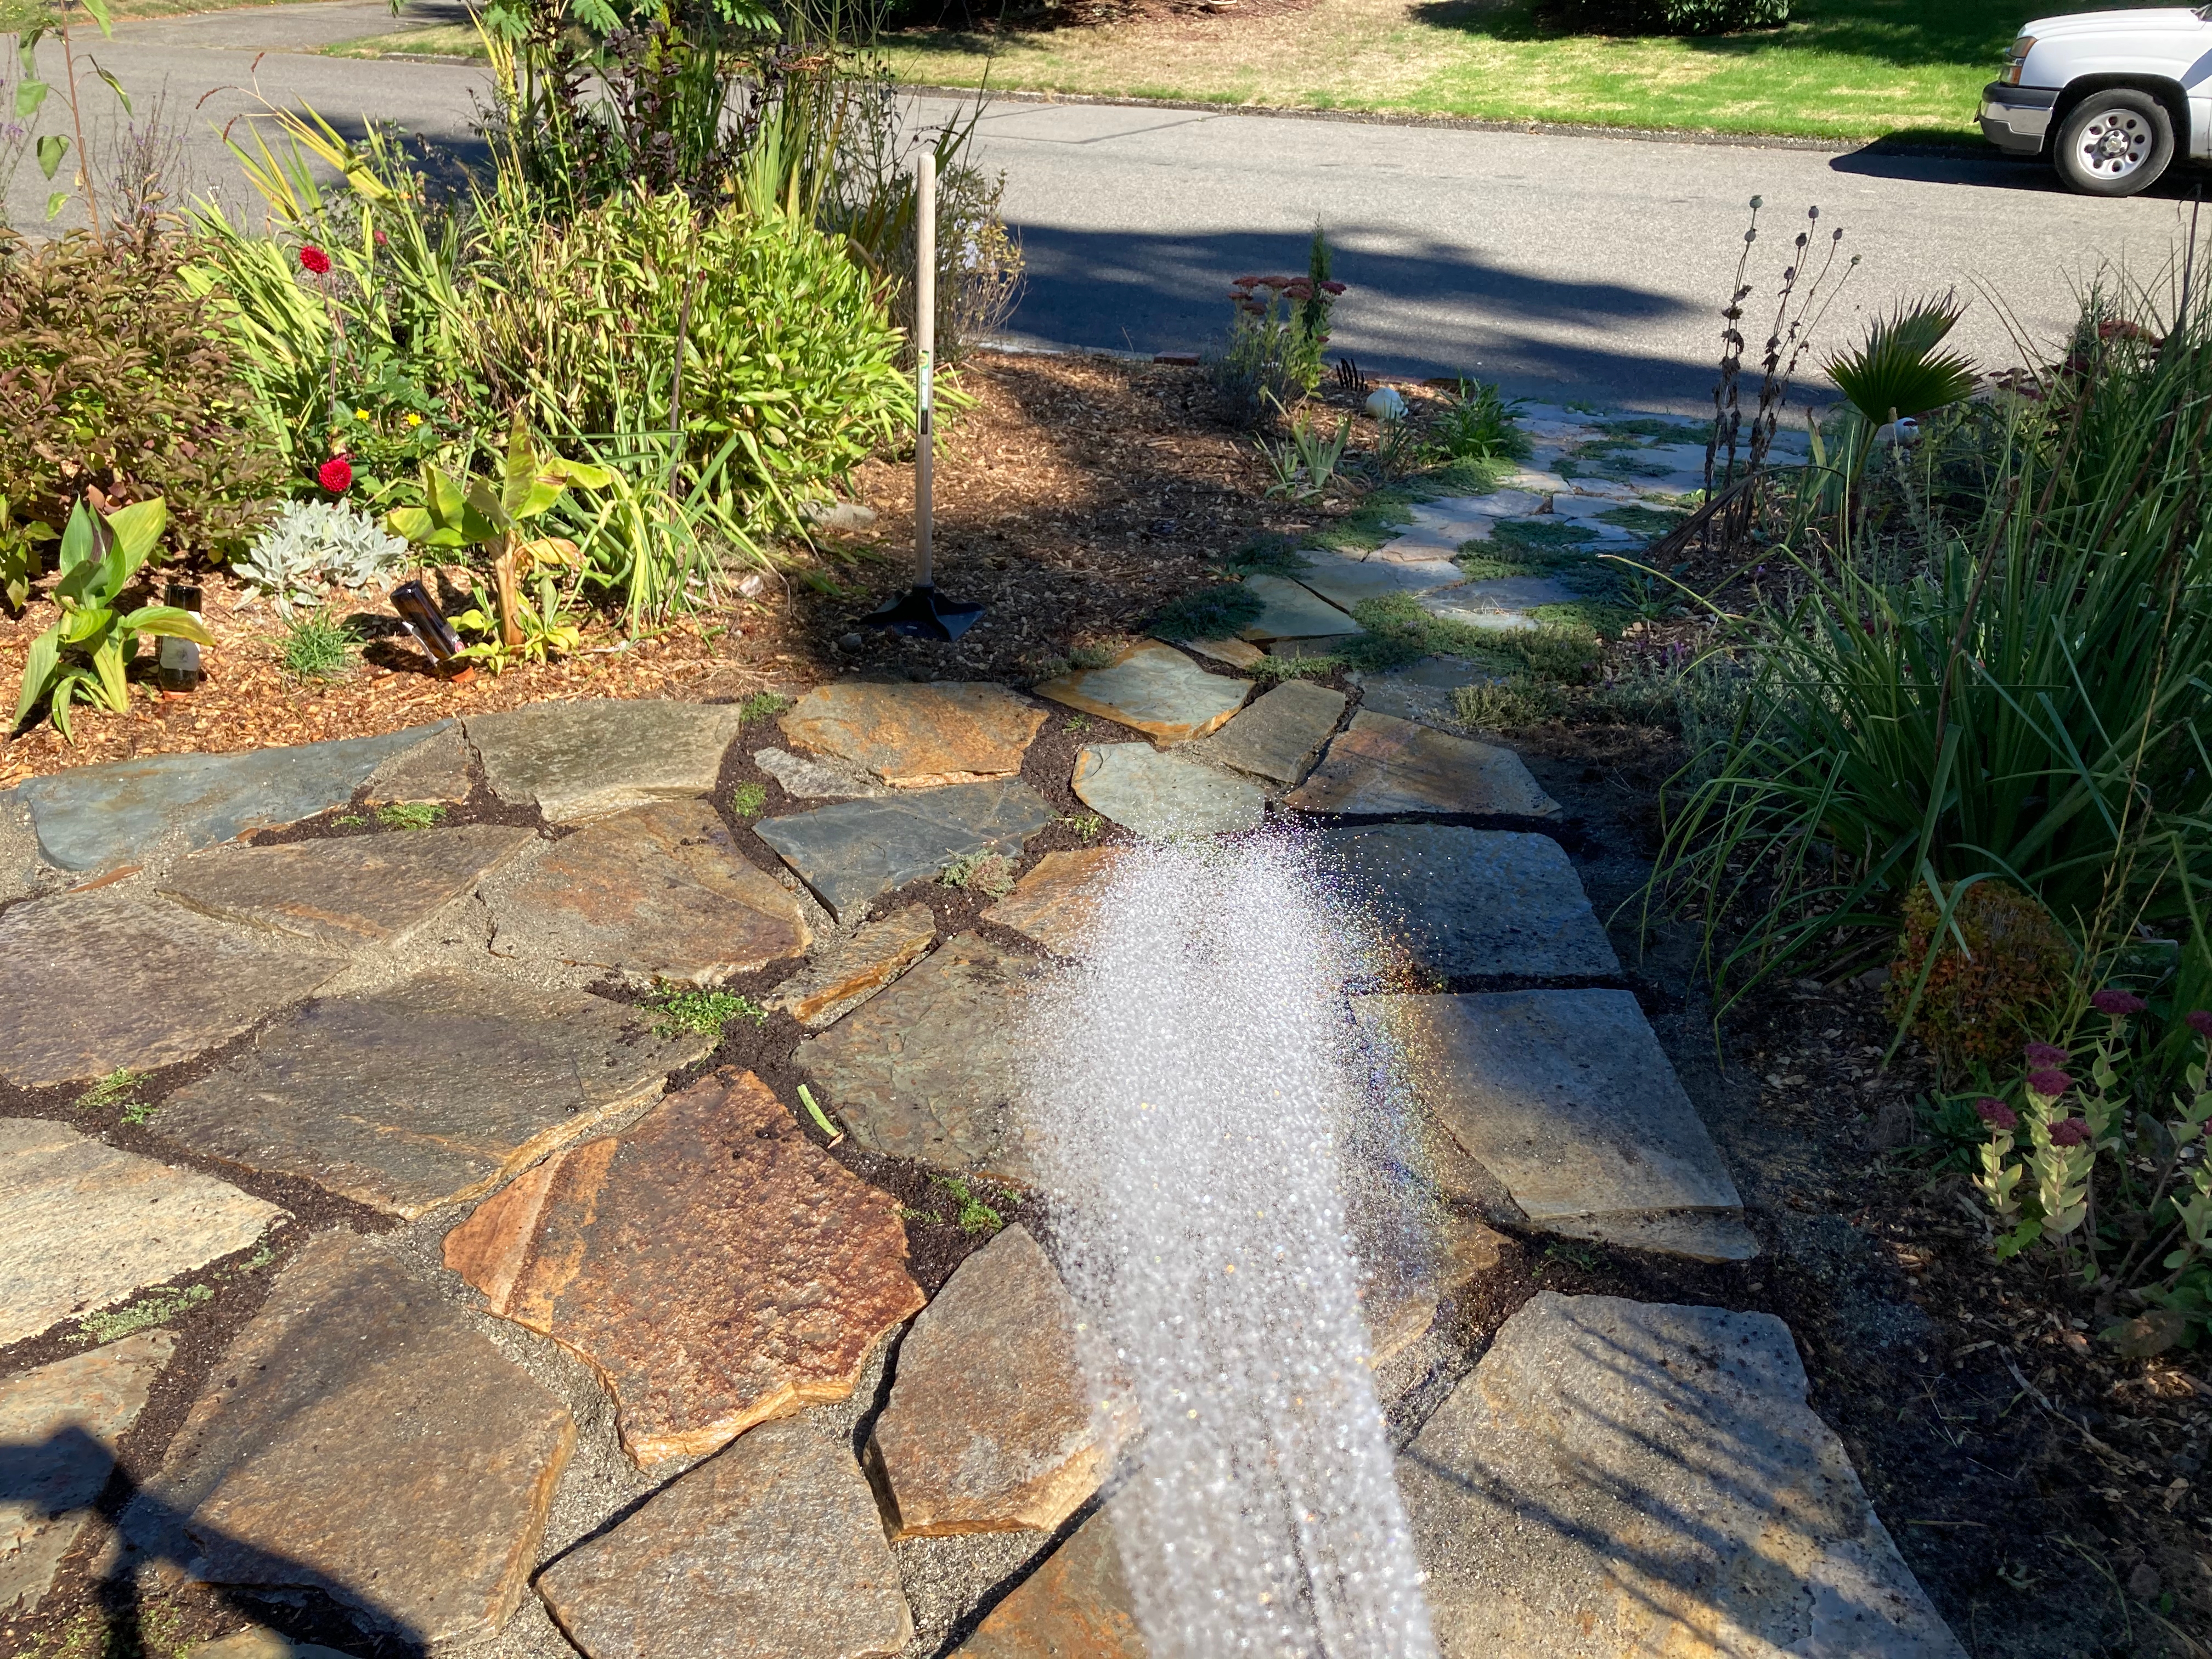
- A few things are worth noting here. I knew I wasn’t going to be adding any concrete or anything solid underneath or between the stones, so I wasn’t that concerned if the stones weren’t perfectly level. This also meant I didn’t need to worry about placing the stones on the same gradual slope for drainage as the water would be able to drain between the stones. I did, however place them all sloping a tiny bit down towards the street so water wouldn’t puddle on the individual stones.
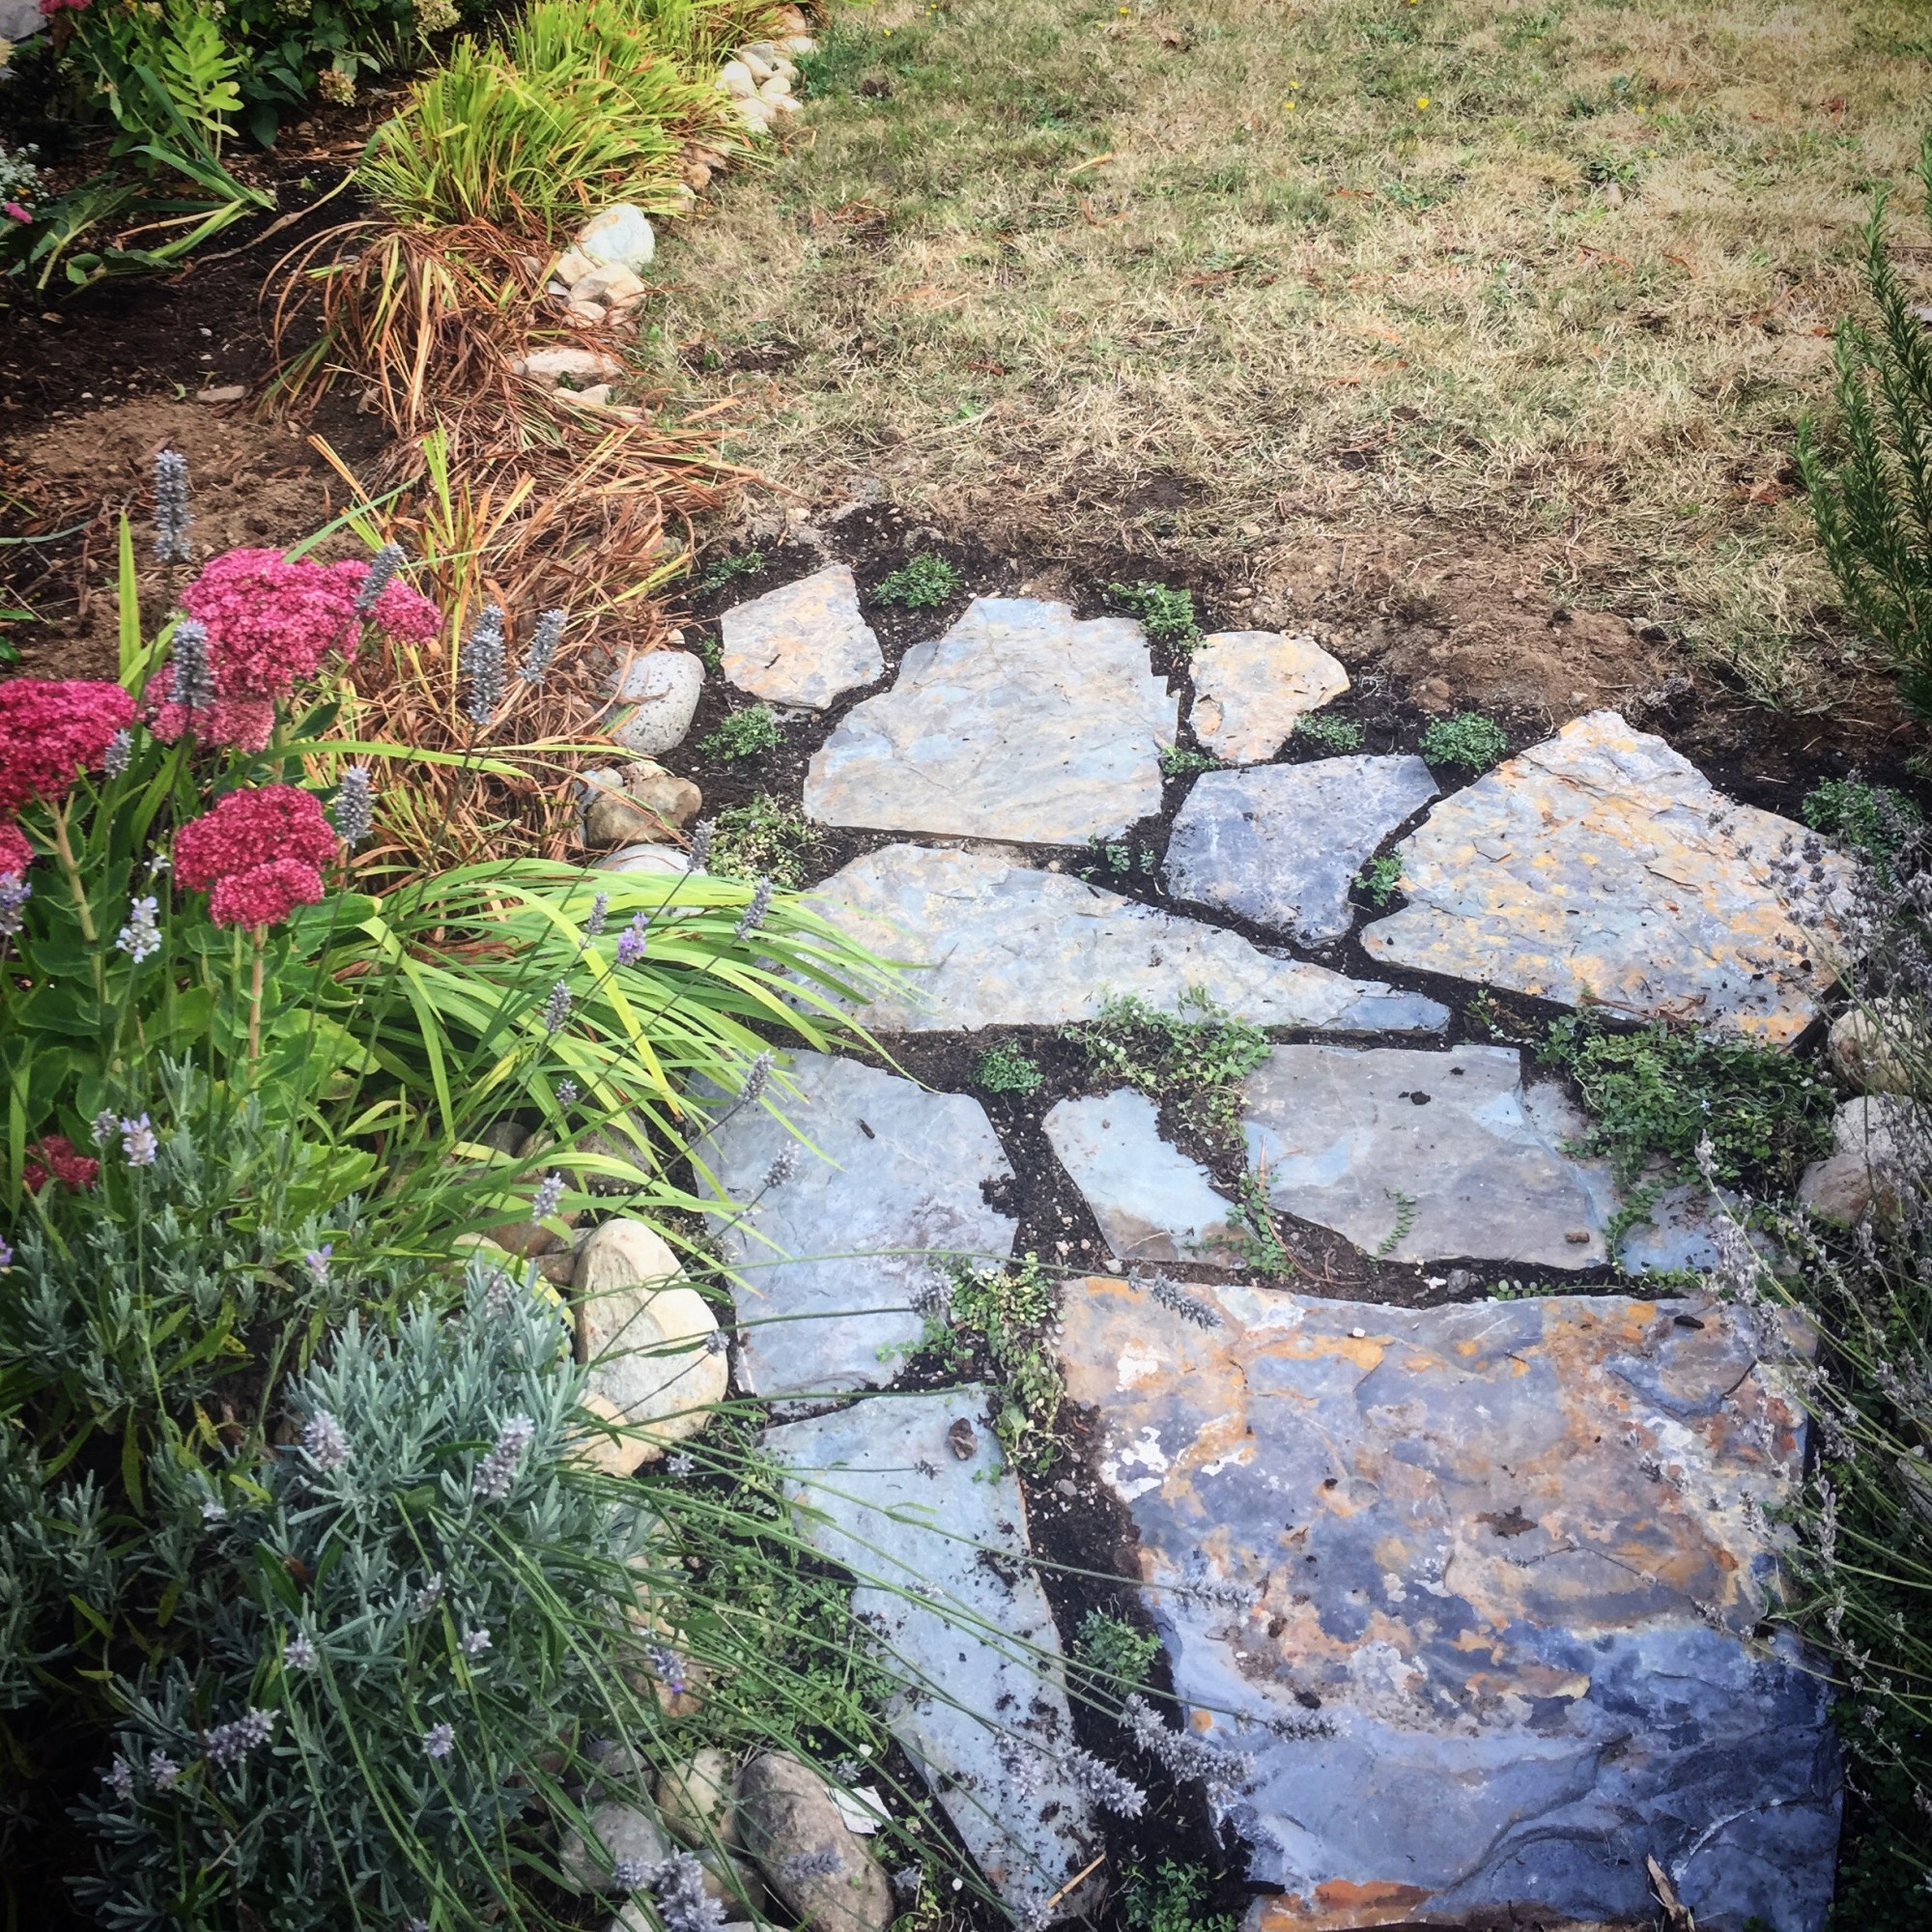
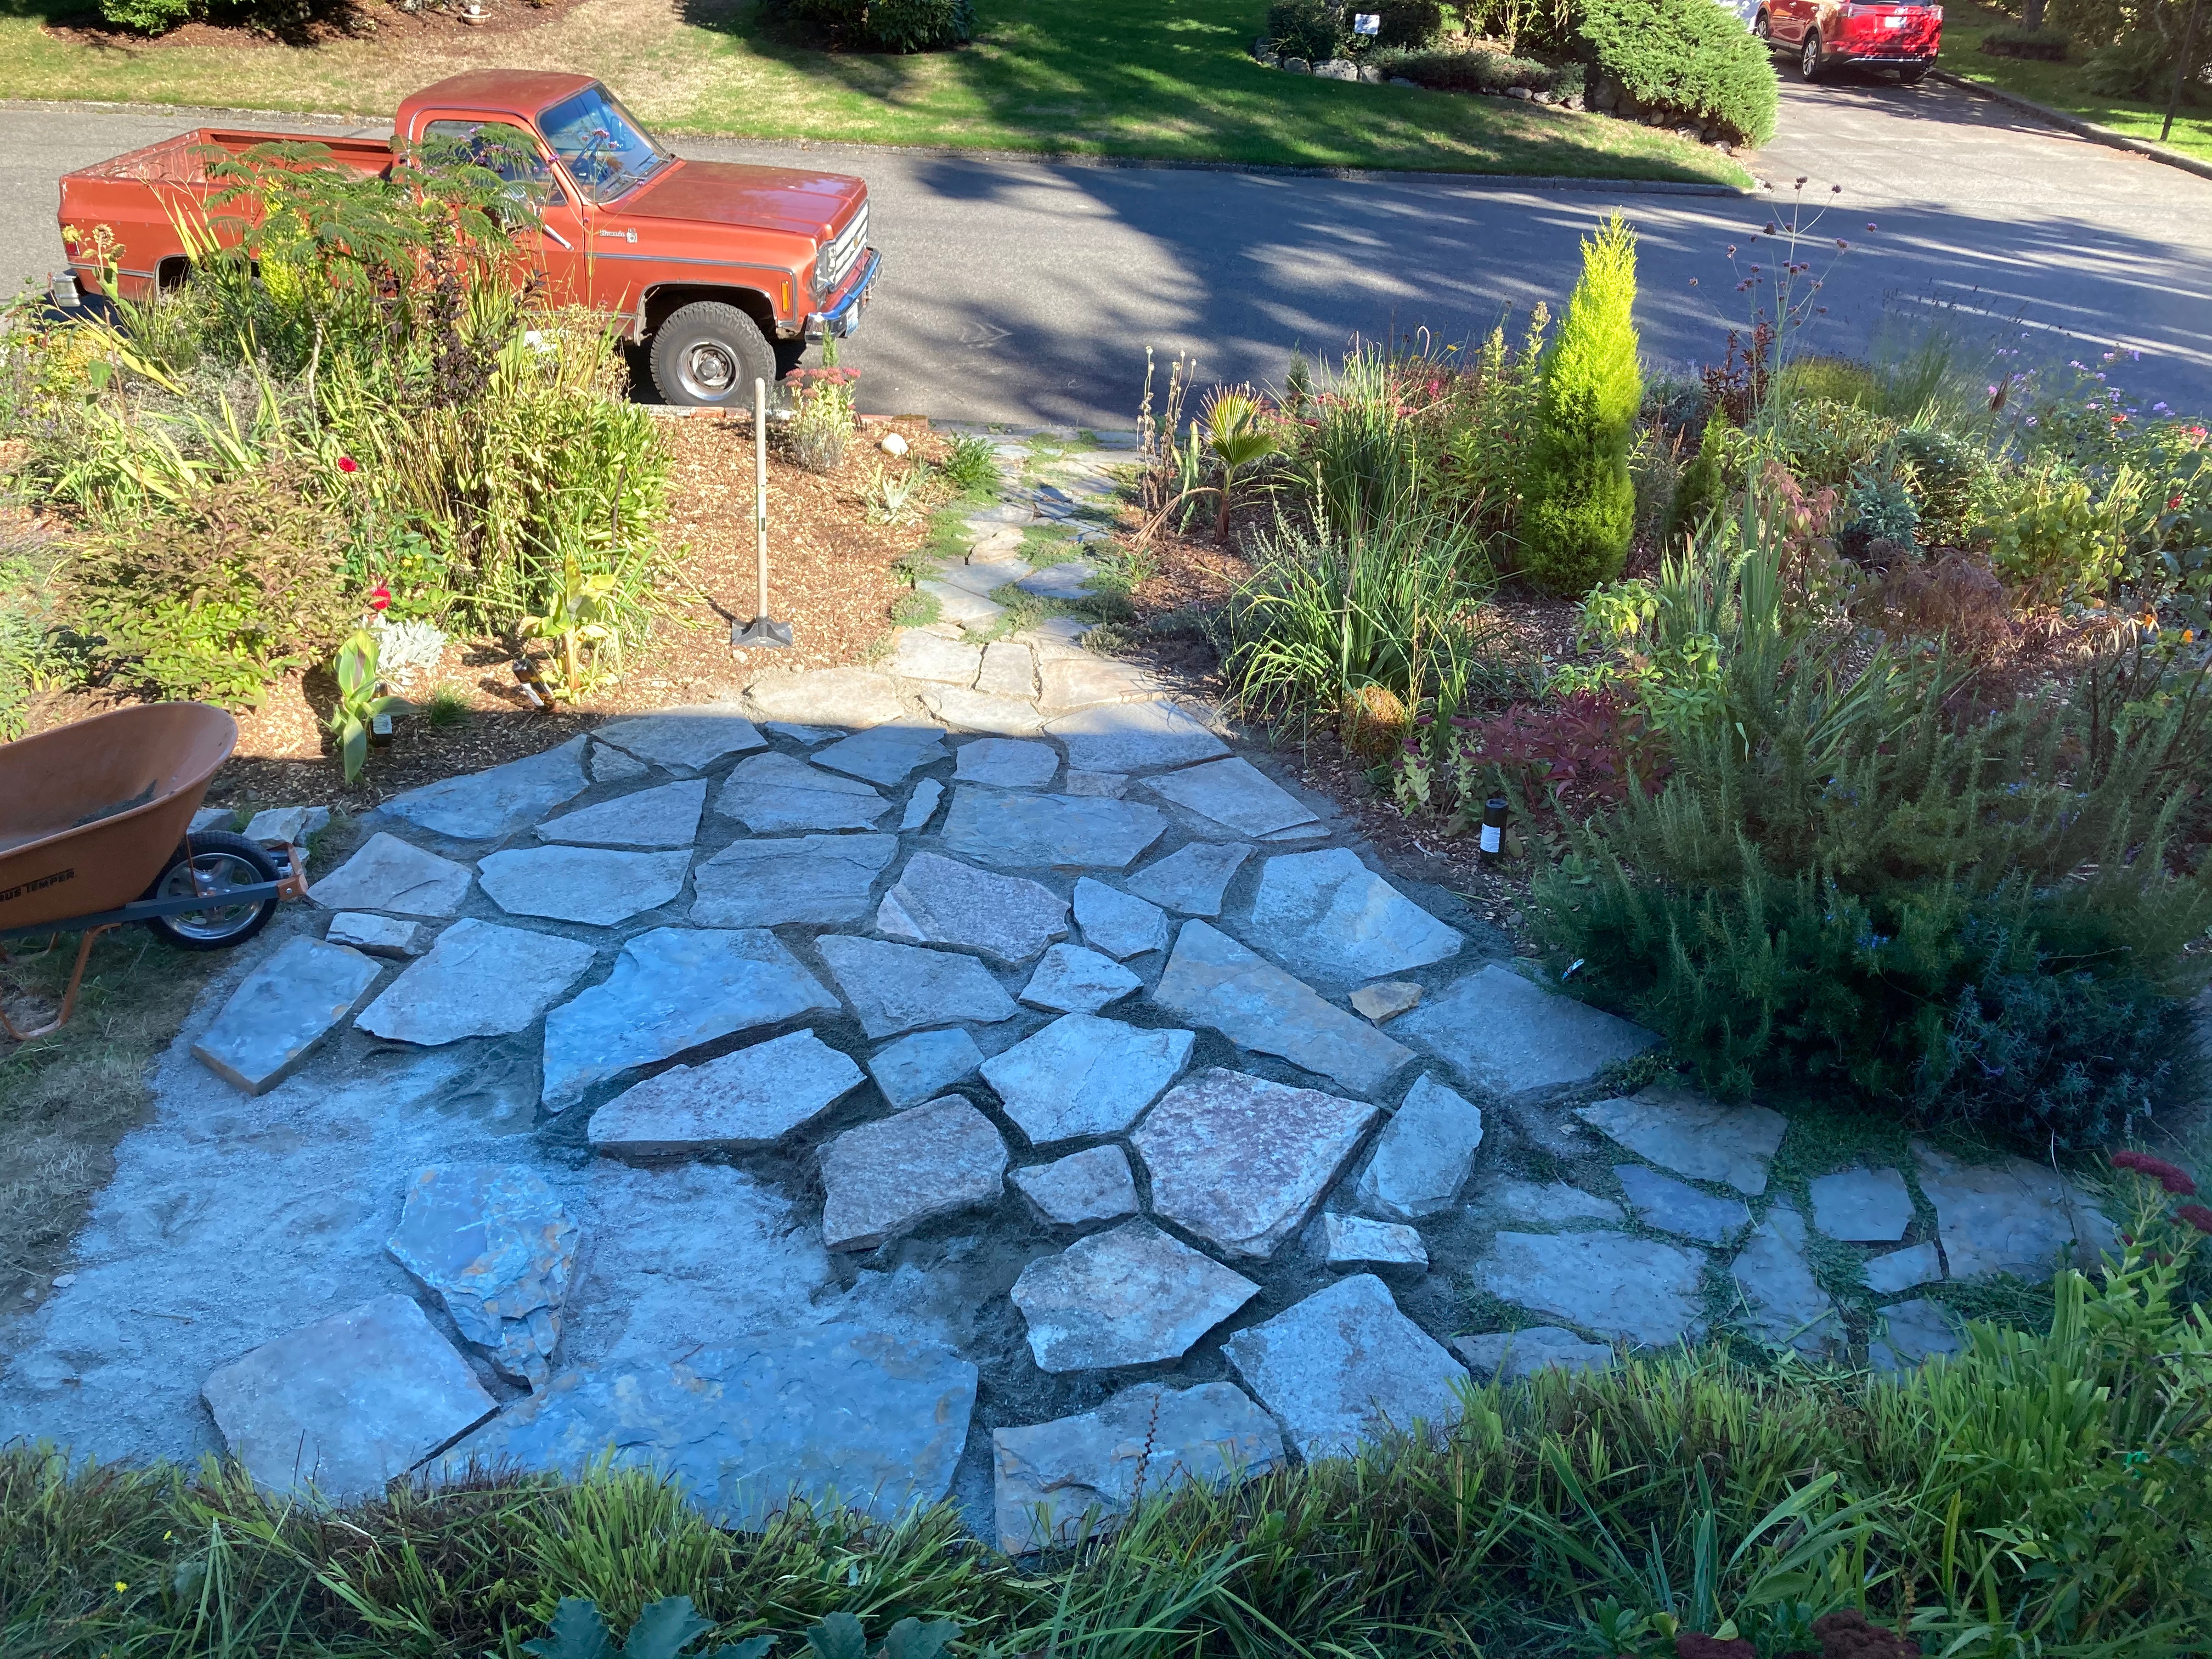
- I chose to add dirt and then some creeping thyme between the stones. I wanted to do this for several reasons. For one, I could have bigger gaps between the stones, and thus make the patio a little bigger for less cost. Second, I wouldn’t need to cut any of the stones since they didn’t need to have uniform sizes between them. A larger gap between some is actually ideal for placing the first of the creeping thyme and then it can spread through the smaller cracks over the years. The other reason for adding thyme between the stones is because I like the rustic look and I wanted this front yard to be as rain-wise and as pollinator friendly as possible. This helped achieve both of those goals.
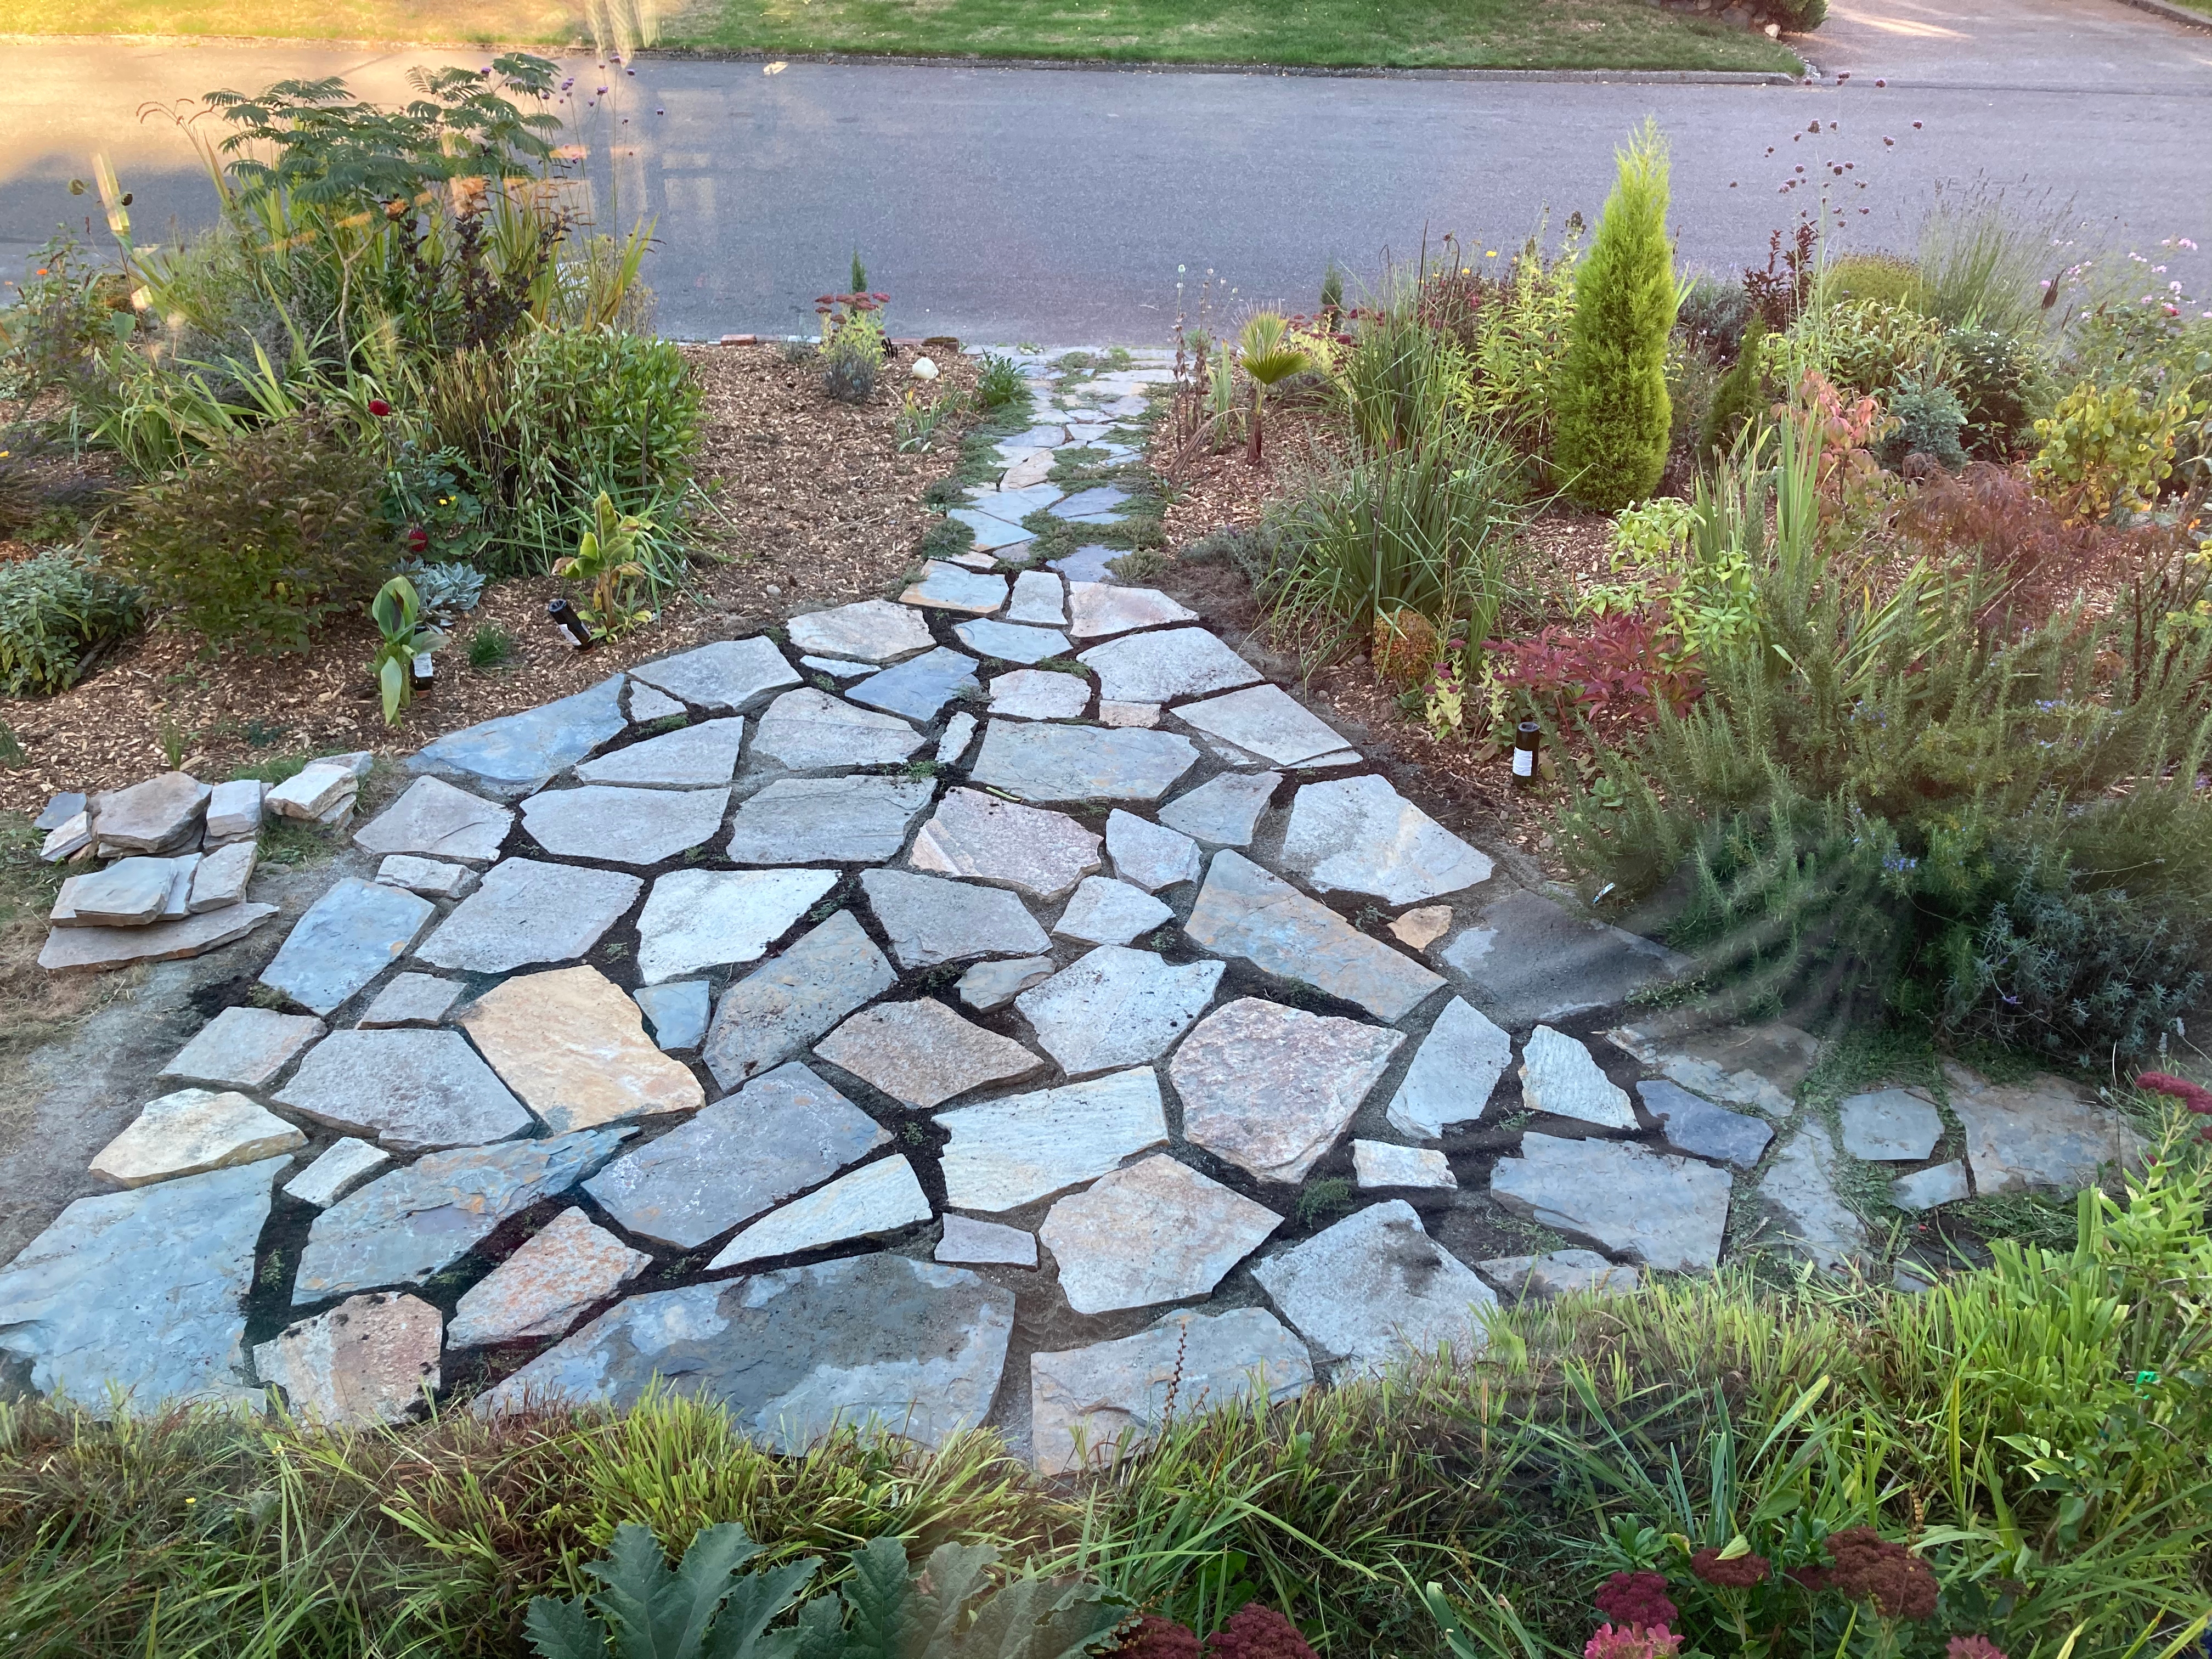
5. Once all stones were placed I added rich compost and planting soil between all the gaps in the stones. I then added purple flowering creeping thyme and some blue star creeper between some of the stones. Hopefully in a few years, all of the gaps will have a lovely carpet of delicate flowers and greens growing between them.
TOTAL DIY PROJECT COST: ~$1,100 for front patio AND bonus shed patio
- Flagstone for paths from Home Depot: ~$150
- 12 Quartzite stones from Craigslist: $250
- 2 Truckloads of Quartzite stones from Facebook Market: $300
- 1 Cubic Yard of crushed gravel from Sky Nursery: $40
- 1 Cubic Yard of paving sand from Sky Nursery: $40
- Spar Peak large flagstone pavers from Lakeview Stone and Garden: $250
- Plants and planting soil: $40
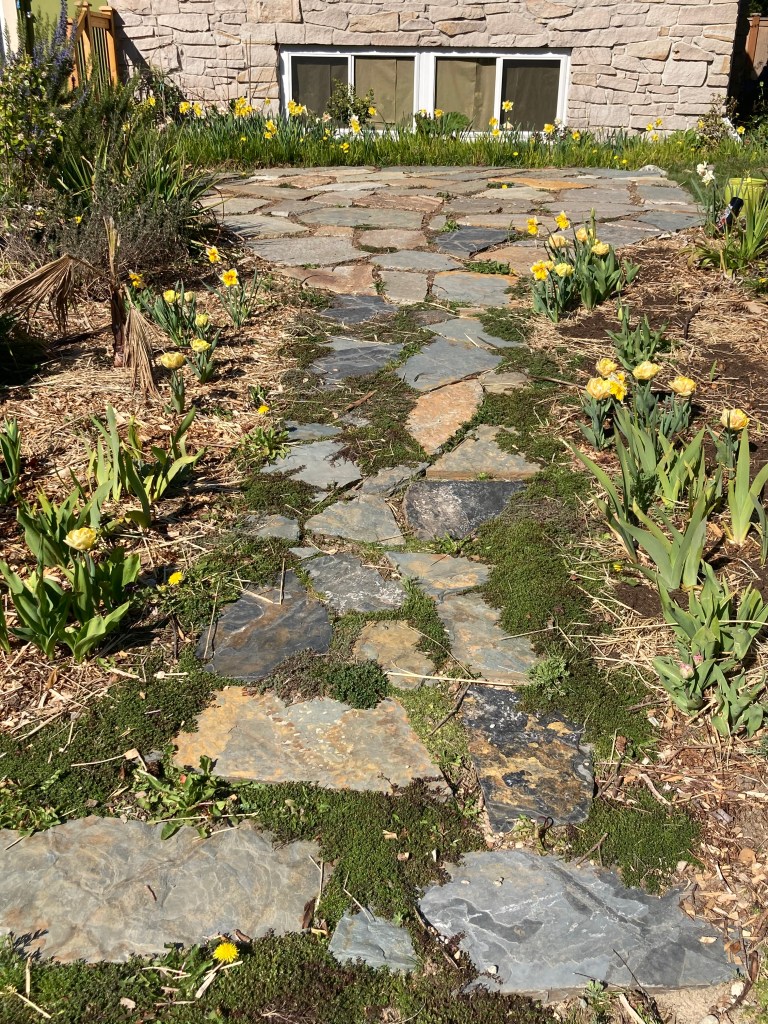
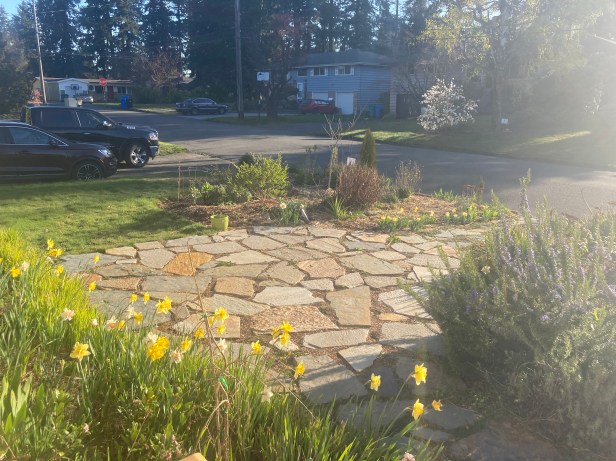
Now the last thing I have to do to complete my little slice of paradise is to buy or make some cozy chairs to lounge in and enjoy all the beautiful flowers and wildlife. I will be sure to update this post once that happens ; ) For now, here is a look at what the patio looks like in April 2021.