
We have a big yard and a small budget so I am always trying to find ways to add interest and function to it without breaking the bank. One of those projects was to create a cement block bench that I’d seen all over Pinterest.
The previous homeowners were nice enough to leave a bunch of random treasures in our backyard, mostly hidden away in the ivy that once covered 1/2 of the space. I was able to find several concrete blocks that had two squares and flat sides. Perfect for making a bench!
Though ours were free, you can pick some up at any local hardware store for less than $3 each.
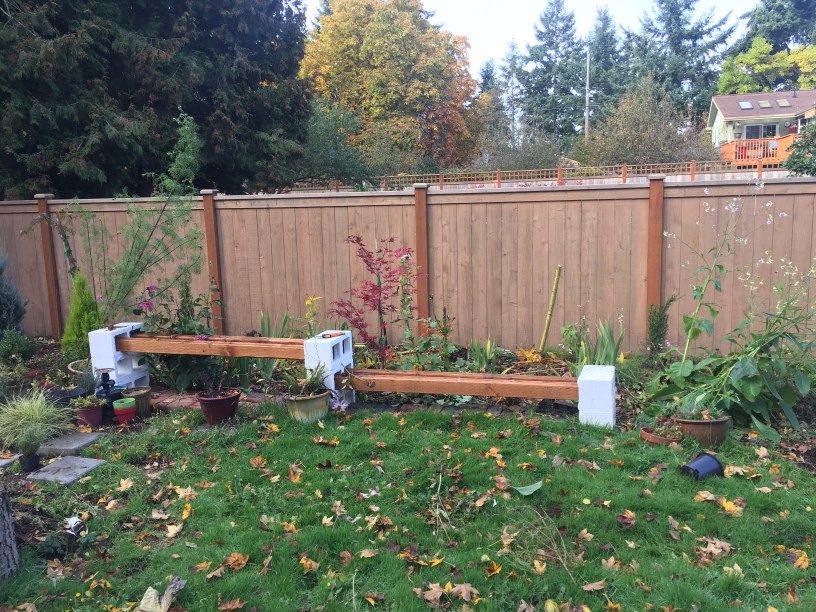
I decided to do two benches that were connected; one for adults and one for kids. I thought this would be perfect for when we had big groups of friends over for dinner, it could act as overflow seating in case we didn’t have enough chairs or space at the tables. It also acts as a really nice barrier to keep unwanted foot traffic out of the flower beds : )
Here is a step-by-step guide on how to build this bench:
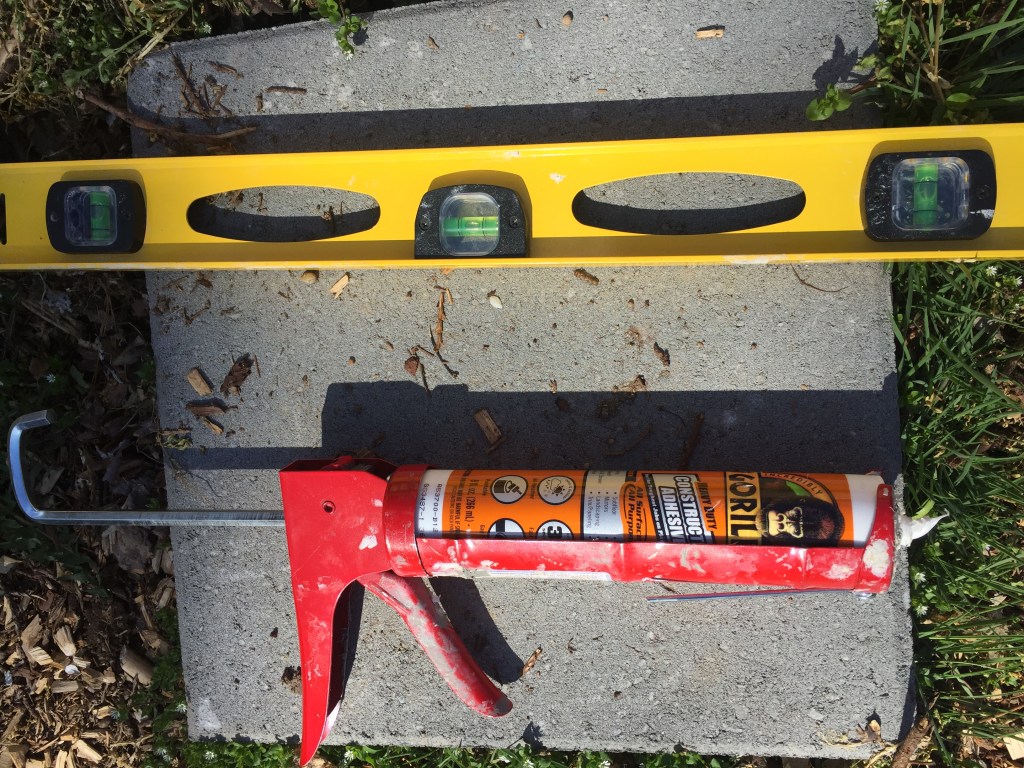
- Prep your site and get your materials ready. Try pre-building it to get the location as exact as possible. Then clear and level off the ground so your bench won’t be tilted. The materials I used were a shovel, gravel, a level, contact adhesive, white primer and paint, paintbrush, 8 cinder blocks and 4 pressure treated 4x4x8 posts (they were $10 when I bought them, but now are about $15 each)
2. Put some gravel down under the cinder block and check with level. You will want to compact the gravel, so I jumped on it a bit and that worked just fine. Once level, add additional blocks using contact adhesive.

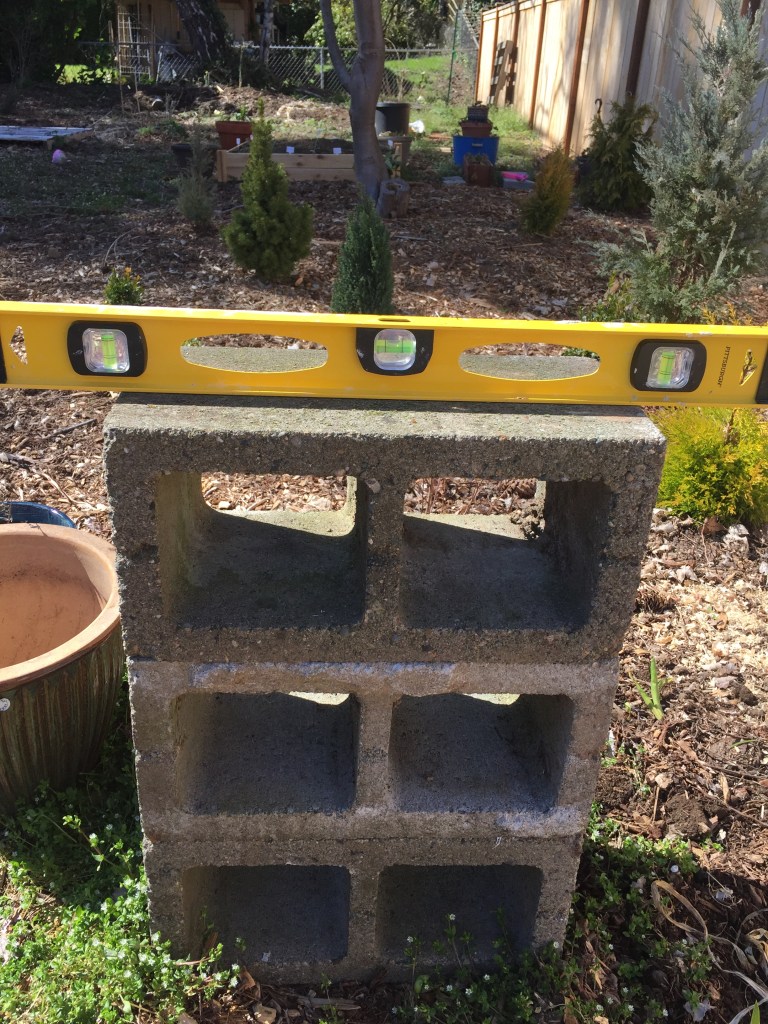

3. Once blocks are level, add posts and confirm that they are level as well.

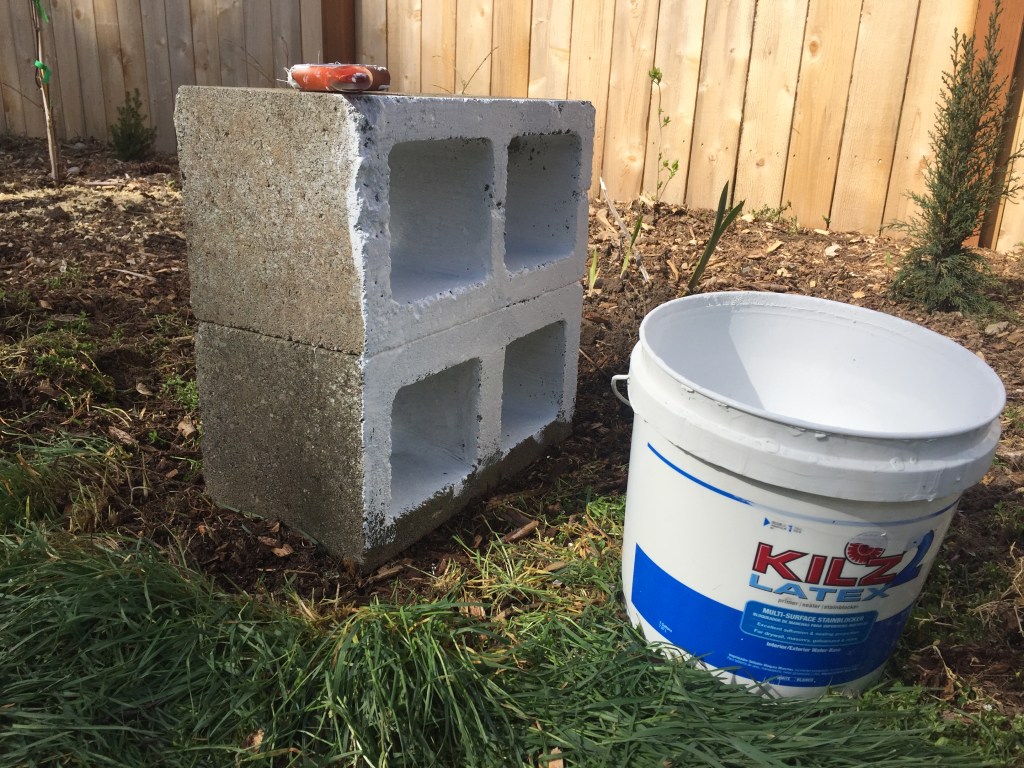
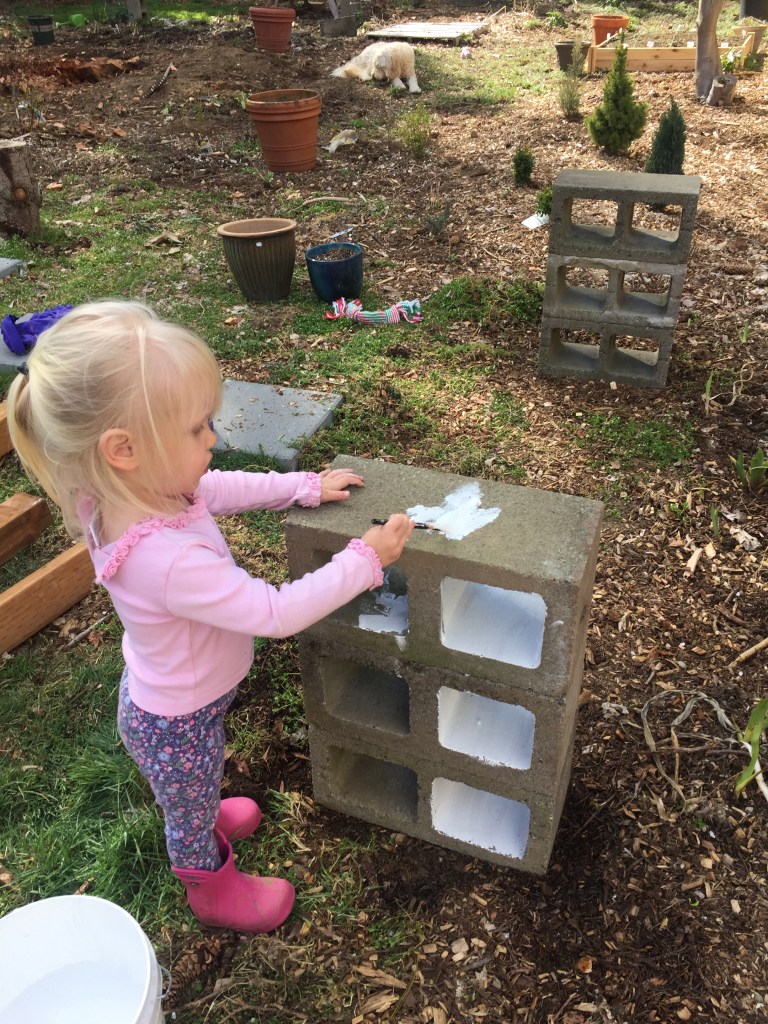
4. Remove boards and paint cinder blocks. You will want to use a primer first that indicates it works on concrete or stone. Then paint the blocks whatever color you like! I’ve seen some really cool versions where people did retro color-blocking, or I’ve seen it done in black and it looks really sleek with the wood. Or you can just leave as is for a more industrial look.


5. Add boards and enjoy! I have plans to glue the posts to the cinder blocks at some point and to possibly add some slabs of wood on top of the posts to create a more comfortable, thicker seat. But for now, this looks and works great!


